Many newcomers to Mini Nubian goats ask, “What is the BEST generation to buy (or breed) with Mini Nubians?” The obvious answer seems to be “the higher the generation, the better!” After all, “purebred” sure sounds like it would be better than “experimental.” Right? Maybe not. This post was written to help educate you so that you can purchase quality Mini Nubians in the future by focusing your attention not on generations, but on animal quality.
Eliya Elmquist (of Green Gables Mini Nubians) has been raising Mini Nubians for 22 years, and she co-wrote this article (which is styled in her voice) with me. I think her insights are so helpful that I wanted to post it here for easy reference.
Are Higher Generation Minis Better?
Eliya writes, “This article was written because year after year I find myself explaining to newcomers (and also some who have been around Mini Nubians awhile) about misconceptions concerning generations. Hopefully, this article will help the entire Mini Nubian community to better educate buyers as to the proper view of the importance, or place, of generations in assessing miniature goats of any breed.”
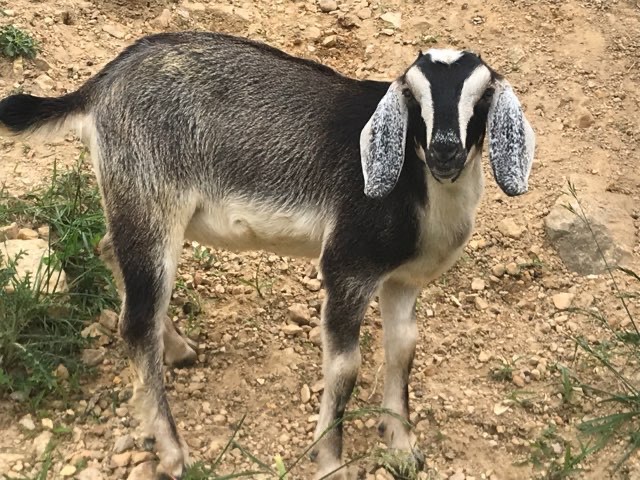
(Note: the young buckling pictured at the right is Storybook’s Prince Valiant, an F2.)
First, some definitions.
What Do We Mean By Generations?
All mini goat breeds (Mini Alpines, Mini Toggenburgs, etc.) are crosses between a larger, foundation breed (in the case of Mini Nubians, a purebred Nubian female) and a smaller, foundation breed (a purebred Nigerian Dwarf male). From here on out, this article will focus on Mini Nubians (MNs) as our primary example, but you can apply what’s written here to other mini goat breeds as well.

When you breed a foundation Nubian to foundation Nigerian, the resulting kid is considered to be First Generation, or F1. It is one generation from “foundation” on both sides. It is a 50/50 Nubian/Nigerian cross.
(Pictured right: Joyous Farms Le Tigre: 50/50 cross. Nubian/Nigerian.) LOTS of milk creds on both sides of this cross! See a pedigree here.)
Min Nubian lines can also be started using a Mini Nubian crossed to a foundation breed. So, you can have a MN doe bred to a foundation Nigerian buck. This would result in something more like 25% Nubian and 75% Nigerian. More typically, however, if a MN is crossed with a foundation Nubian, you will find kids that are 75% Nubian and 25% Nigerian.
(Pictured left is Skillman’s Star AR 4*D. She is a Mini Nubian, and is 93.84% Nubian, and only 6.16% Nigerian.)
What is important to grasp here is that any kid that has one parent that is a foundation breed is an F1, also called “Experimental.” F1 does NOT indicate the percentage of the parents’ breed or its overall quality in terms of conformation or dairy abilities; it simply indicates that one (or both) parents were foundation breeds.
Subsequent breedings follow sequentially. If you breed an F1 to an F1, you get an F2 (two generations away from foundation on both sides). However, if you were to breed an F1 to an F5, the kids would be F2, since on one side, their parent was only one generation away from foundation, and they are only two generations away from foundation on that side. The rule is that kids’ generations are always one step up from the parent who is closest to foundation. F1/F6 = F2. F3/F4 = F4. F3/F3 =F4. And so on.
In developing the Mini Nubian breed, it was decided that it would take six generations for an animal to be considered a purebred Mini Nubian. F1 and F2 animals are designated “Experimental” by registries. F3, F4, and F5 are termed “Americans.” F6 and up may be registered as “Purebred,” if they meet the breed standard. (After “purebred” we stop counting generations.)
Newcomers to MNs often hear the word “purebred” and think it must be desirable. Who wants a mutt when they can have a purebred, right? But the idea that lower generation goats are mutts is a serious misconception, which can be hard for newcomers to understand.
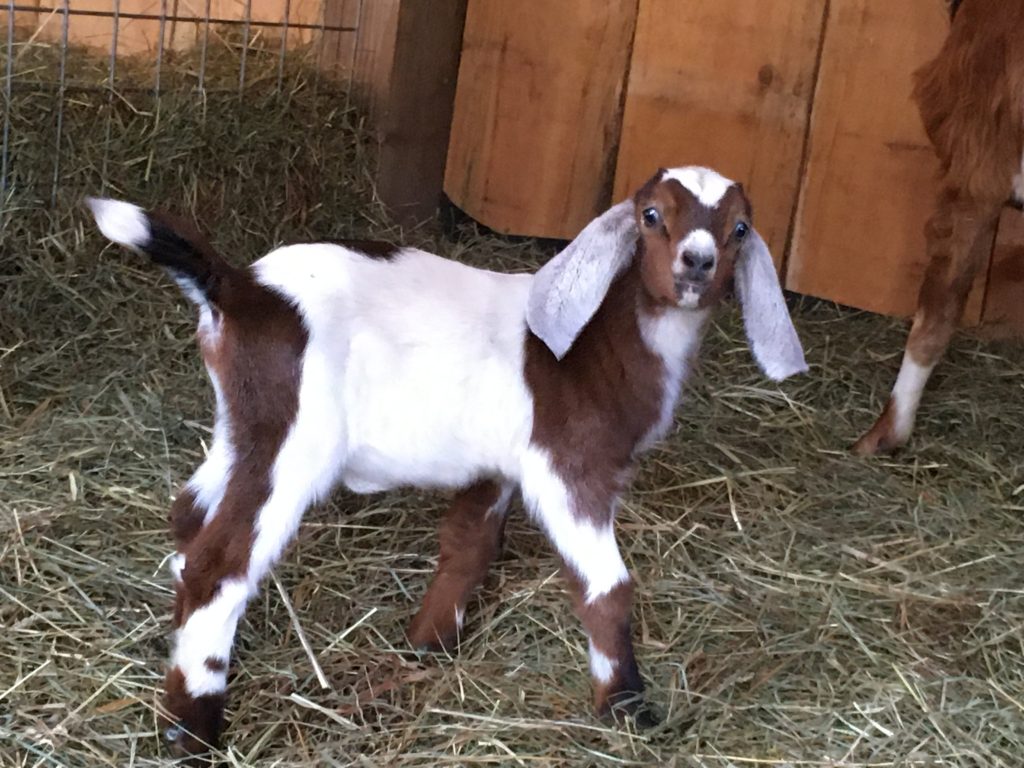
Storybook’s Ursa Major, pictured right, is an F2.
Remember how the generations are calculated? As stated above, a sixth generation from foundation (F6) can be registered as a purebred (if it conforms to the breed standard). And all that the F6 designation means is that an animal is 6 generations from a foundation parent on both sides. It says nothing about its conformation, quality, health, or breed character; it simply means that at least six generations back on at least one side of the parental line (the other side could be further back), this particular bloodline of goats got its start.
Now, I just mentioned the term “breed character. What is that?
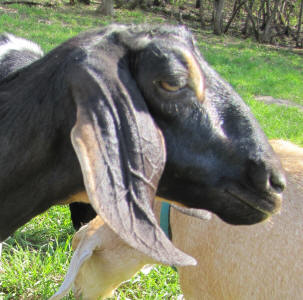
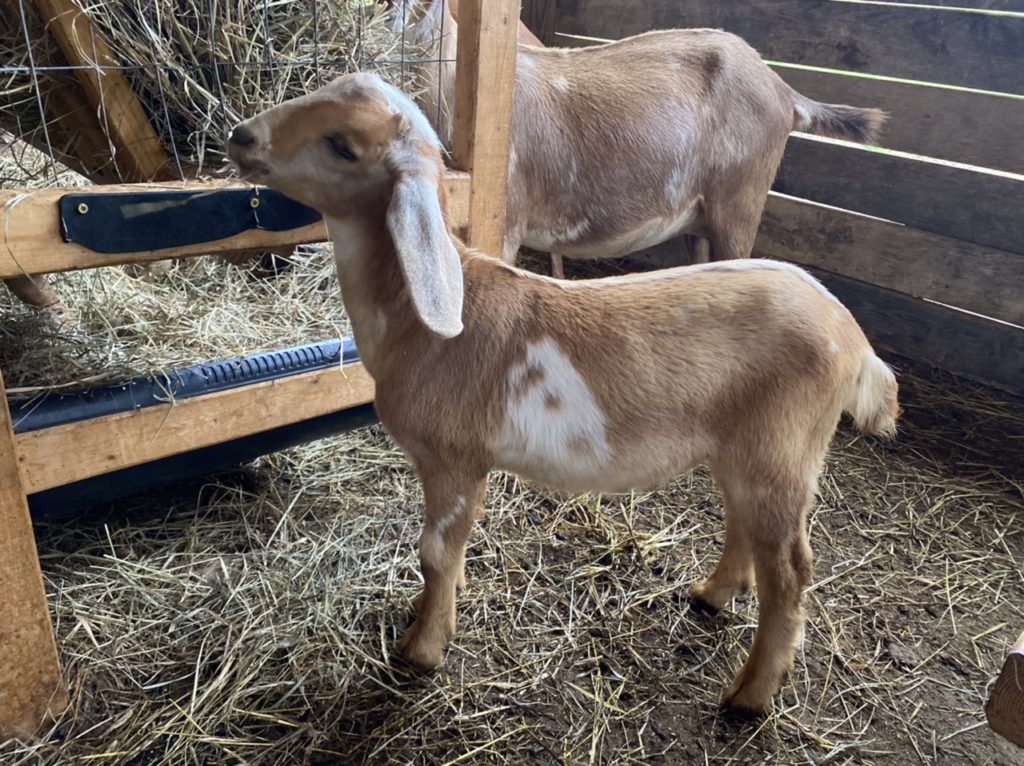
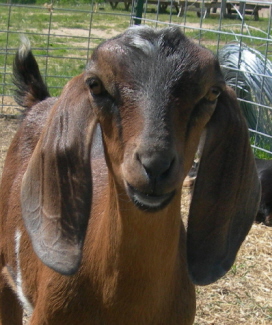
The goal with breeding MNs is to work towards goats that look like a Nubian, but smaller. Nubians have pronounced Roman noses and long, floppy ears. They are a dairy breed, so there are other aspects of conformation that contribute to amounts and longevity of milking, of course, but the main distinctives of the Nubian breed are their noses and ears, and we call this “breed character.”
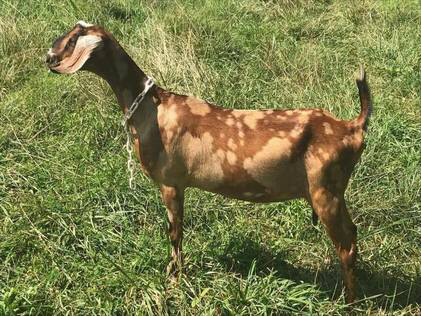
(Pictured at the right is VMCH Green Gables GS Magma 5*P. She is a wonderful example of correct breed character for Mini Nubians. She is an F5.)
The challenge in breeding Mini Nubians is that Nigerian Dwarfs have short upright ears. When you combine Nubians and Nigerians (especially in early generations) you often —but not always — get long ears that stand out from the head, called “airplane” ears. You can also get “2/3 drop” ears. Or, you can quickly arrive at the goal: what are called “pendulous” ears (like Magma’s), which is what Nubians have. Those pendulous ears should not stand out from the head, and should be long enough to touch the goats’ nose tips.
In general, you can expect to see airplane ears in the first generation (F1s), which are 50/50 Nigerian/Nubian. You may have excellent Nubian breed character in an F1 Mini Nubian if with 75% or more Nubian (typically a Mini Nubian bred to a foundation Nubian). Occasionally, you will have an F1 50/50% kid that takes more after one parent than the other and thus has either upright, Nigerian type ears or very correct Nubian ears.
Now, with all that information under your belt, we’re ready to address misconceptions that many newcomers (and young breeders) have.
SO: Are Higher Generation Minis Better?
Eliya writes, “I get asked ALL THE TIME for a certain generation MiniNubian. As a seller, I always ask the buyer why they are looking for that particular generation. Most of the time they are looking for a higher generation (like 5th generation and higher) but occasionally it is a specific lower generation. Understanding the reasoning helps me to help them better.
Over the years, buyers’ reasons for wanting higher gen kids are often based on misconceptions. I want to cover three specific ones here, and also mention some specifics about generations and breeding that are often overlooked.”
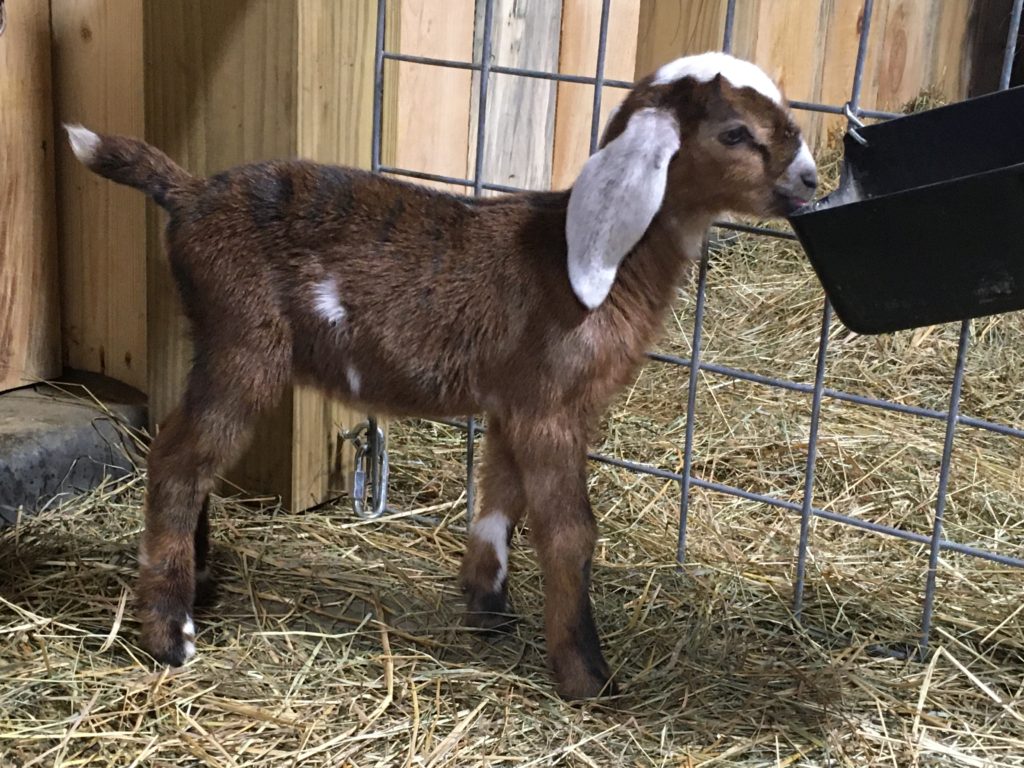
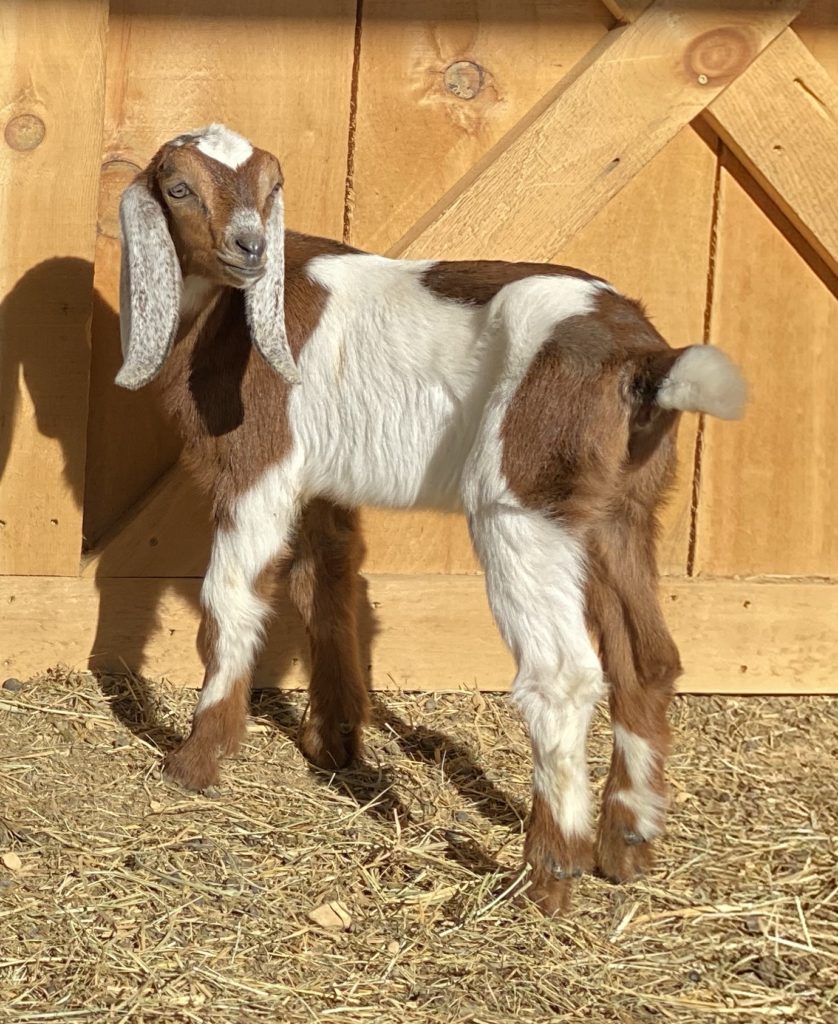
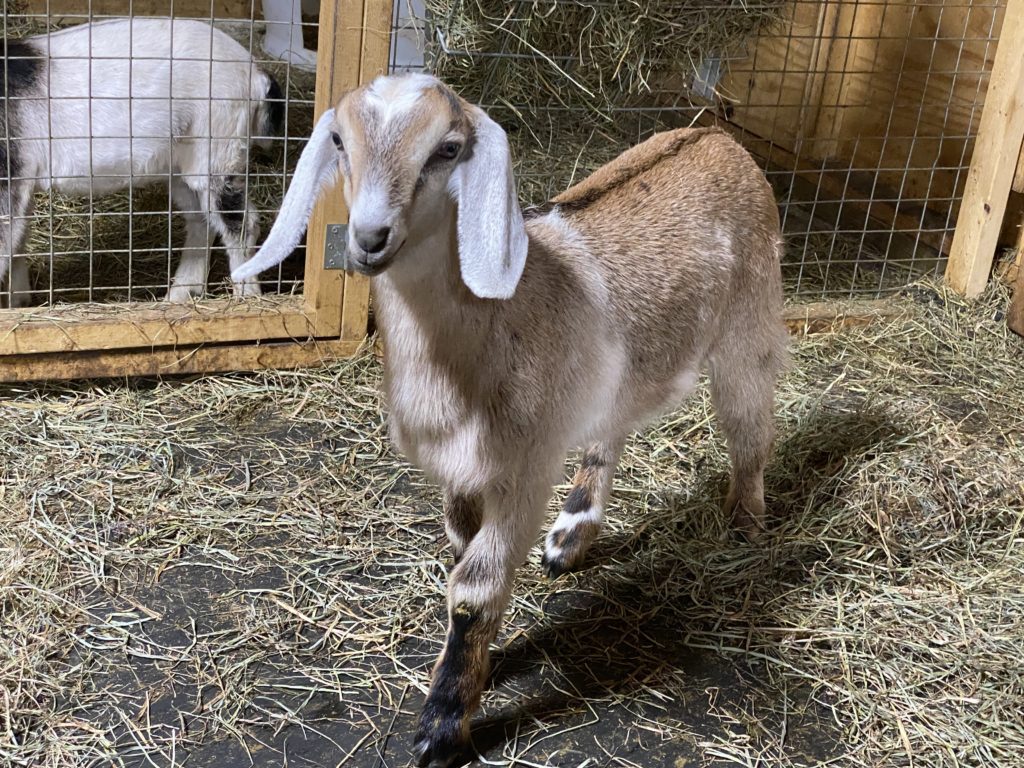
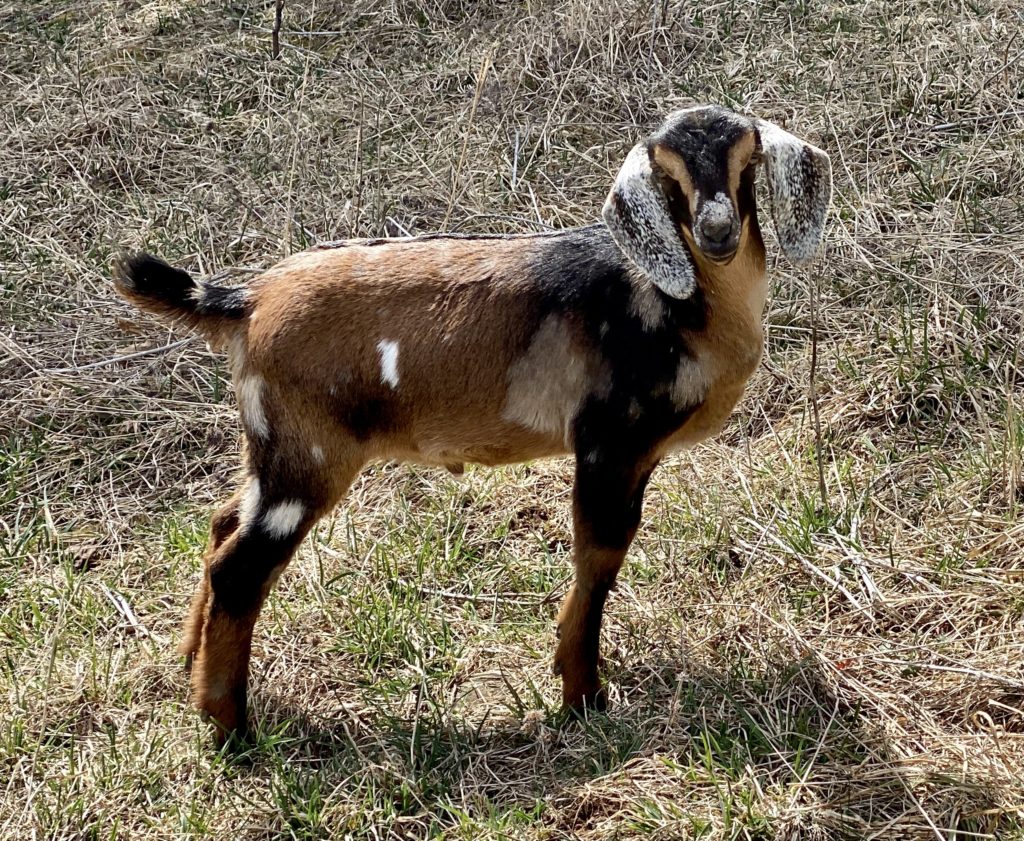
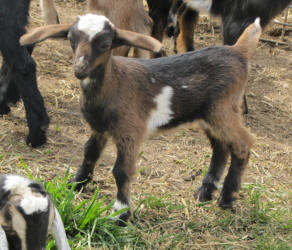
General Misconception #1: “Higher generations have better breed character.”
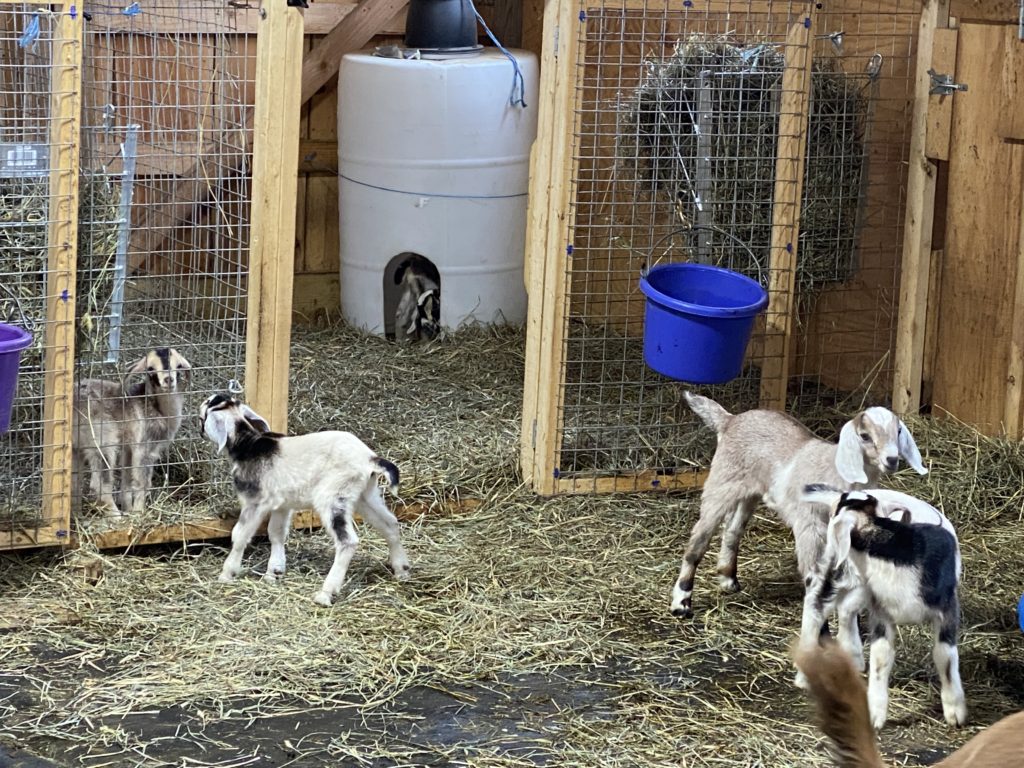
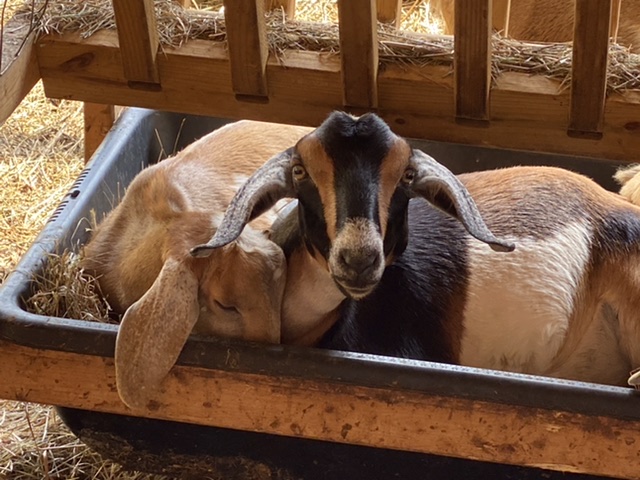
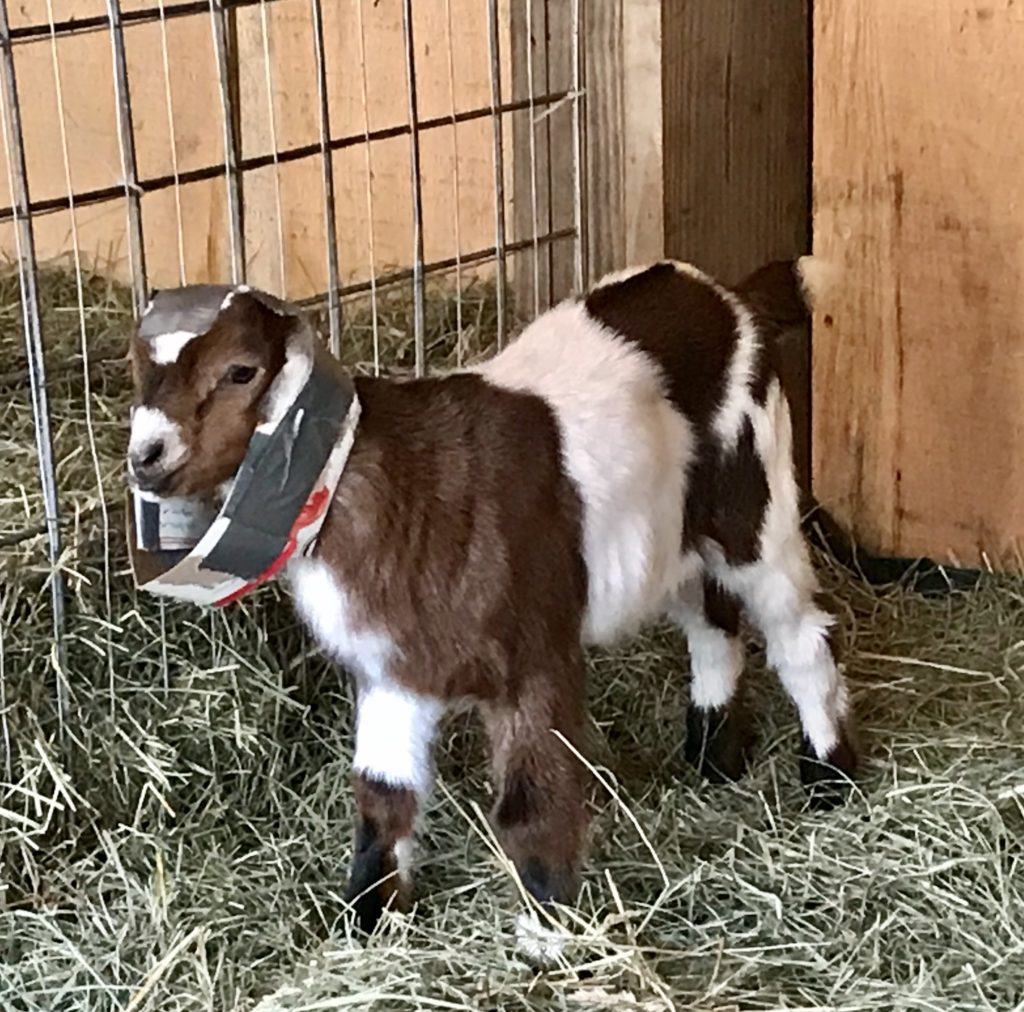
Eliya writes, “This is not always the case! Great breed character is the goal, but it is not true that the further you get from foundation parents (i.e. higher generations) the better the breed character. It simply does not always work out that way. Try telling the generations of the two kids pictured below. One is an F5, and the other an F2. The parents of the F5 both had correct breed character, while the F2 kid had a dam with 2/3 drop ears and a sire with short, but pendulous ears. The one on the left is the F2. The one on the right is the F5.”
General Misconception #2: “Higher generation MiniNubians are better quality.”
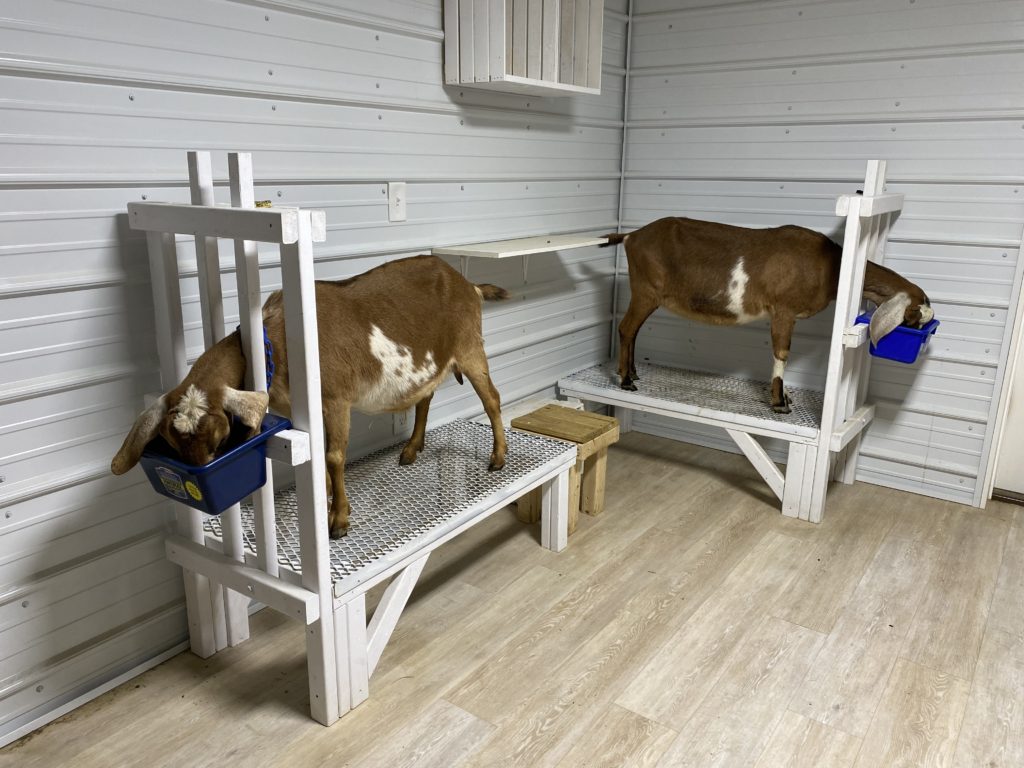
Eliya writes: “Honestly, speaking as a seasoned breeder (since 1999), generations have nothing to do with the quality of the animal. I have seen some absolutely horrendous purebred Mini Nubians: wavy toplines, weak feet, poor breed character, terrible udder attachments, etc., and some absolutely stunning lower generation goats. Below are some examples of udders from various generation does in the Green Gables’ barn:
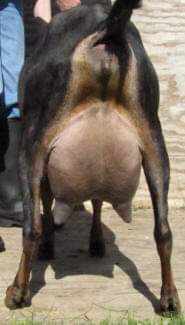
Gen 1 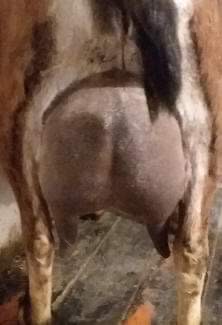
Gen 2 
Gen 2 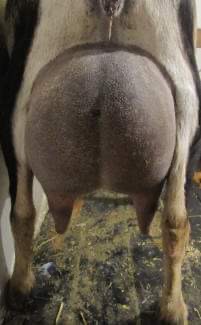
Gen 5
You need to carefully define the word “quality.” And this word can mean different things to different people as different breeders will love different aspects of the breed. But at base, it should mean that the goat has those elements that contribute to a long, healthy, productive life: conformation, strength, and milk production.
There can be excellent Mini Nubians at any generation and also terrible quality at any generation. The savvy buyer will look at the individual goat and the genetics behind it to determine its quality, not its generation.”
General Misconception #3: “Higher gens are easier to sell.”
Eliya writes: “This is true to an extent, but sadly, it is largely true because of misconceptions 1 and 2 above. If you think that higher gens mean higher quality, you will look to buy and breed higher gens, and look to sell higher gens as a breeder. This is a self-perpetuating issue that I have seen during over 22 years working with the breed make things worse for the breed, not better.
The informed buyer can take the first step in breaking that cycle. As a buyer or a breeder, educating yourself and others (buyers) can help prevent this from being an issue. If we would all start looking at animal quality instead of animal generations, then we would purchase and breed forward only the more excellent animals.
Please feel encouraged to send buyers who do not yet understand about generations to this post!”
Additional comments by Eliya:
While it is understandable to expect that higher generation MNs should be more true to the Nubian type, it simply is not always the case (see photo examples above). Looking at the actual breed character of a goat you are thinking of purchasing (and its parents) will get you much farther towards the goal of developing good breed character than looking at the generations.
I always recommend that breeders choose a buck that will best improve your doe(s)’ specific weaknesses regardless of the generation. I honestly do not consider generation at all when making my breeding plans. Often times, my higher gen does get bred to my lower gen bucks (just because they happen to be the best match for improving their kids over them). And, my high gen bucks often get the lower gen does. Again, I have been breeding MNs for over 22 years, but have only had a handful of purebreds so far. I would rather have excellent quality, regardless of generation, than rush for higher gens and sacrifice the quality and the improvements I am striving towards.