Selling a Prize Winner to a Deserving Junior
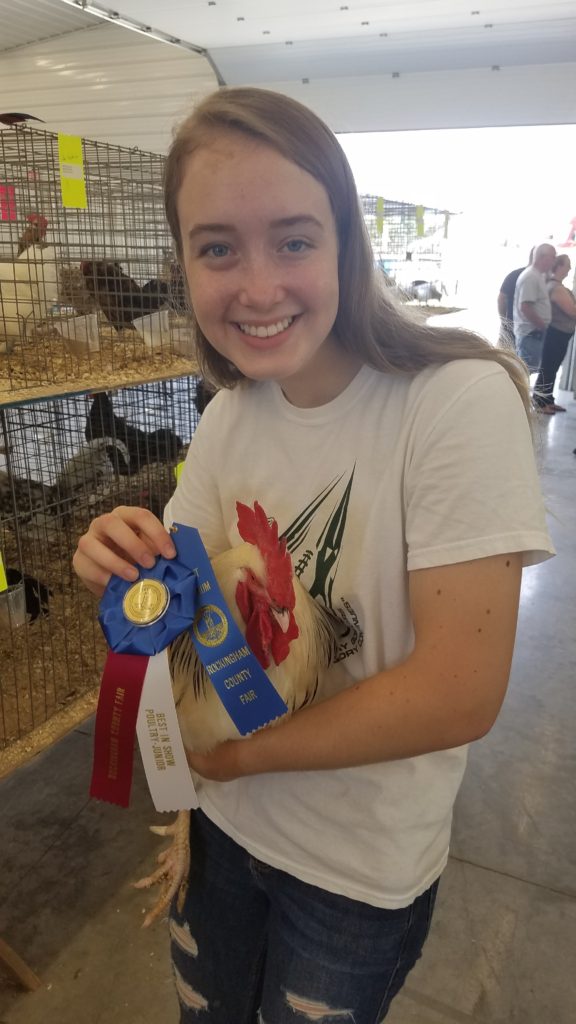
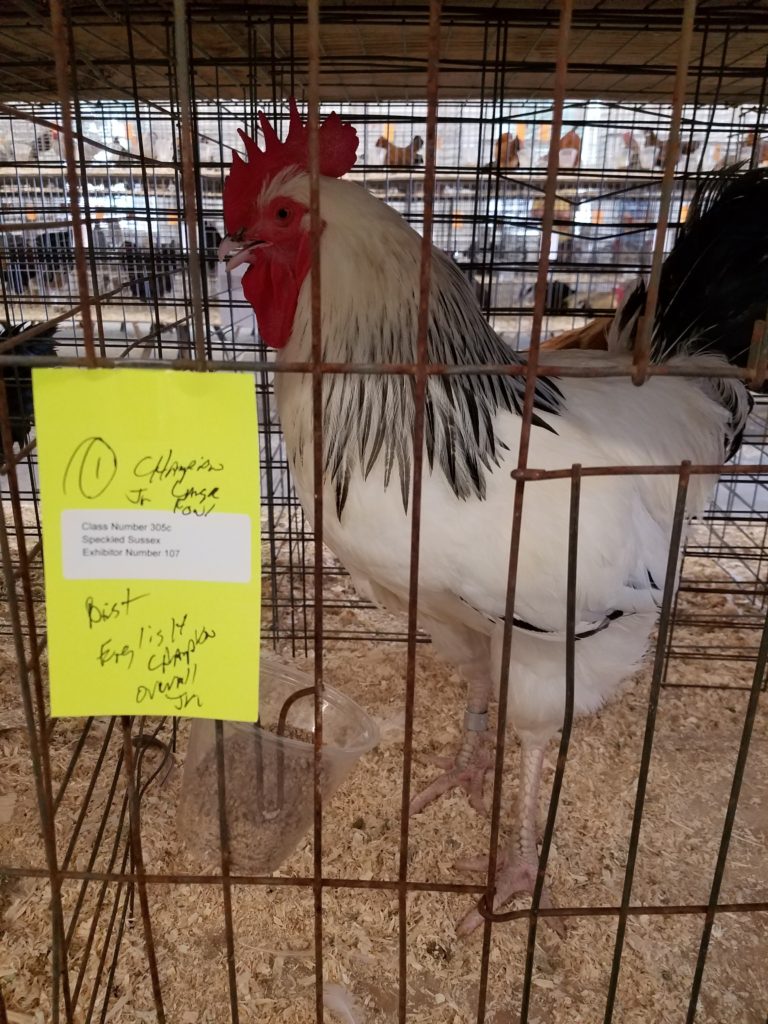
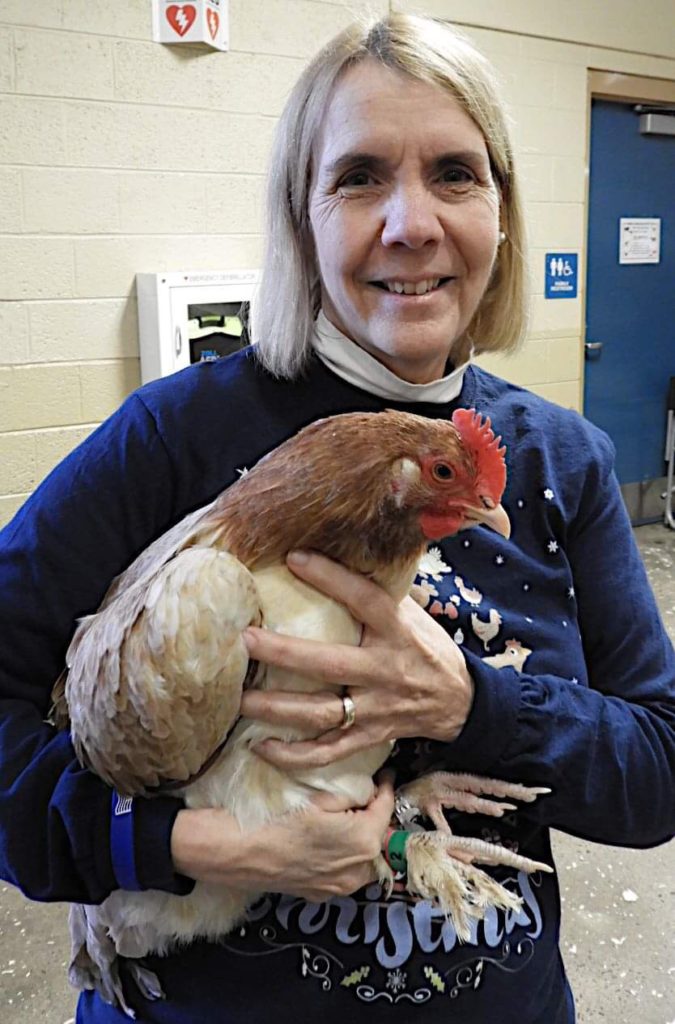
This past spring, a woman named Pirjo contacted me. Her daughter was in her last year in the junior division and wanted to purchase some chickens for show purposes. She wanted Ameraucanas, which I did sell to her, but she also bought my big, beautiful Light Sussex cock, whom we called “Buddy-son,” since he was the son of an older cock we had called “Buddy.”
She wrote me recently to say that her daughter won the Grand Champion award of the junior division in her show with Buddy-son! Pirjo wrote, “Best in show, judge said it wasn’t even a close contest! He was also the most admired and photographed bird in the barn. He really did great. And I must say, he is happy to be back home! Thanks for the great birds. They all did well.”
For me, her daughter’s happy face made saying goodbye to this beautiful cock worth it. But why did I sell him? Buddy and Buddy-son are gorgeous: big, robust, and fertile. There’s just one little issue with them: they are “split to Coronation.” What does that mean?
Light Sussex and Coronation Sussex
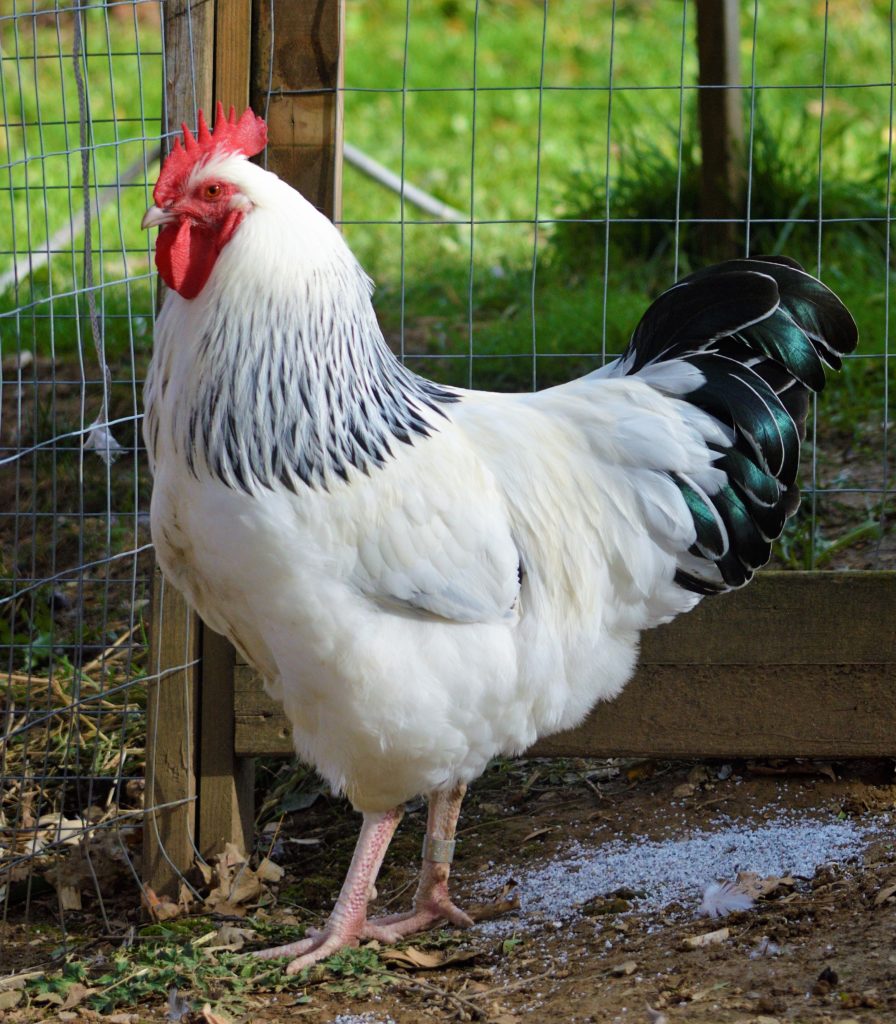
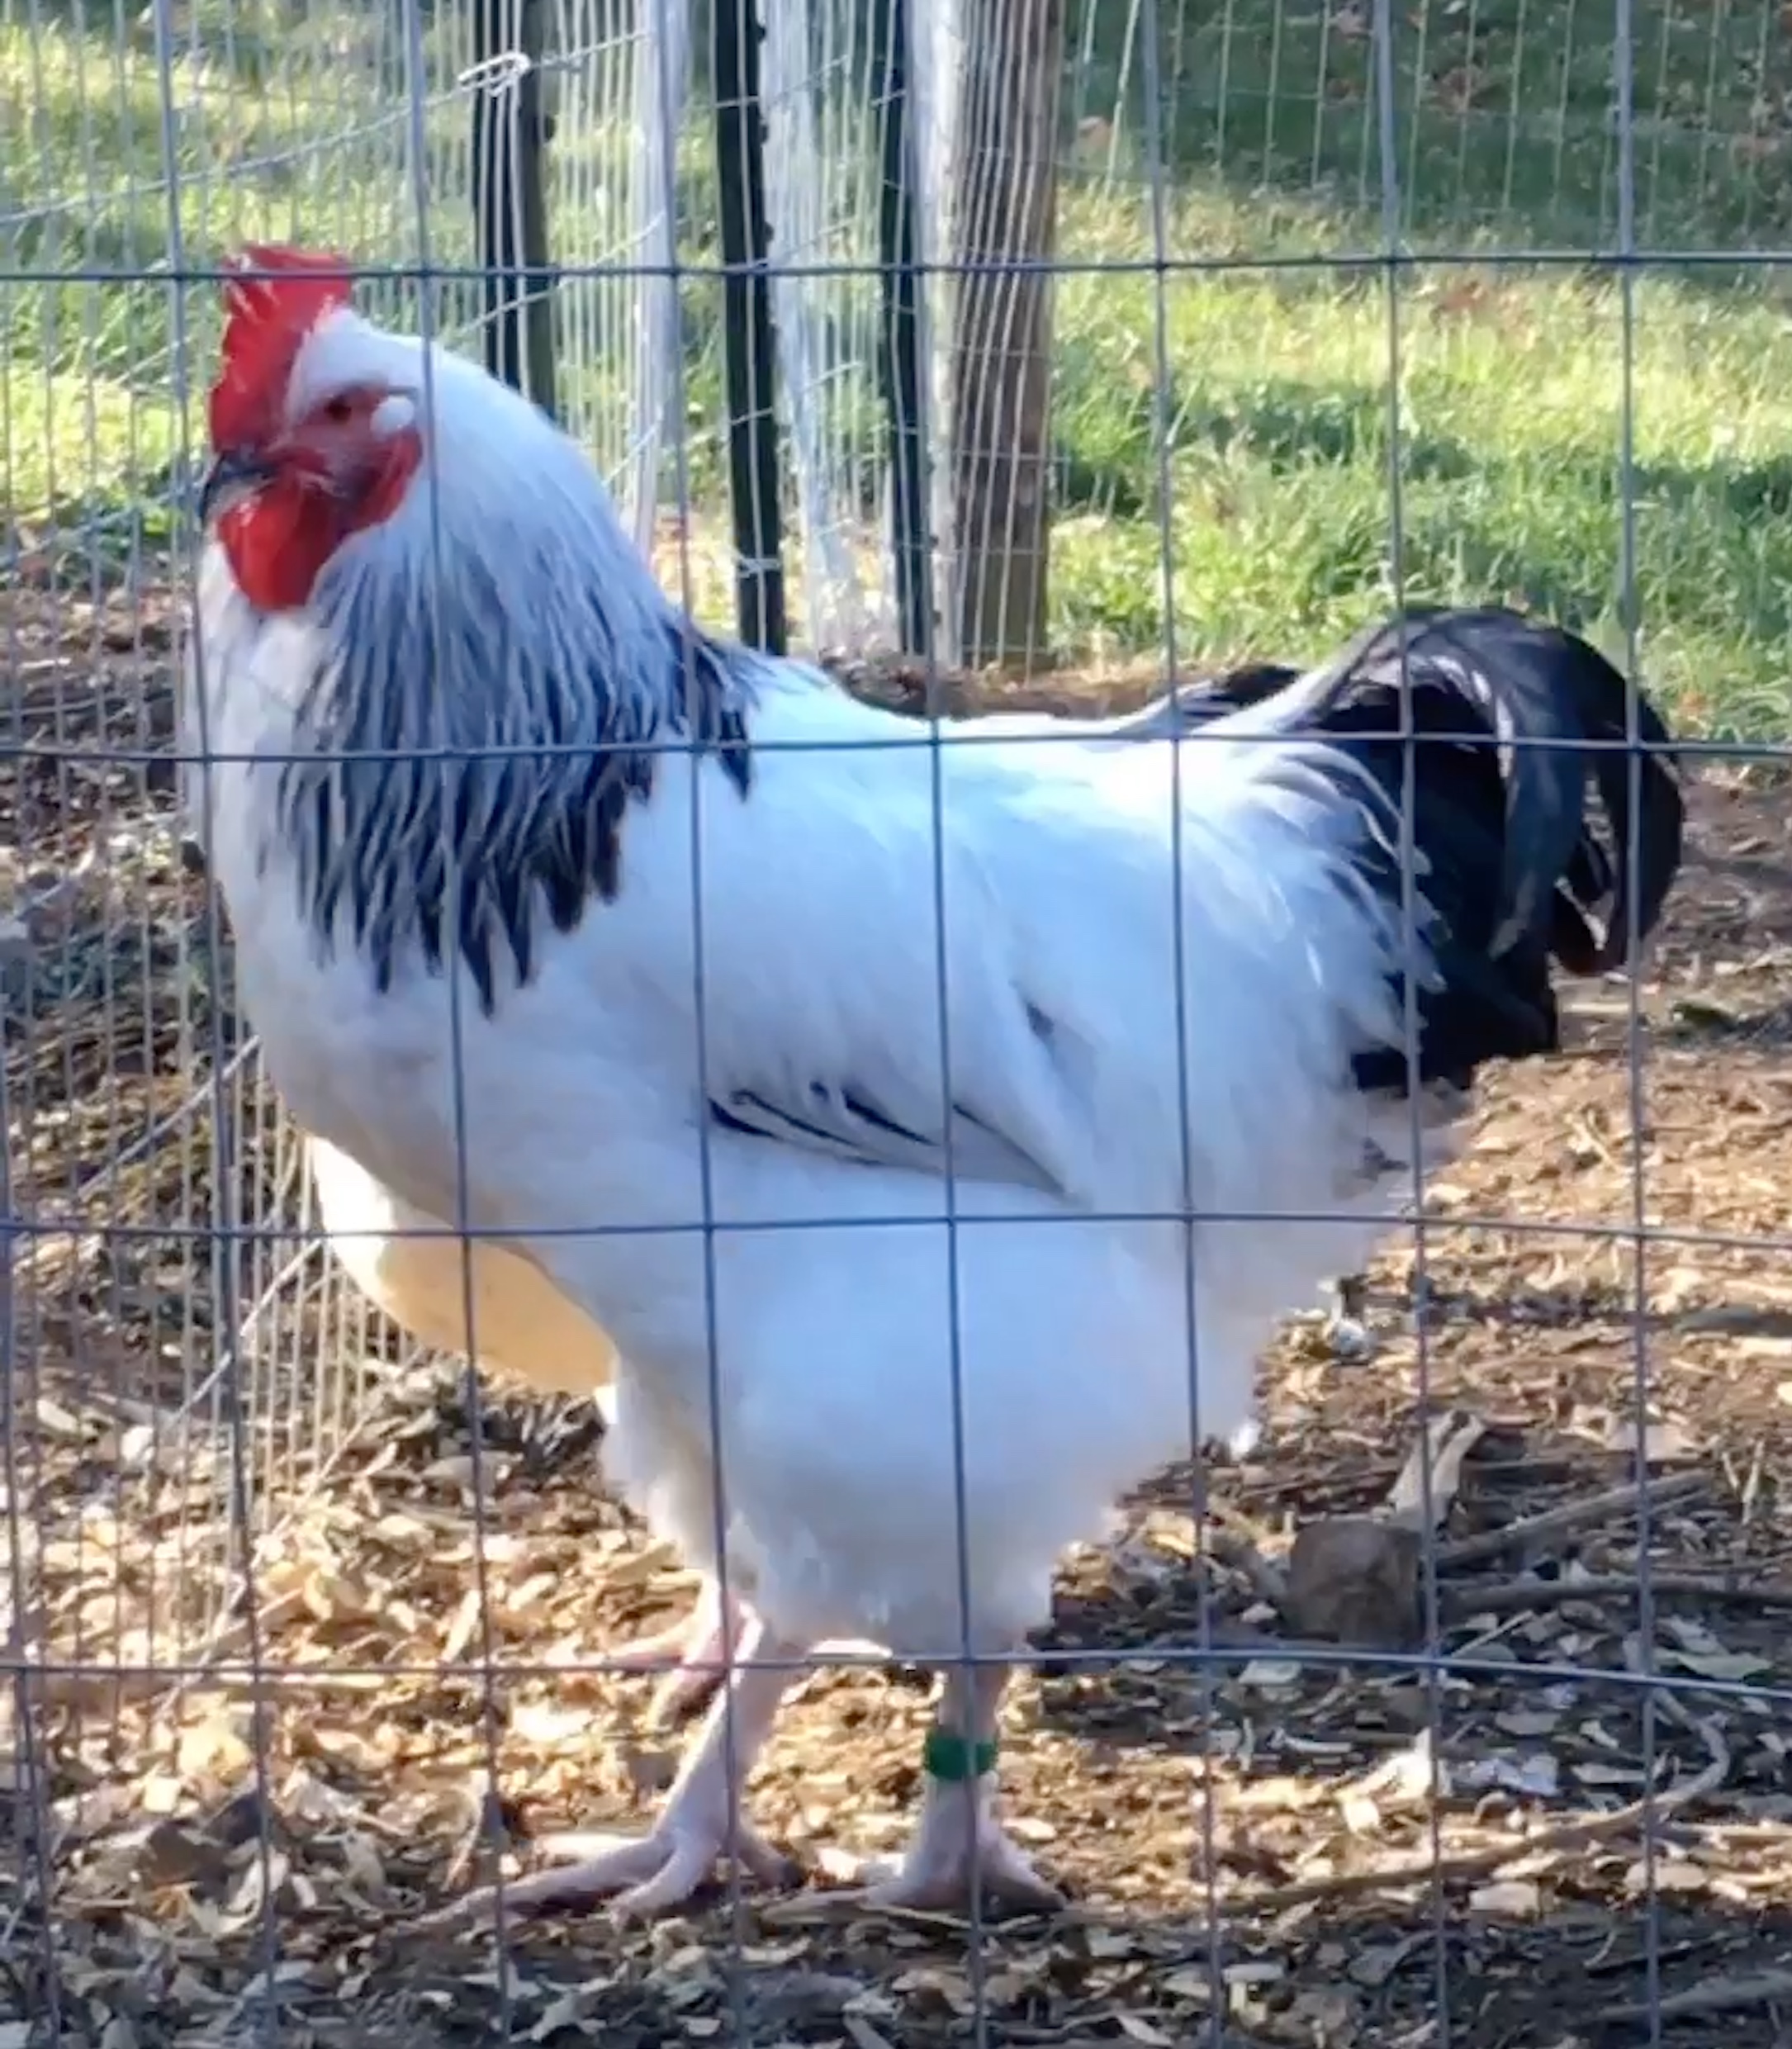
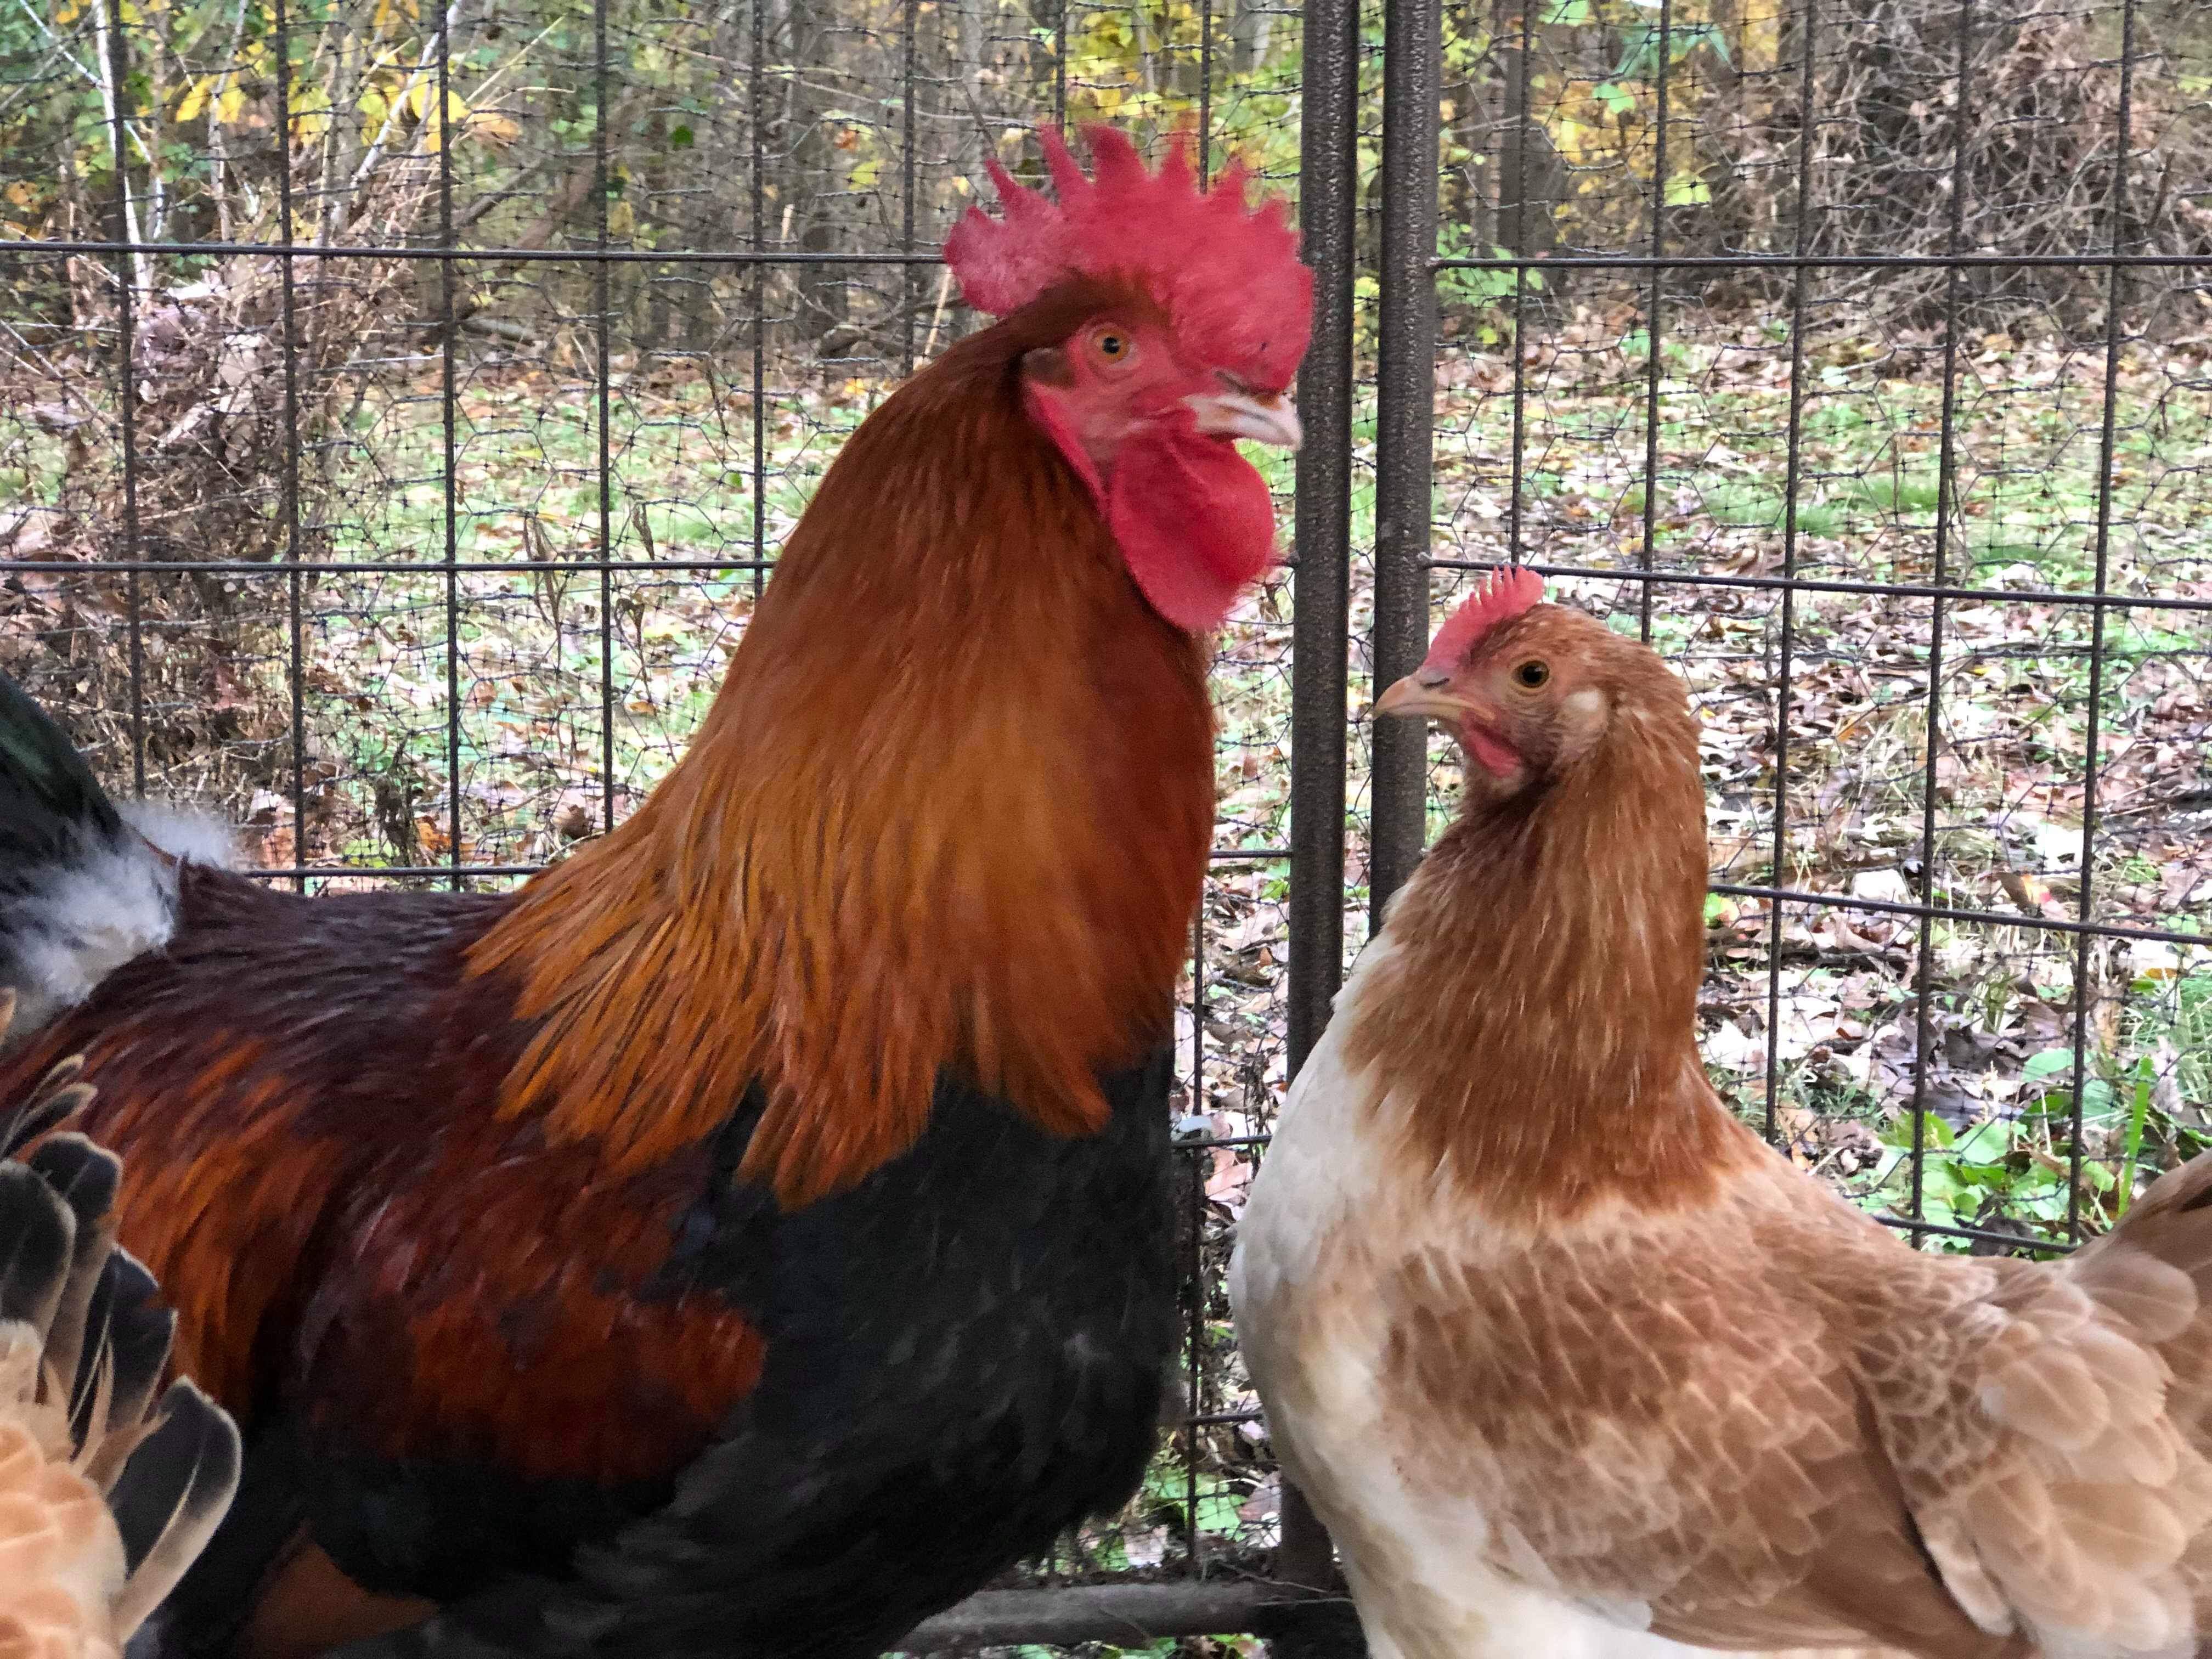
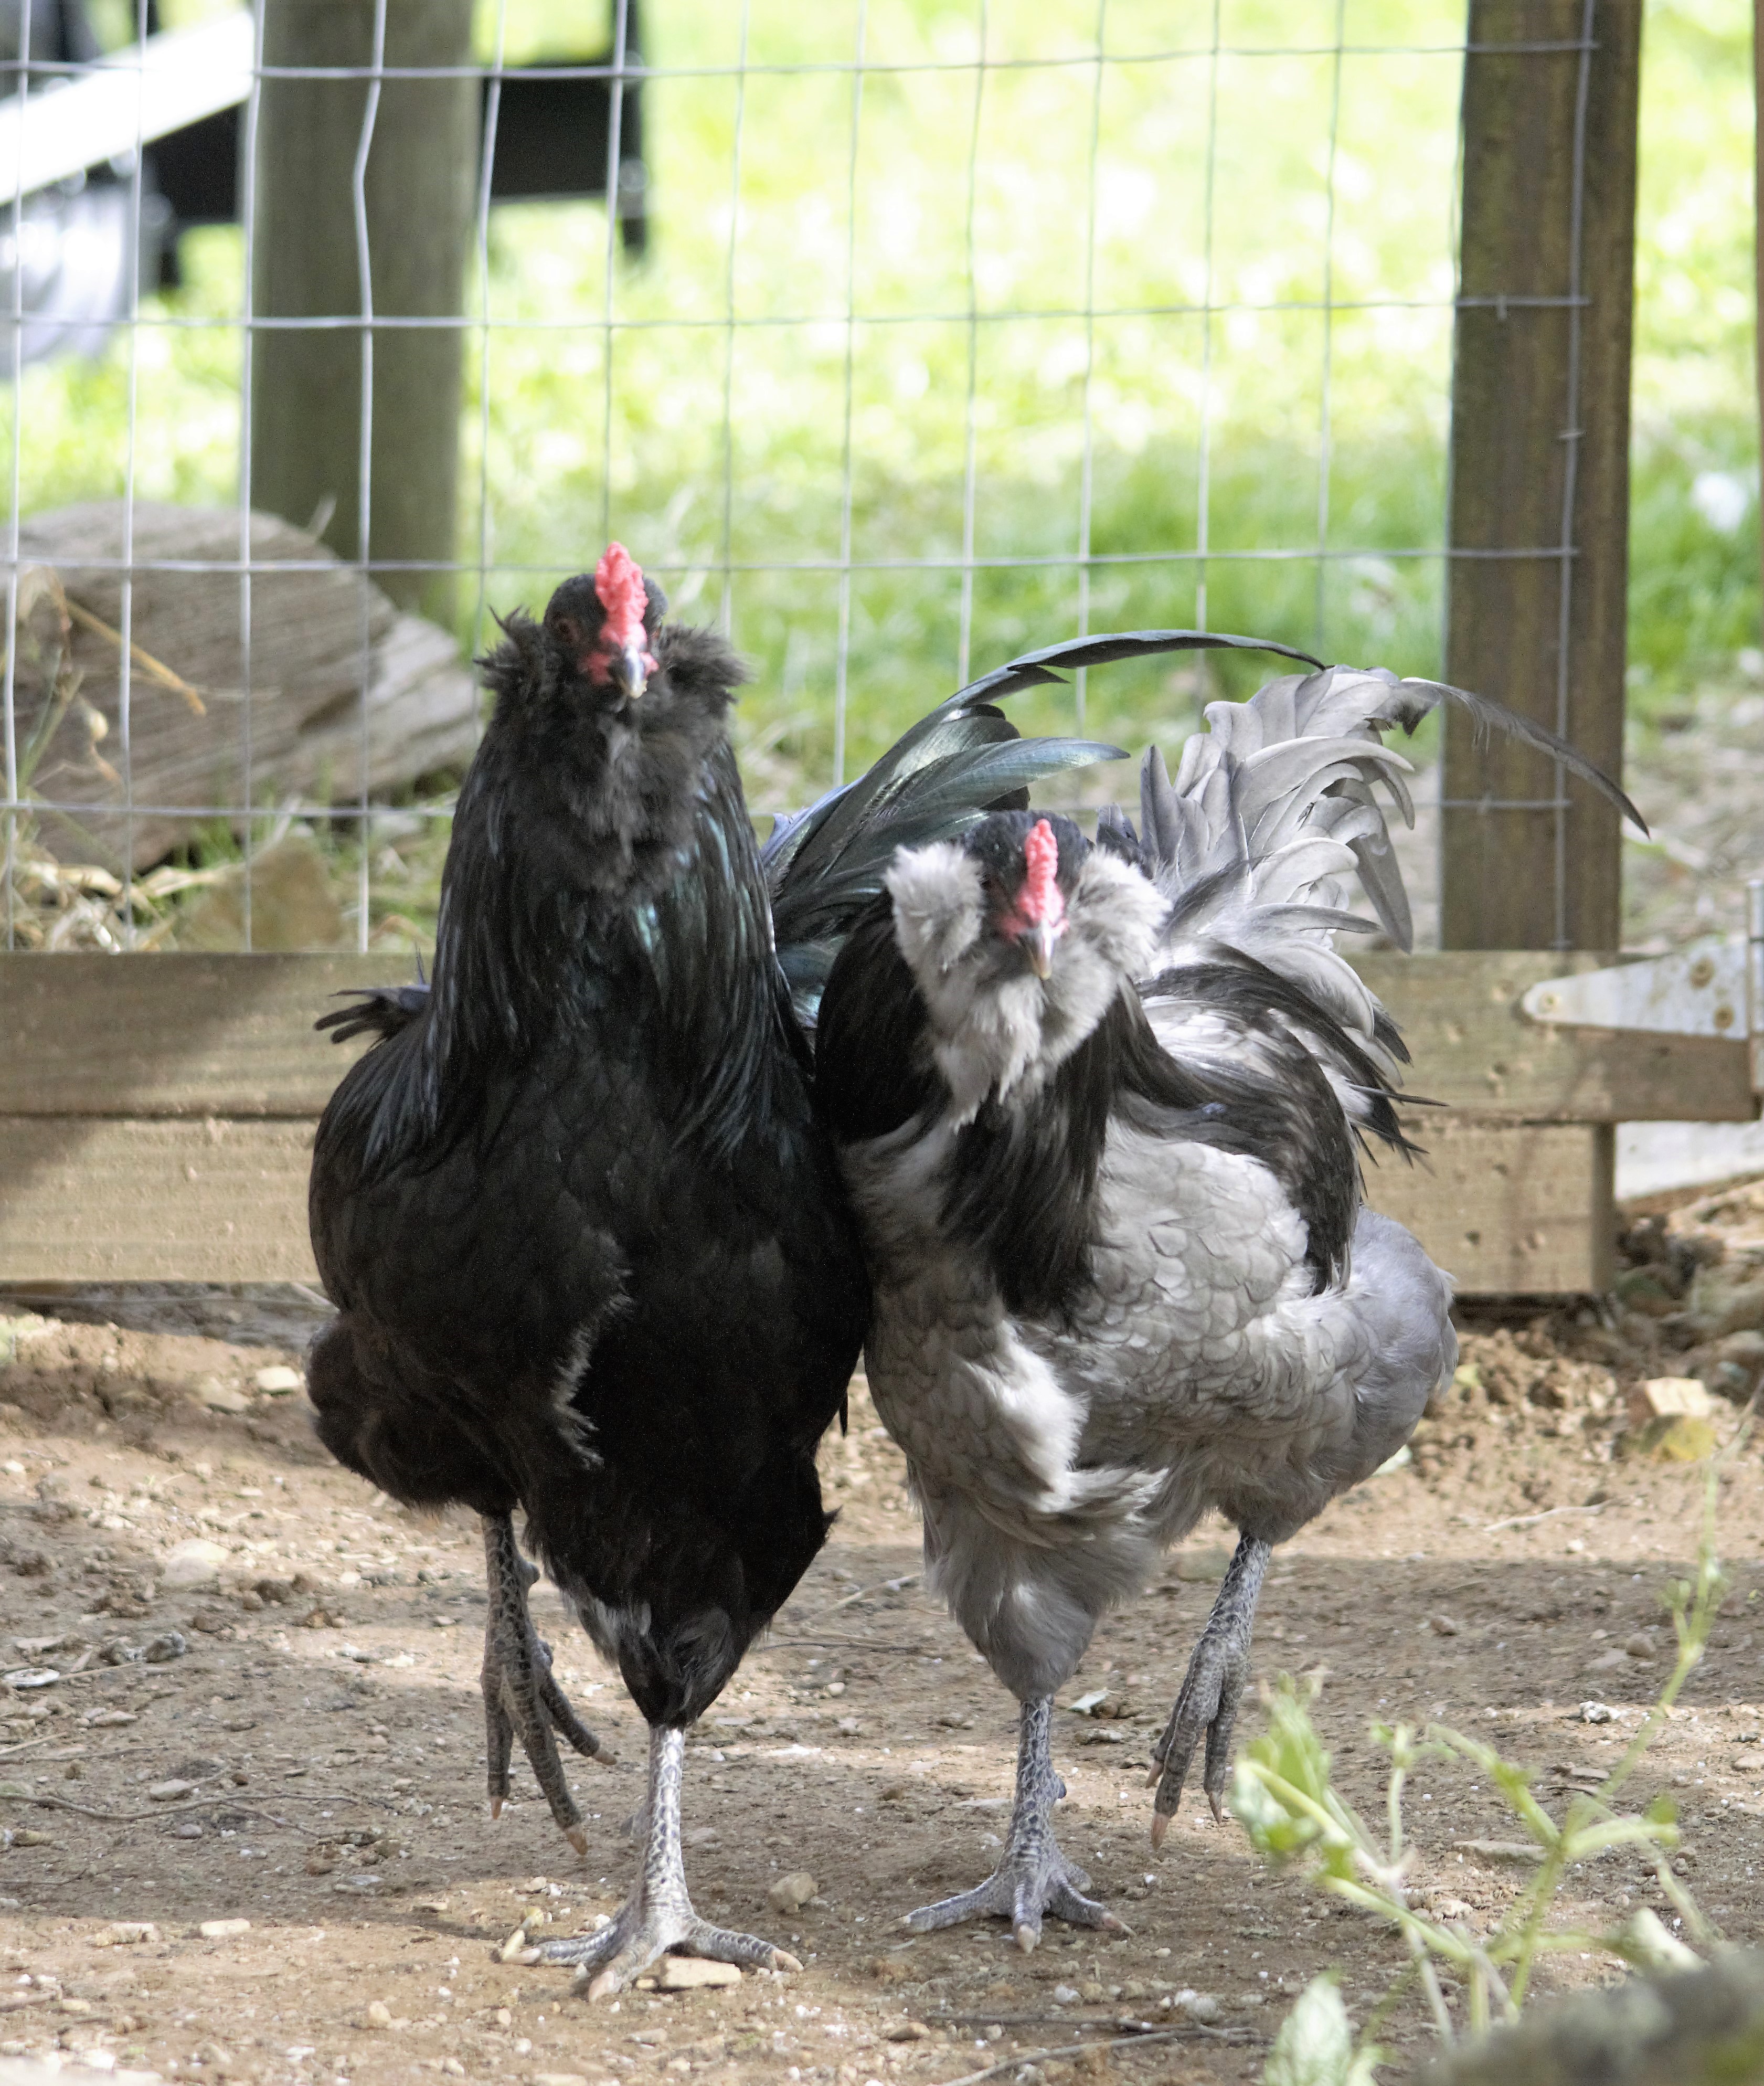
Buddy-son
Light Sussex cock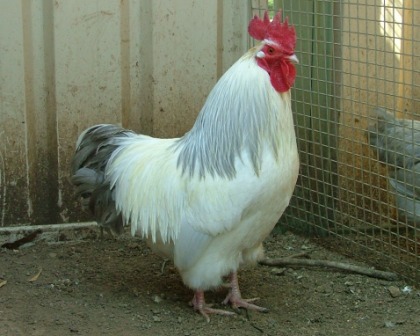
Photo courtesy: Morton Estate
Coronation Sussex cock
The Coronation Sussex (pictured on the right above) has the same color pattern and egg color as the Light Sussex, but with lavender in place of the Light Sussex’s black. This color pattern was created for the coronation of King Edward VIII of Great Britain in 1936 – an event which never took place because Edward abdicated in order to marry a divorcee before he was officially crowned.
Coronation Sussex are a rare and beautiful variety of the Sussex breed: they are docile, large, and lay very large to jumbo pinkish, brown, or tan eggs (depending on the hen). The Coronation pattern is recessive; to oversimplify, like blue eyes in humans, a bird must carry two recessive Coronation pattern genes to look like a Coronation Sussex. A bird that appears to be a Light Sussex (with black markings on hackles and tail feathers) can mask Coronation genes. The only way to find out if a bird is “split to Coronation” is to breed him with either a bird known to be split, or with a full Coronation bird. In the first instance, 1/4 of the offspring should show the Coro pattern; in the second, half (statistically) will be Light Sussex and half Coro.
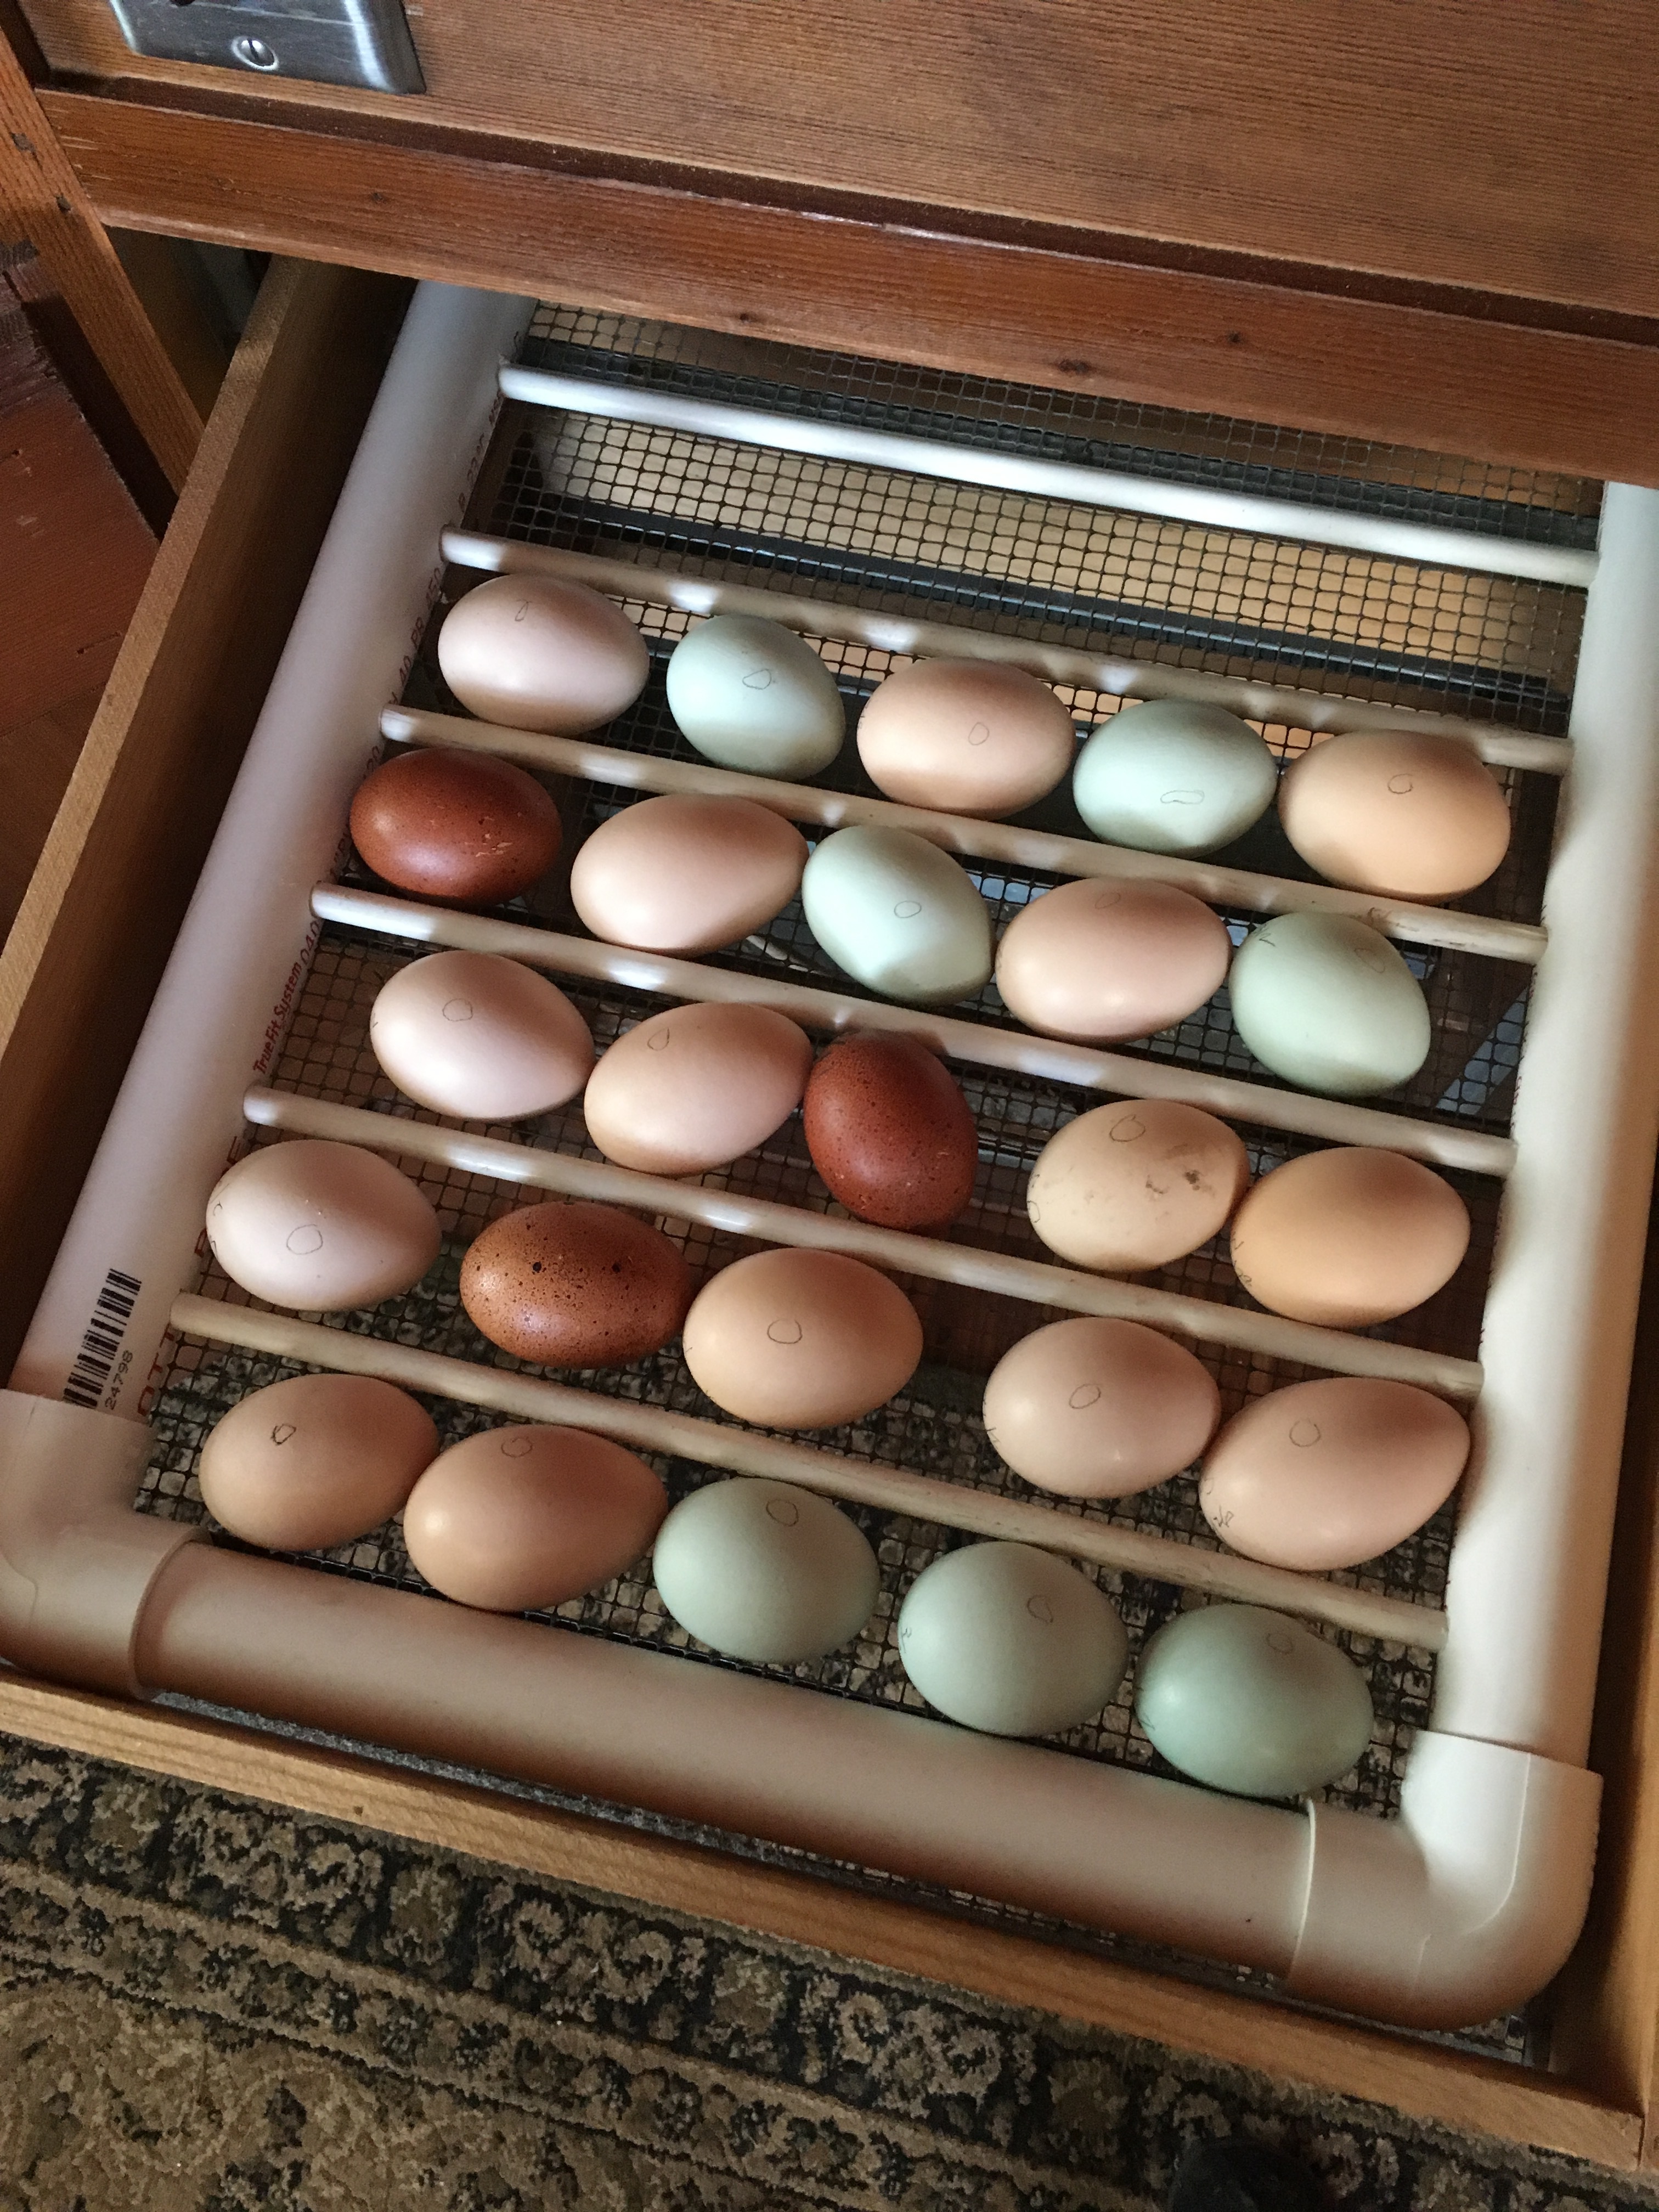
To return to my story, Buddy and his son were both drop-dead gorgeous Light Sussex males, but as we bred this past year, we hatched about 80 Light Sussex eggs from these boys and another cock from a different line that we thought was a pure Light Sussex (with no Coronation genes hiding underneath). About 1/2 of these chicks feathered out to be Coronation Sussex. This means that all their siblings and cousins that appear to be Light Sussex are either split (they carry the Coronation gene, but we can’t see it) or they are “pure”— they carry two of the genes that yield the dominant Light Sussex pattern.
We were both surprised and a bit downhearted to realize that, aside from pair mating and hatching LOTS of chicks next year, there is no way for us to tell if we are selling pure Light Sussex chicks ongoing. So, when Pirjo came this spring looking for show quality birds, I gladly sold Buddy-son to her! He won best in show, proving that he has what it takes to be a winner! He has a good home, and we have his wonderful genes in our Coronation lines moving forwards.
What this means for us going forwards…
As we look to hatching in 2020, we plan to move all of this year’s Light Sussex birds out and concentrate on our Coronation Sussex and our Marans (wheaten, blue wheaten, and black copper varieties). We will also not be continuing with Ameraucanas in 2020. We are, in general, downsizing our chicken operation because of our new involvement with our Mini Nubian goats.


 When there is no blue gene present in the pair, any black markings will be normally colored (i.e. they will appear black)