I have decided to use a time-tested method of gathering information about my laying hens. It’s called trap nesting. Using one of various methods, you trap your hens as they enter their nest boxes individually to lay, and then manually release them afterwards. Thus, you can identify without a doubt which hen laid which egg, and keep highly accurate records. It is a bit labor intensive, because traps must be checked every couple of hours since hens get quite thirsty after laying and are eager to exit the nest.
There are a myriad of reasons for trap nesting practices. Here are a handful of them:
- Find out how consistently (or if?) your hens are laying.
- Identify your best layers so that you breed them, and thus over time, increase overall egg production in your flock.
- Link eggs with specific hens when seeking to breed for egg color enhancements in the flock (very handy when breeding Marans for those darker eggs, for instance).
- Identify eggs with specific hens when doing flock mating. Thus, you can house more than one hen with a single cock, yet know exactly which specific paring produces exactly which eggs. Then, you can label and incubate and tag chicks and know with certainty what your blood lines are.
- Find out who your egg eater is (it might be a rat!).
There are more, and I am undertaking trap nesting for all these reasons. This is the first post on this topic, and I anticipate sharing more as I go down this road. This post is about my build.

I have an old building that came with my farm when we bought it, seven years ago now. It was a tractor run below and a grain storage building above. The whole thing is about 24’ x 18’; the lower half (12’ x 18’) has long been converted into a coop for my layer flock. This part of the original building had been outfitted with a 3’ x 18’ corn-crib extension, which was partitioned off from the main space, so we didn’t use until this year. The extension has a central door in the 18’ lone wall; thus, the crib has a left side and a right side. Last winter, we put a pop door into the left side and created some sheltered roosts.

This summer, I’ve broken into the right side to create improved nests with (removable) trap door flaps. This is that right side before I began demolition. We had faced it with some 1/2” plywood because the first use we made of this space was for my horse. So, this was her kickboard.
It took some doing to remove this plywood, and under it were ancient (really tough) boards that were held on by rusted, tough old nails. It was definitely good exercise to pry all this wall apart.

After I got all of these boards off, I was confronted with verticle studs, which were of varying depths. I had to decide whether to replace these with a new header or leave them as they were. I decided on the latter because, well, I’m no carpenter, and these are chickens. 😬
It’s not easy to see, but the floorboards of the crib section were loose, and some were rotted. I removed, cleaned, and then put them back. In places where they couldn’t be used, I patched them with new boards, and then put down a layer of 1/4” hardware cloth. This was followed by some insulation, and then a tilted floor of plywood. (I tilted it from back to front in the hope that eggs, when laid, would roll forward to where I can more easily retrieve them.

I then constructed 12” high dividers that were 24” deep, and 1” x 2” supports for them that are 15” tall in the front. These then support the 2” x 3” beam that runs across the fronts of the boxes, forming the lip for the second tier of nesting boxes. All in all, there are 14 boxes: 7 below and 7 above. (On the roof of the second tier, we now store bales of shavings—and trap rats. 😏
On the lower tier, there is a 4”-6” space above each divider, between nesting boxes. I originally intended this to be only 3” at the most, and was content that no hens would hurt themselves trying to get through them, but as the 2” x 3” cross beam was laid in place, the vertical space increased. We ended up putting 1/4” hardware cloth down the length of the boxes on top of the 12” dividers so that the hens would not seek to exit the boxes on the sides after being trapped.
In the picture above, you can get an idea of the slope of the roll-away nesting boxes. This is both the ceiling of the first tier and the floor of the second tier. You can also see the 1/4” hardware cloth that we inserted to keep hens from exiting through the space.

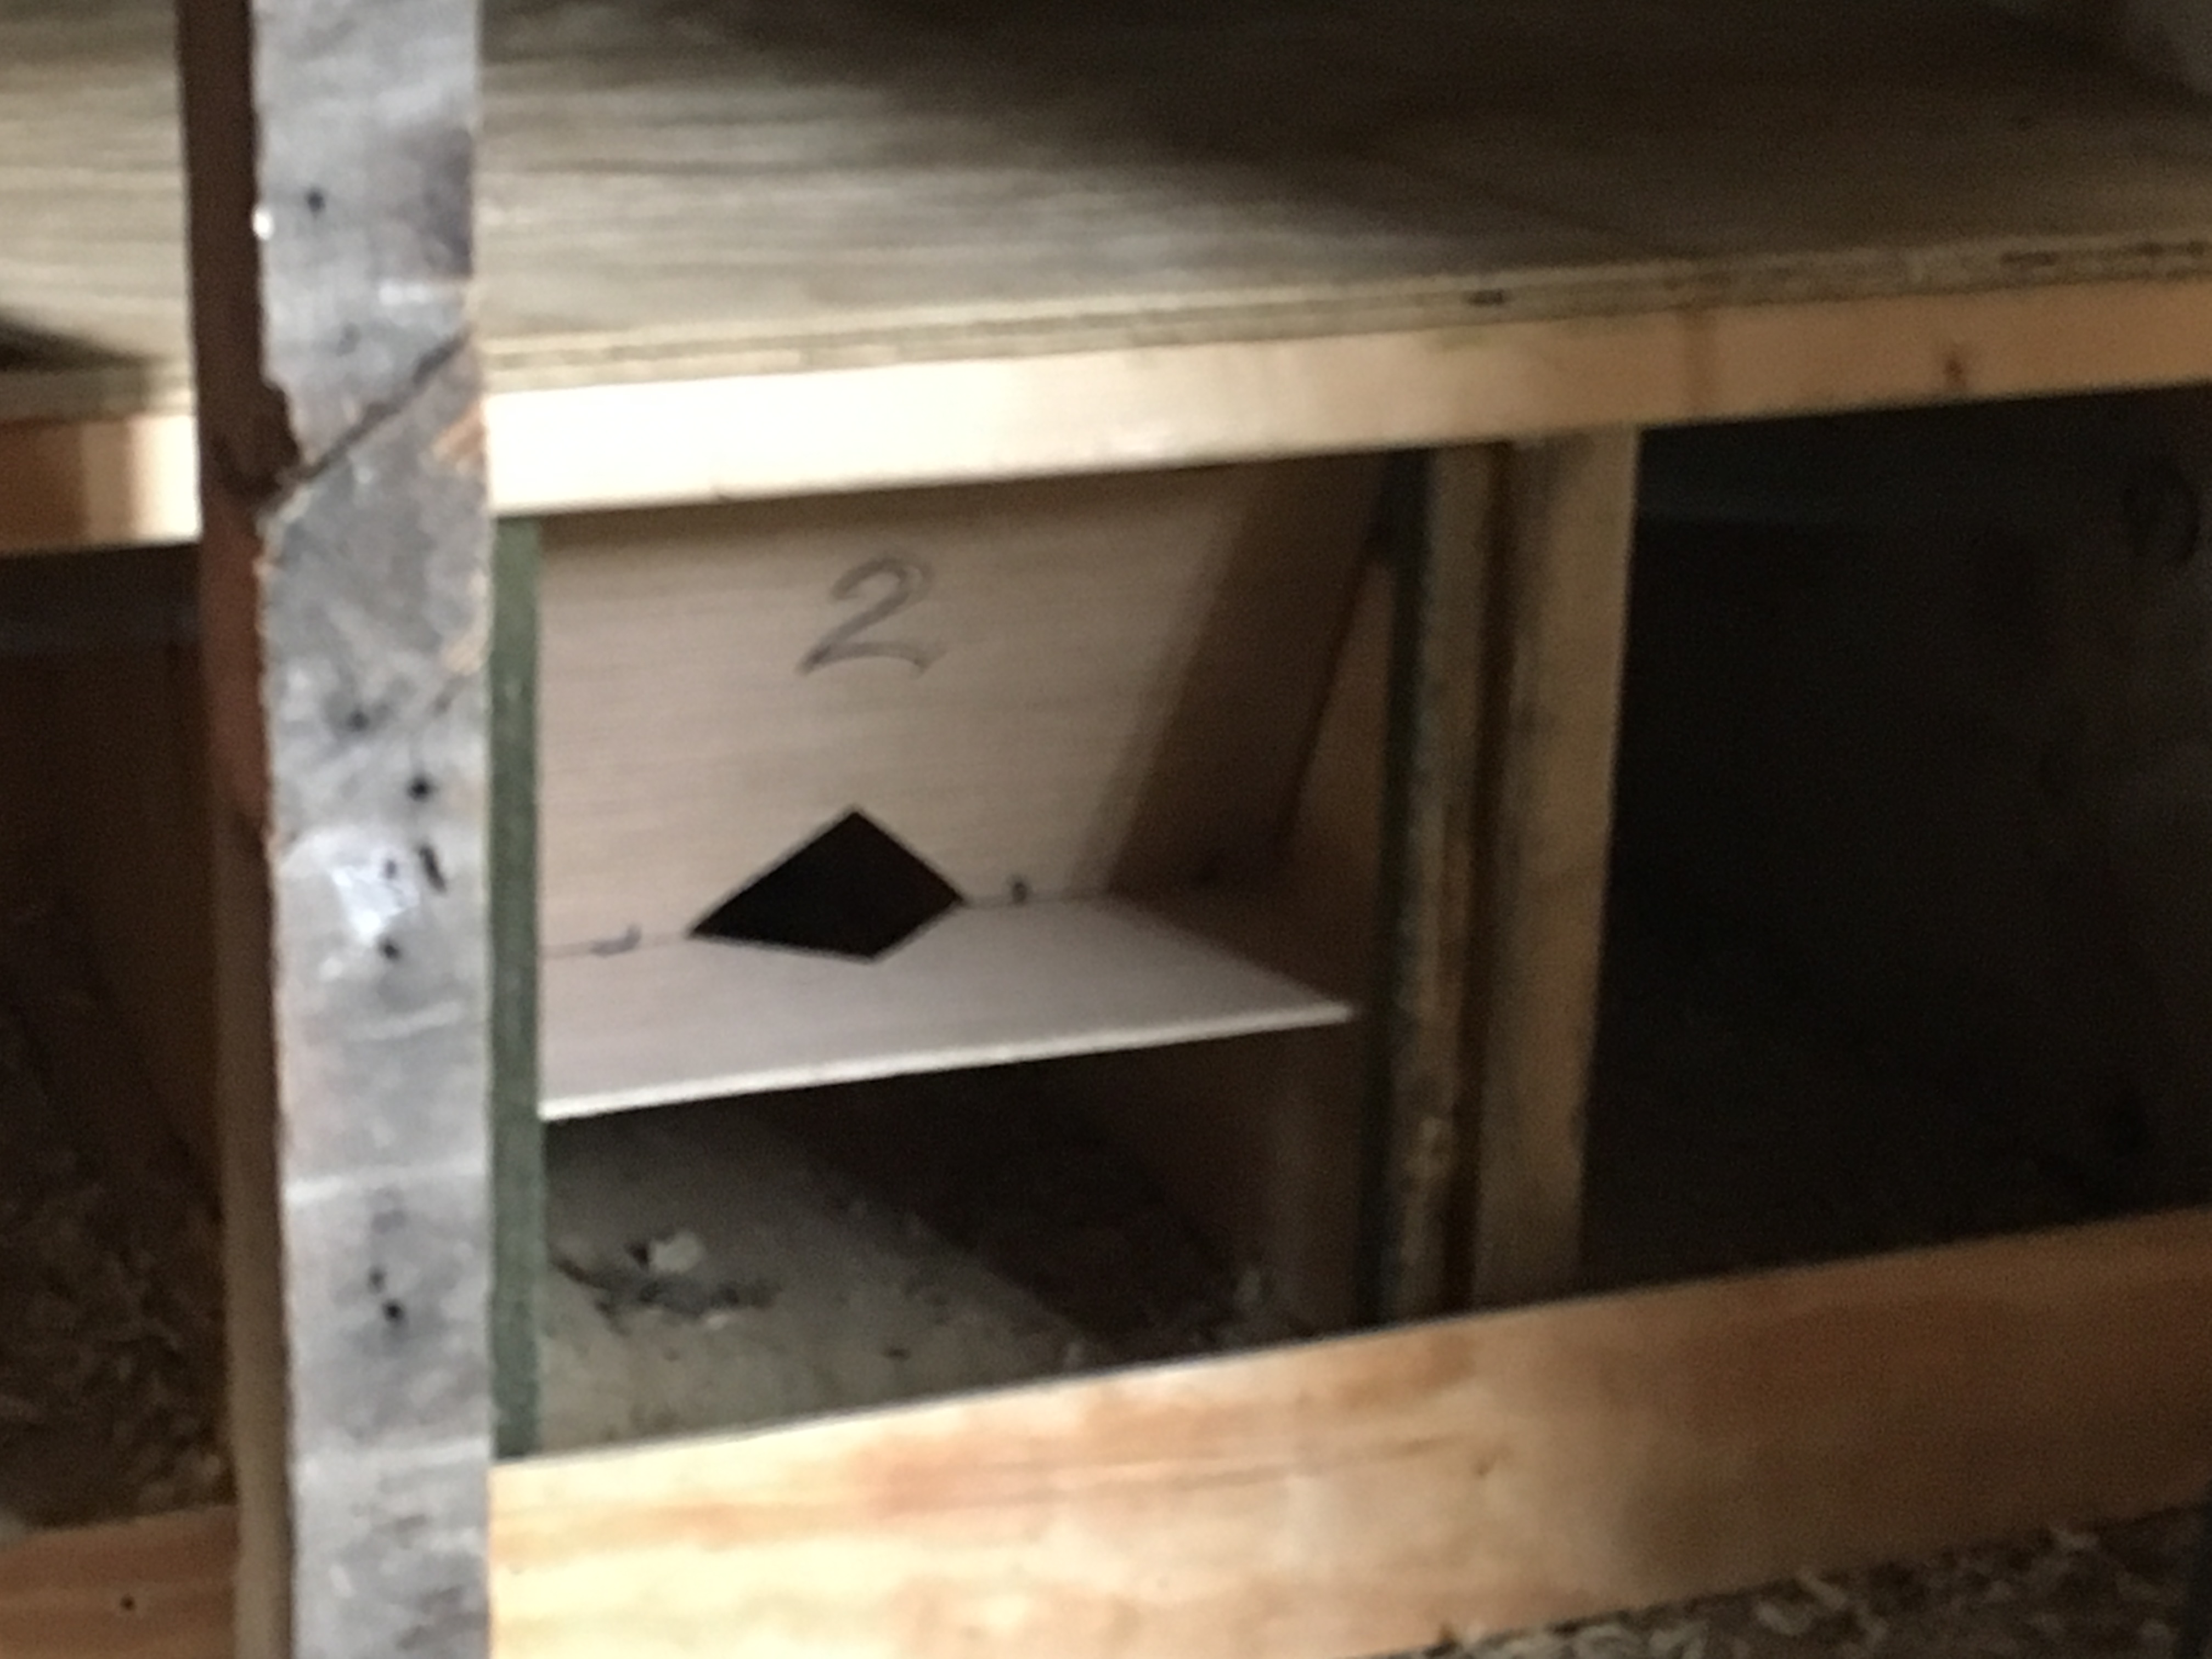
Finally, all the nesting boxes were constructed, and it was time to create the trap doors. I used 1/4” luan, embroidery floss, a jigsaw, a staple gun, finishing nails, and Velcro in constructing these. In my next post, I’ll detail how I designed them, and how they operate, but for now, here’s a picture of the first three set into place: boxes # 2, 4, and 6. They are on the lower tier, and are numbered right to left (since we enter the coop on the right side).
Below is a close up shot of #2, set and waiting for a hen to enter.
