Posted on Leave a comment

From Pools to Tables

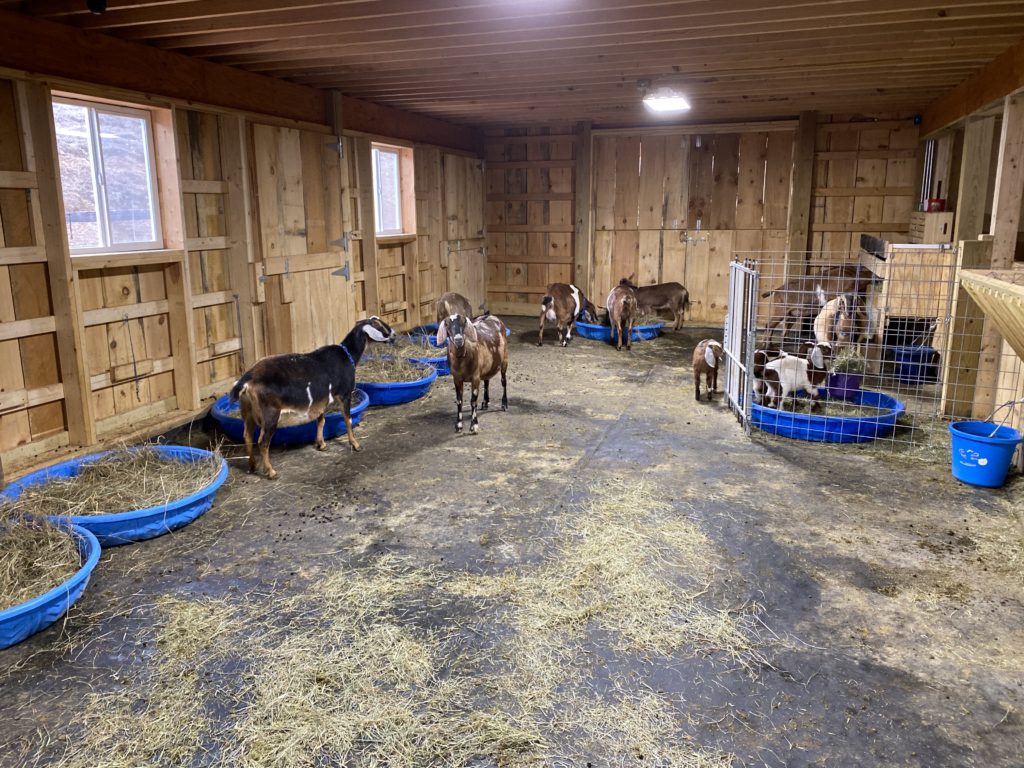
You know how it is. You try one thing, and it’s good. But then it has problems. And you think, “There has to be a better way!” If you follow this blog, you know that I’ve tried floor bunks with deep bedding and pools with deep bedding atop our rubber barn floor. There were definitely pros to these, but there were cons as well.

The pros were that they kept our girls warm, and they nestled into them with their growing kids. We had enough that there was plenty of choice.

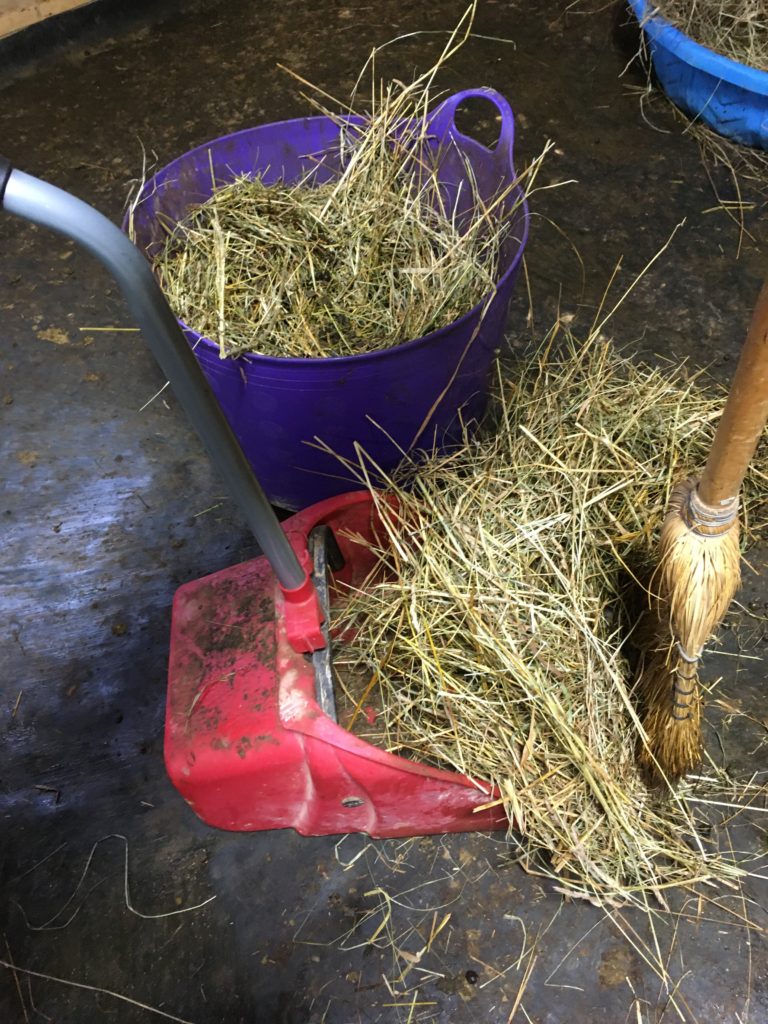
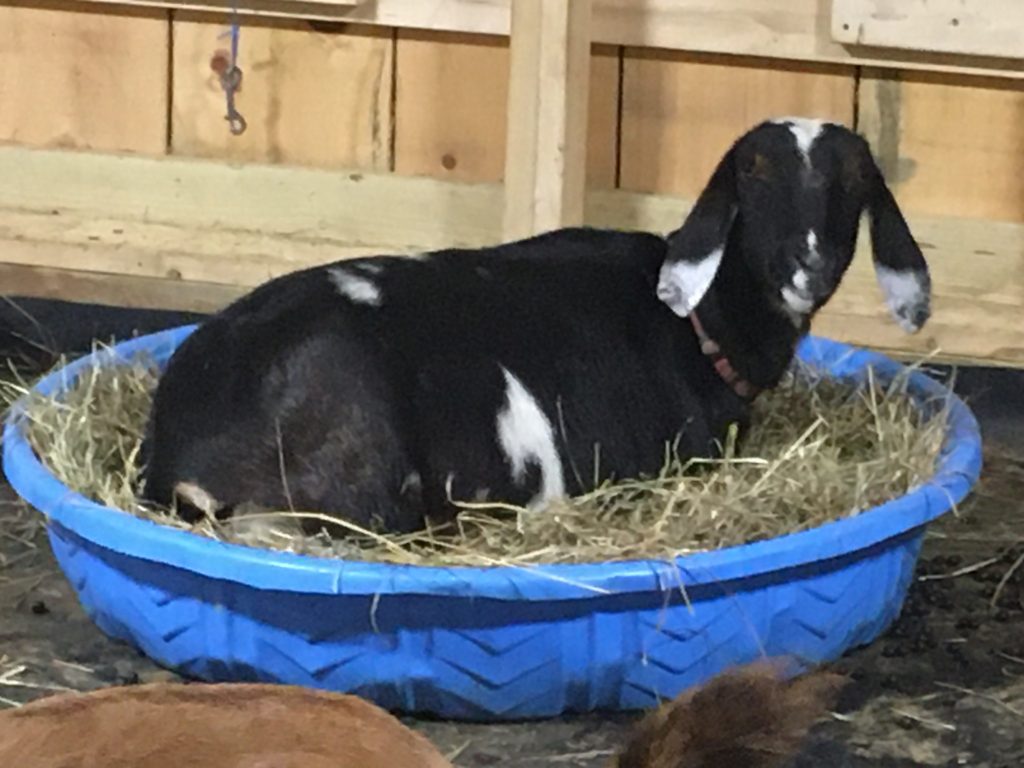
Thing is, the girls did pee and poo in them… so, maintenance. Sigh. The bunks got too heavy to muck at all easily. The pools, we had to drag out every week or two (some pools were more popular than others) and then redo them: pellets for absorption of pee, PDZ powder, and then a starting layer of bedding hay. (We bought year-old hay for bedding only.)

Pools are okay… They really are! And I still recommend them. BUT: they’re work, and we like to minimize work where we can! They also have the expenses of pellets, PDZ, and bedding hay. So, we’re trying something new: tables.

What are Tables?

Some people call them bunks. Ours are more like tables, so that’s what we call them.

We built them all identical and freestanding, so we can move them around in various configurations… because, if you’ve been following us for any length of time, you know that “modular is us.” We have configured them all in a row, or we have put them (more successfully) into blocks. (See pictures below.)

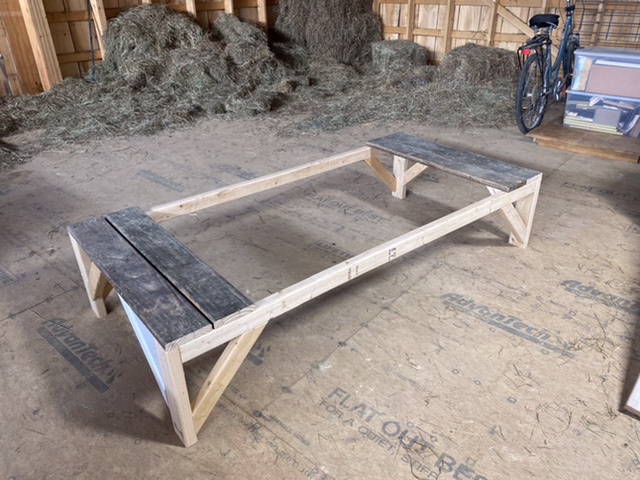
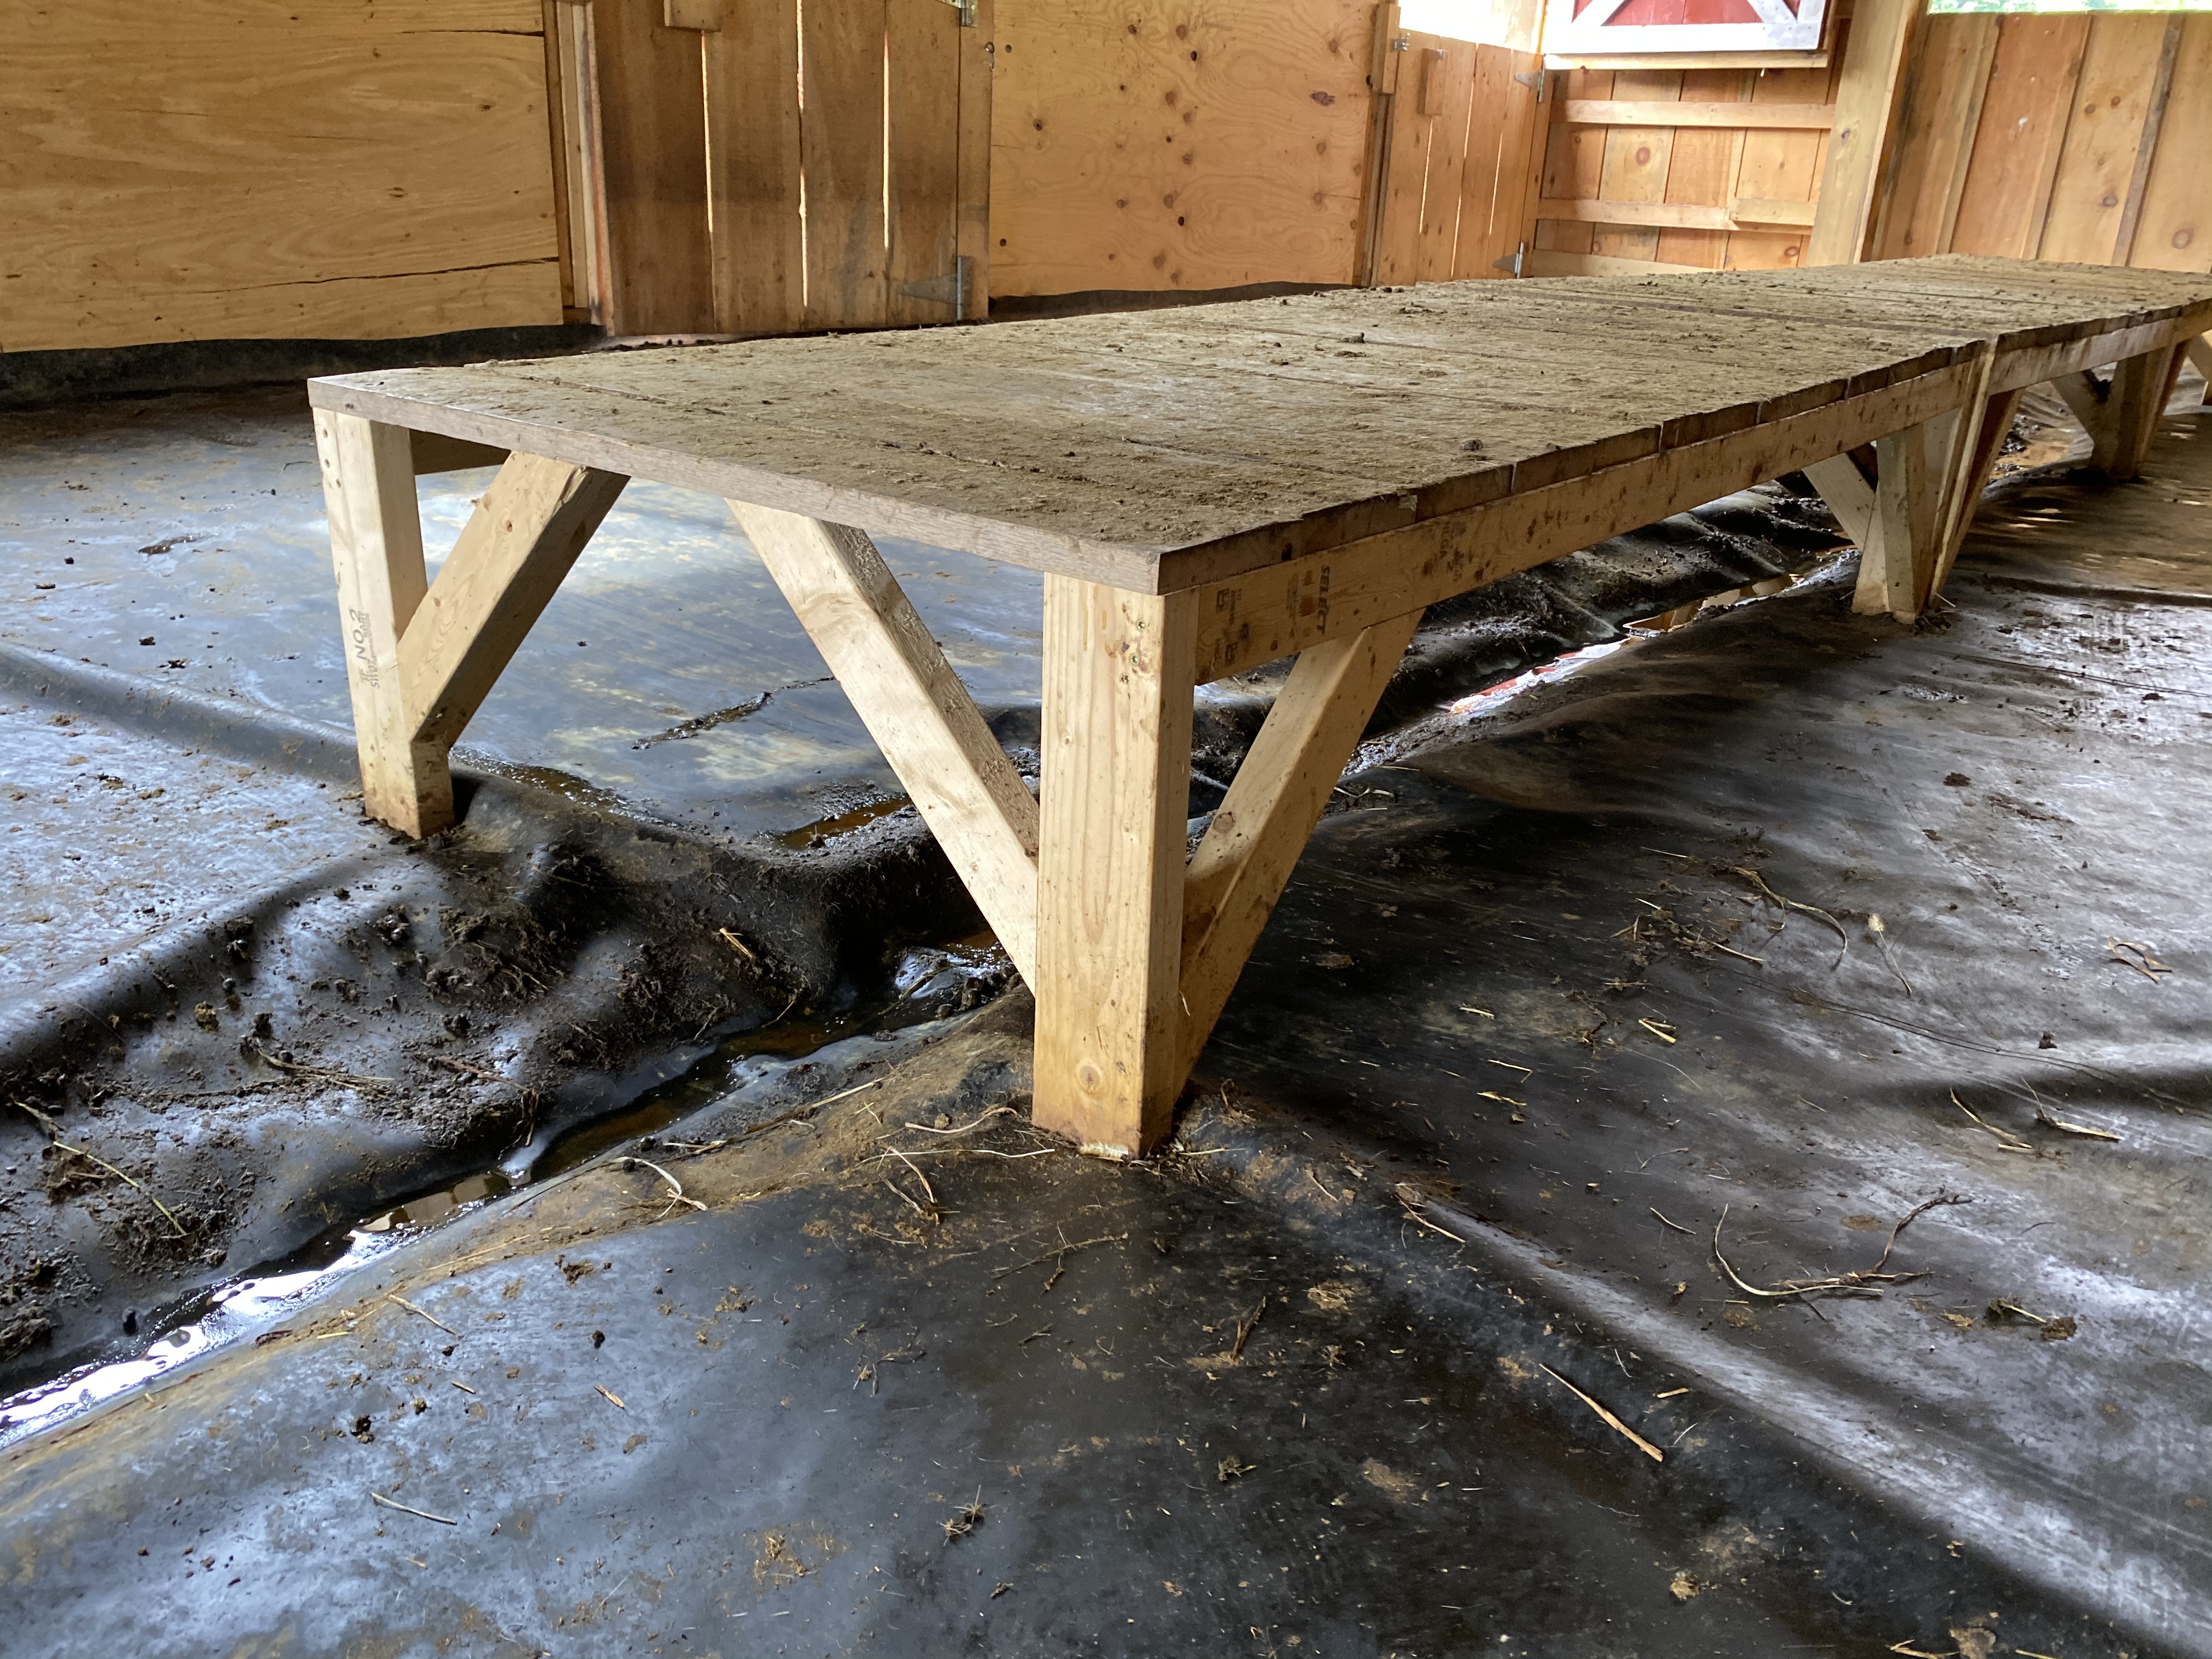
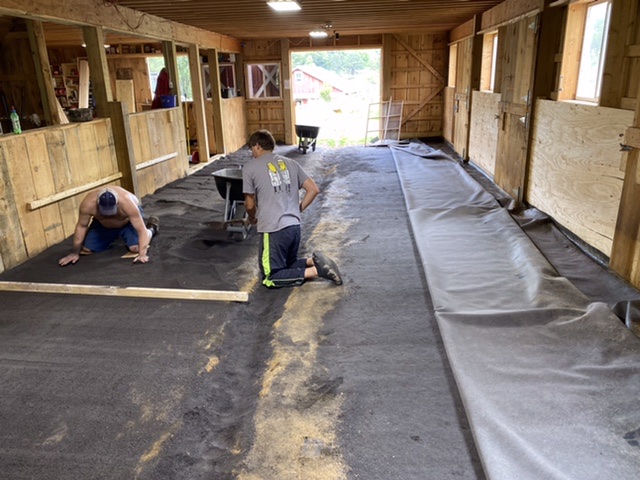
This picture shows the basic framing. The table top is 6’ x 3’. The framing is 2 x 4 legs that are 15” tall, with 2 x 3’s for the braces and horizontal struts. We have been using old fence boards for the surfaces.

I have found, by trial and error, that it’s best to keep the seams between boards snug. The goats will pee on these tables, but the pee will go down through tight seams, and the poo will not, which is beneficial on the back, because there’s less to bend and scoop when mucking.

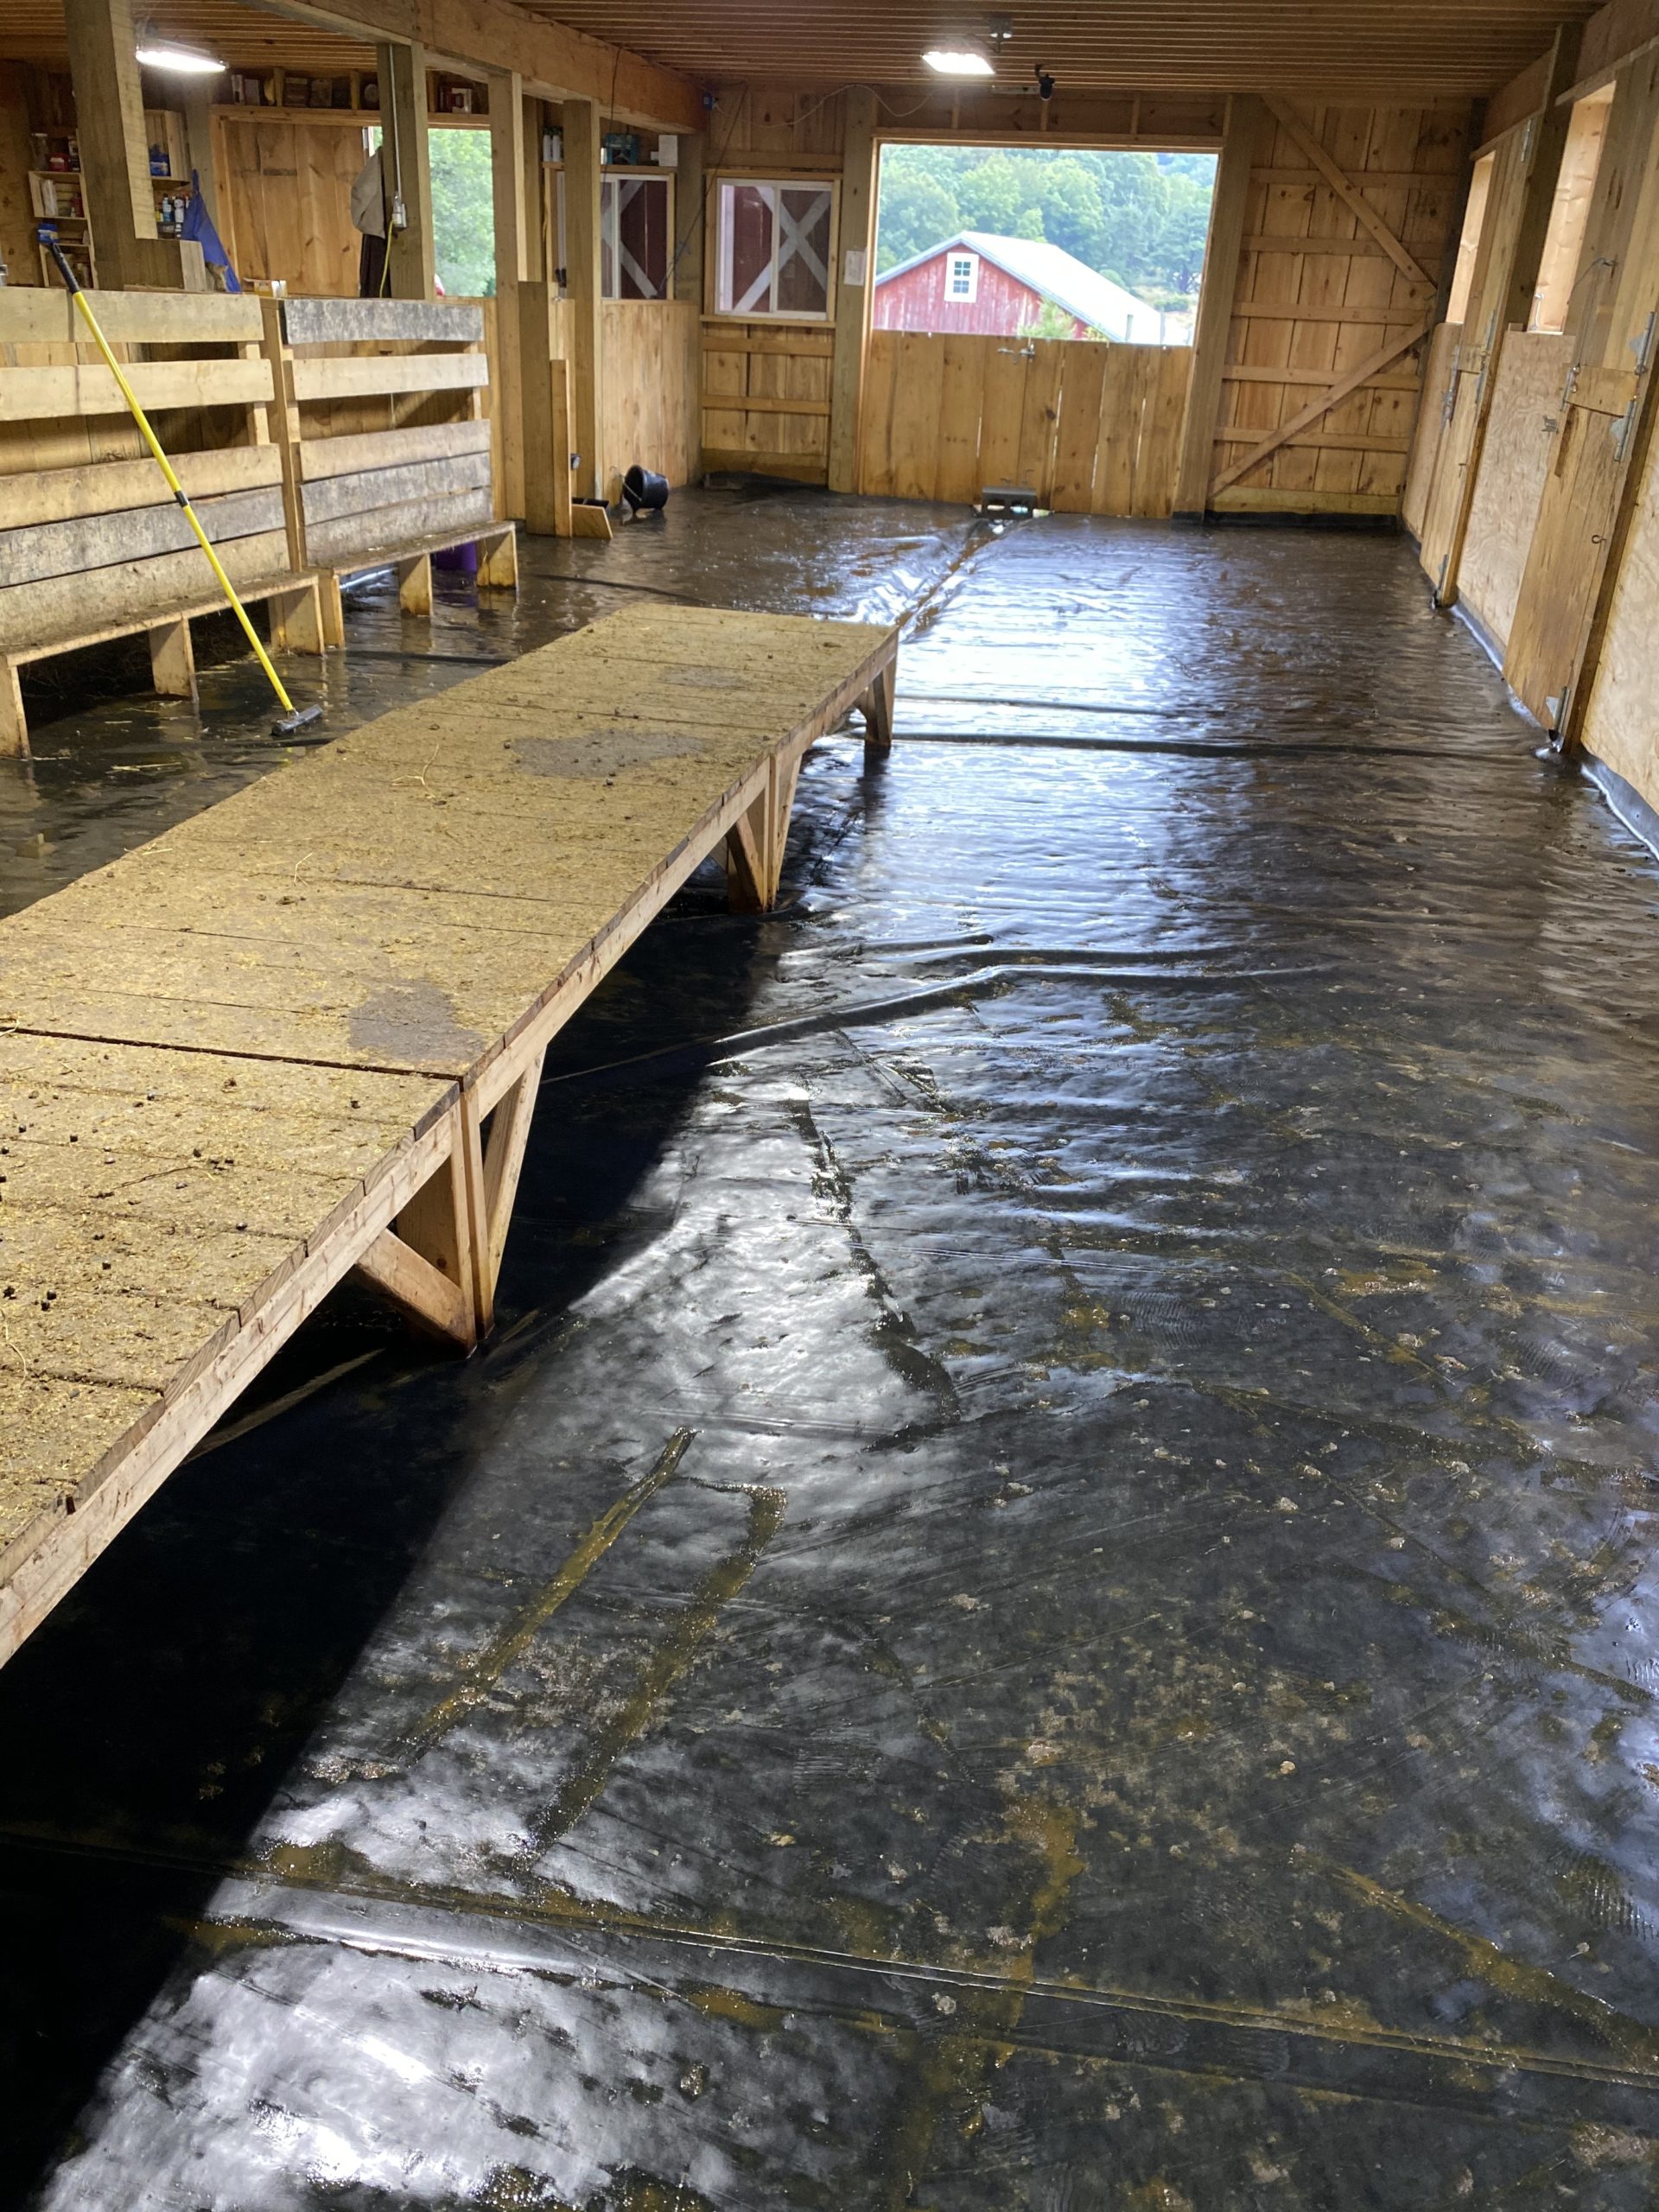
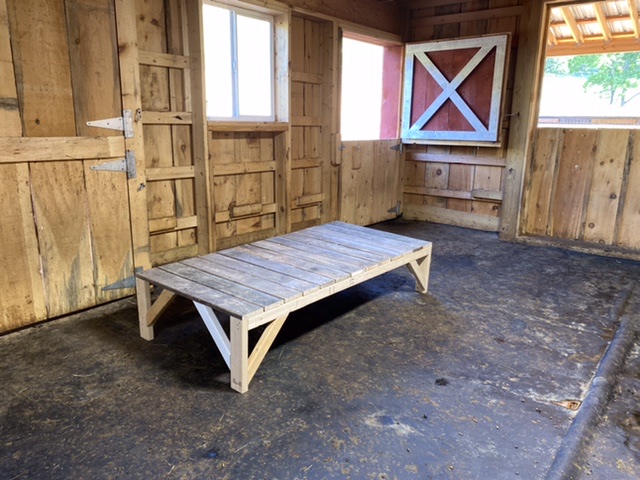
Here’s the finished product, before goaty hooves (and hinds) have touched it.

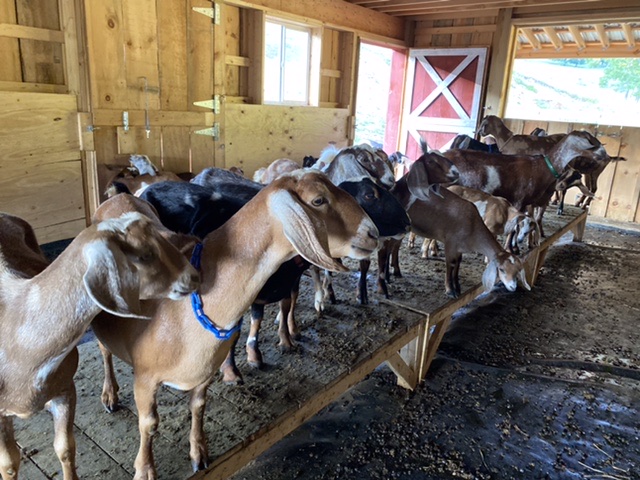
As I said above, at first we put the tables in a line… this picture is taken first thing in the morning… all the girls are waiting to be milked.

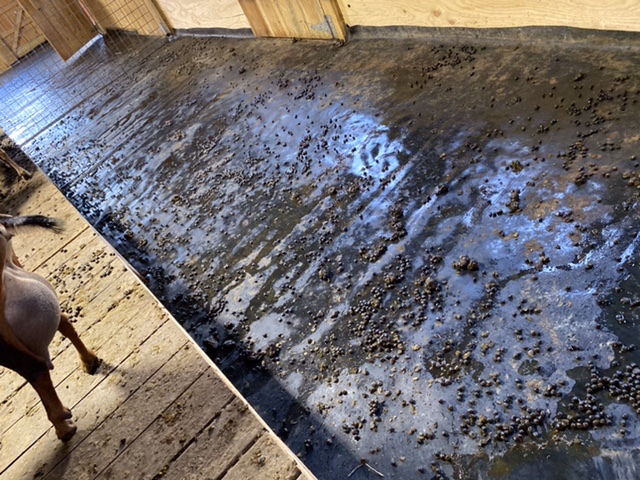
As you see, they do poo on the tables at night. But, their udders seem to be just as clean in the morning as they were with pools.

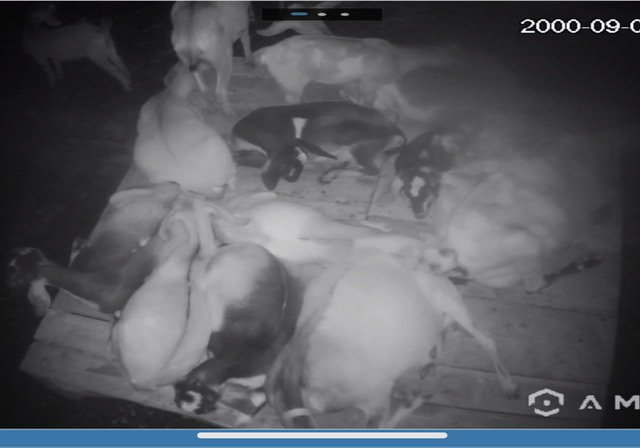
Recently, we changed these tabes to be side by side in a square configuration. This is a night picture via video cam. You can see that it’s a pile of goats, grouped in families… I just love this picture!

Some of the does don’t want to sleep on the tables, but it’s still warm weather. We believe that the wood will be warmer than the rubber floor come freezing weather.

We don’t think we’ll need to bed with hay, but we may use heat lamps in the coldest weather, mounted above these tables.

Posted on Leave a comment

Rubber Barn Floor Upgrade

In previous posts, I’ve explained that we chose rubber roofing material (all one piece) to cover the dirt floor of the barn we built in the summer of 2019, and written about various ways that we’ve found of cleaning the floor and economically bedding down our goats.

This post continues that series. It is comically subtitled “Piddle to the Sea.”

The Challenges

As I’ve explained, there are pros and cons to rubber floors. I have LOVED the fact that I can muck it every morning and keep it squeaky clean, because urine and poop do not seep into underlying dirt, but are removed daily. I have loved that it smells good in my barn. I have LOVED the fact that I’ve had no trouble with mites or cocci (one case among 25+ kids this year).

The only thing I have not loved is how long it took me each day to muck, and the unsuitableness of the tools I employed to do it. The main problems have been puddles and too-soft poops (the kind you get in the spring when goats first go out on pasture).

We have tried the following approaches:

  • Sweeping up berries with a broom, and allowing hay that falls from the manger to absorb most of the pee, while bedding the goats in bunks (that had to be dumped every week or so, and then re-bedded).
  • Using a broom to sweep up, but then employing a heavy-duty shop vac to remove urine, puddle by puddle, while still using pools.
  • Using a small, plastic squeegee/broom to get up the berries, then using the shop vac, puddle by puddle.

With all these approaches, morning mucking was taking 1.5 hours daily for a 48’ x 18th space.

The Breakthrough

My eldest son, Nathan, who is 39 years old, often helps us care for our goats when he visits. He was contemplating the situation, and we were discussing it one day, when he made a suggestion that turned out to be brilliant. He suggested terraforming.

Our barn was not leveled correctly by our excavator before it was built. Our fantastic builder had to compensate for a 10” drop over 48’ from front to back. He made that drop invisible to the human eye, but what it meant when it came to the pee on our rubber floor was that urine did run downhill and tended to puddle deepest towards the middle of the area.

Nathan’s idea was to peel back the rubber (which has never been attached to the sides of the barn), use our tractor to dig a center ditch, take out all the rocks in that dirt, and then spread it—plus some of the black sand that we had left from the original laying of the floor—on both sides in order to slope it yet more steeply to a central gutter.

The Process

We gathered five adults on a Saturday morning to tackle Phase I of the project. It had to be done in one day, because of human schedules and the need of the goats to have shelter at night. Phase I was to do the right side of the barn. Phase II was to remove mangers and do the right side.

In Phase I, we dug the center ditch about 8” deep using a tractor. This depth caused wrinkles in the rubber after we put it back. These wrinkles then inhibited flow in the gutter where they pinched, and berries got caught in those pinches.

We gave it three weeks of testing before doing Phase II. Initial results were impressive. Each morning, there were no puddles! The urine flowed gently downhill on the left side, and the (mostly dry) berries remained where I could sweep them up with my newly discovered industrial-sized squeegee.

After about three weeks, our crew reconvened to do the other side of the barn. In Phase II, we made the center ditch far more shallow. It works VERY well. It gets deeper and deeper as it travels downhill from the back of the barn to the front, thus making good use of that original 10” overall drop. It is less than an inch deep at the back of the barn, and maybe 6” deep at the front, but the overall drop makes the flow strong.

Below is a gallery of images that show the following:

  • Picture #1 is after Phase I and before Phase II. (As you can read in my next post, we replaced pools with tables.) Notice how the rubber is wrinkled, especially in the gutter. That’s because we made it too deep in Phase I.
  • Picture #2 is us working to slope the second side of the barn (Phase II) to the central gutter. It also shows us filling in the central gutter with black sand to ultimately make it more shallow.
  • Picture #3 shows how the floor looks each morning. The urine has run down into the central gutter and out of the barn. The berries remain: easy to use an industrial-sized squeegee to scoop together, then pick up into a muck bucket.
  • Picture #4: shows the cleaned floor, about 45 minute work. Scooping up berries, sluicing with remaining water bucket liquids, and then squeegeeing water off the rubber, into the gutter, to clean it thoroughly.