Those who follow this blog regularly will remember that we purchased Echo Hill’s Sparrow last July as a foundation doe of our new herd. (We had previously purchased Sparrow’s son, Rigel.) Two days before we were to pick her up, Rigel’s sire broke through electric fences to mate one last time with his lady love. (So romantic!) Bethany Bisherat gave me the option of canceling the sale, but I love Sparrow and Rigel was great, so I went through with the sale.
I couldn’t be happier that we made that choice! Sparrow is a beautiful, refined doe, who easily earned her milk star last year and, as Bethany put it last February, “turned into a Holstein”! Her udder is capacious and her teats are soft. She is a joy to milk. She is docile, sweet, and has proved to be the most attentive and patient of mothers.
The Kids Arrive
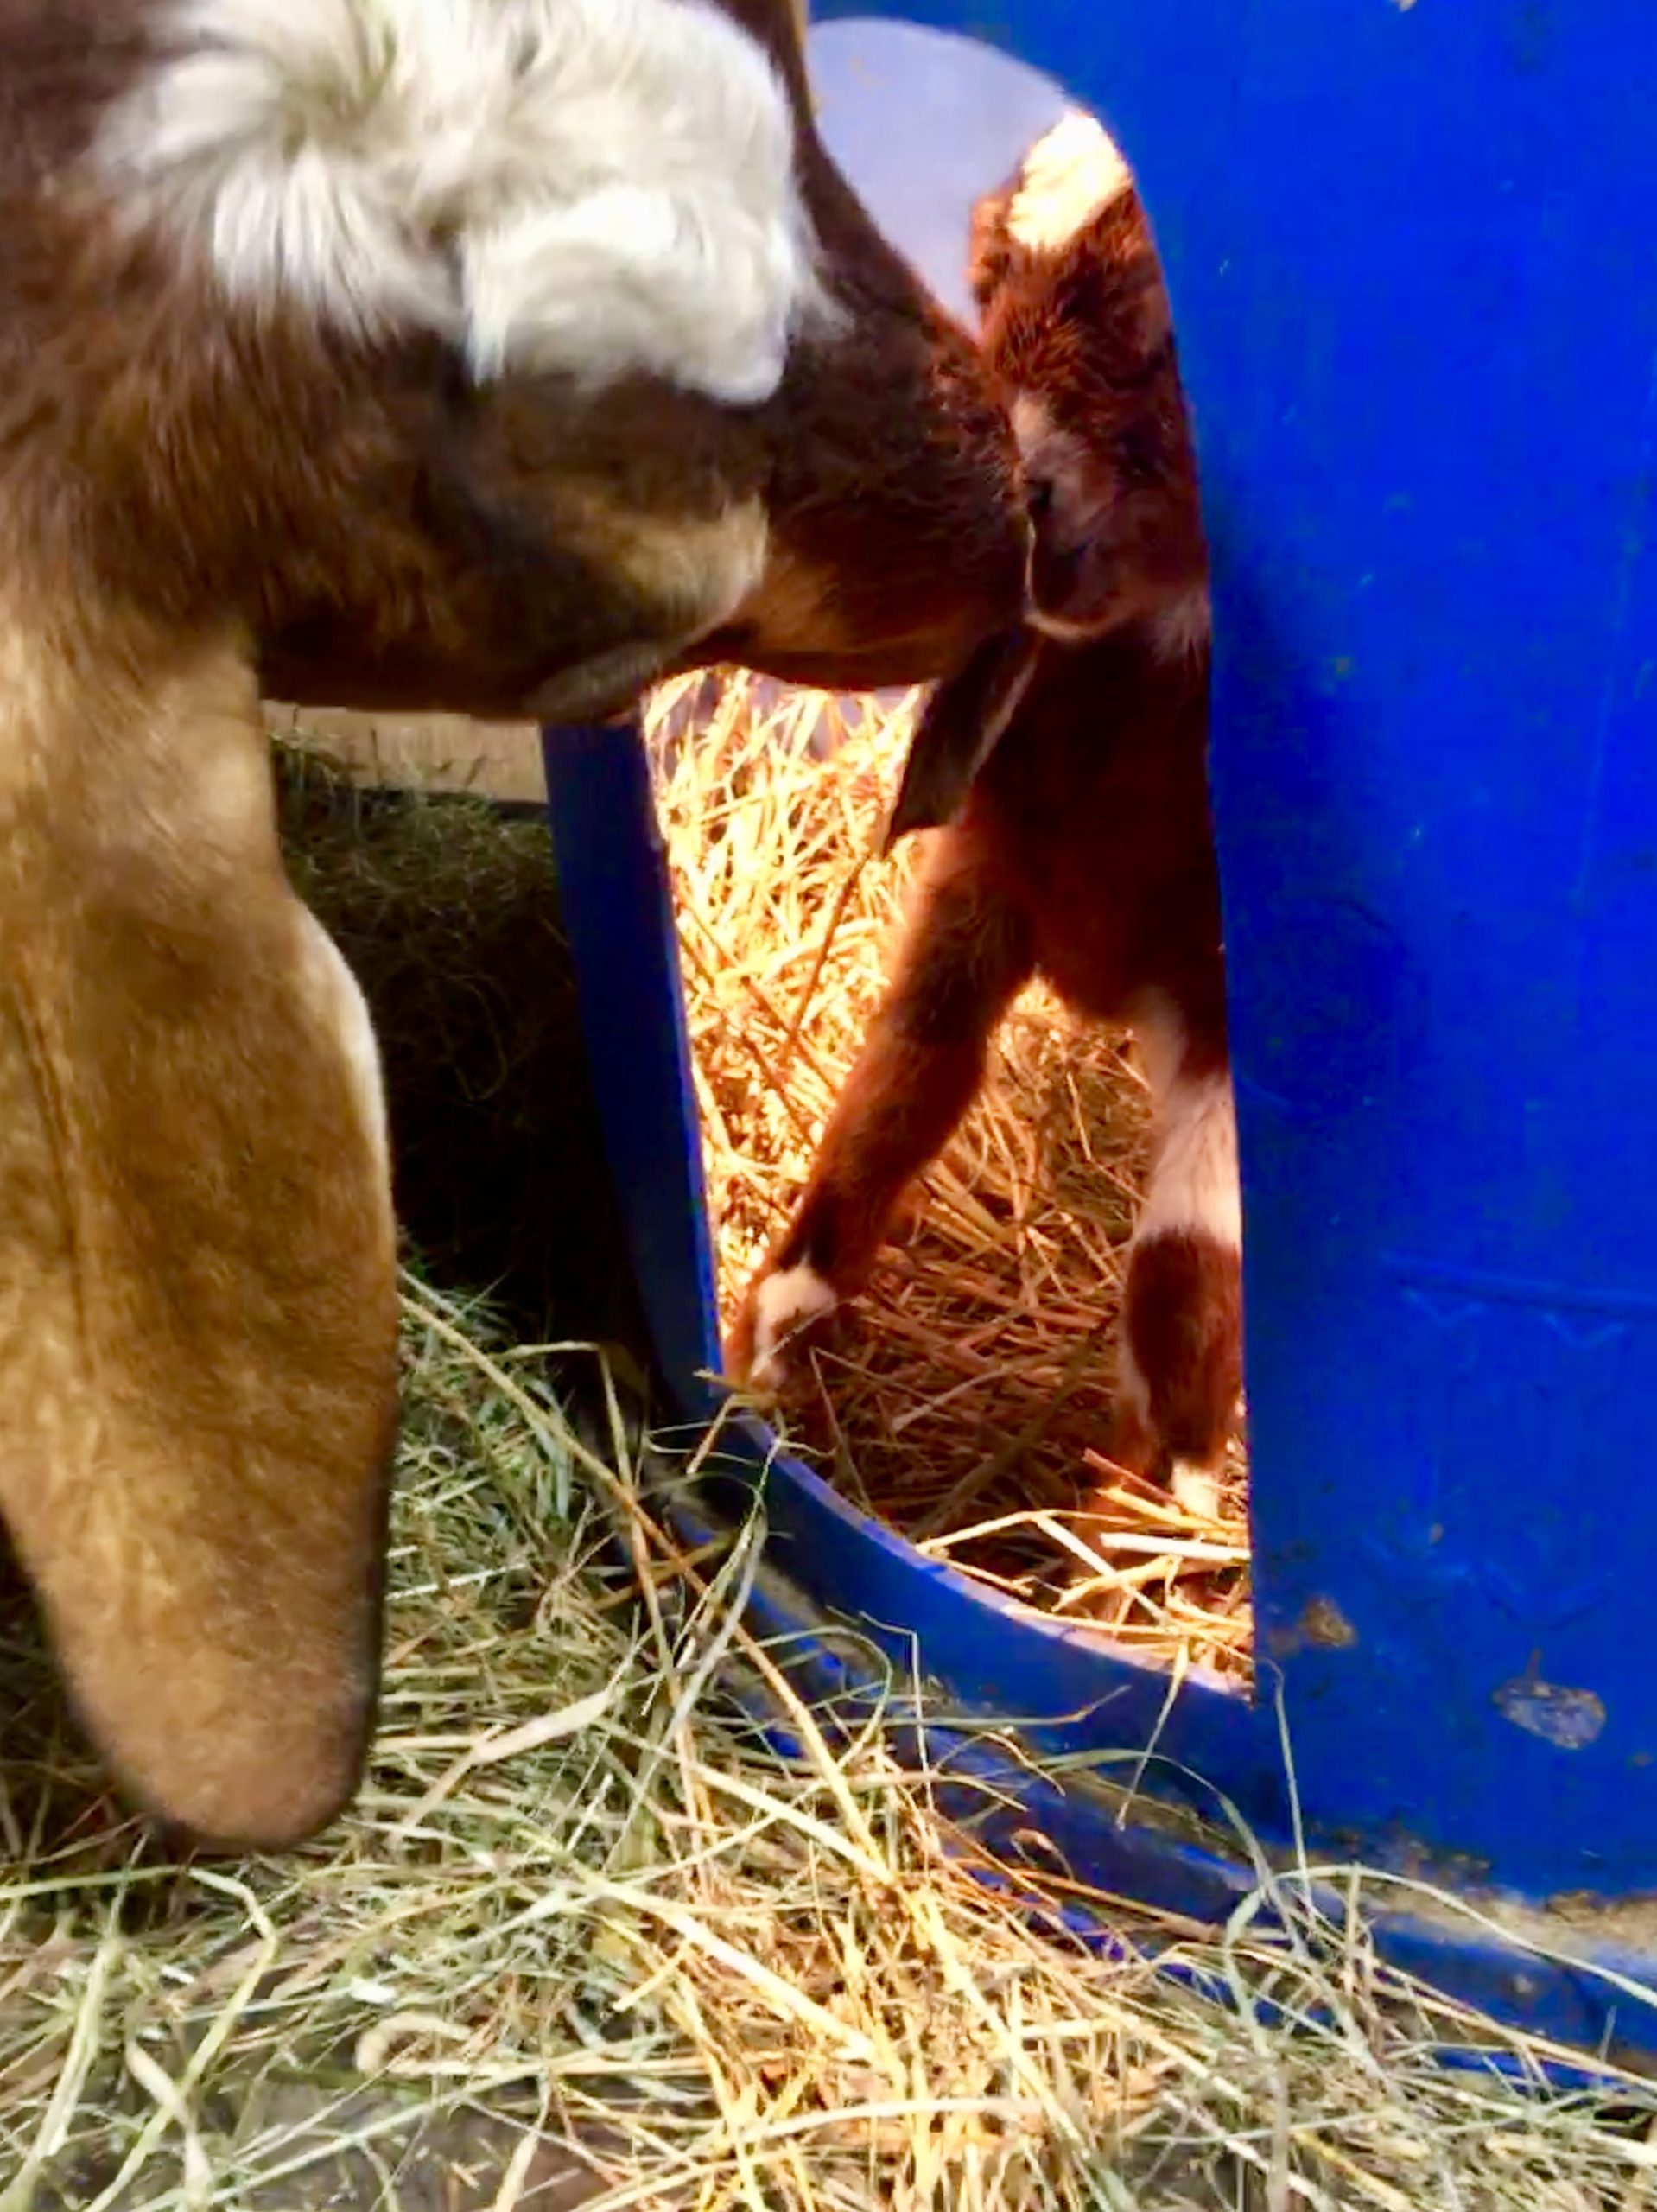
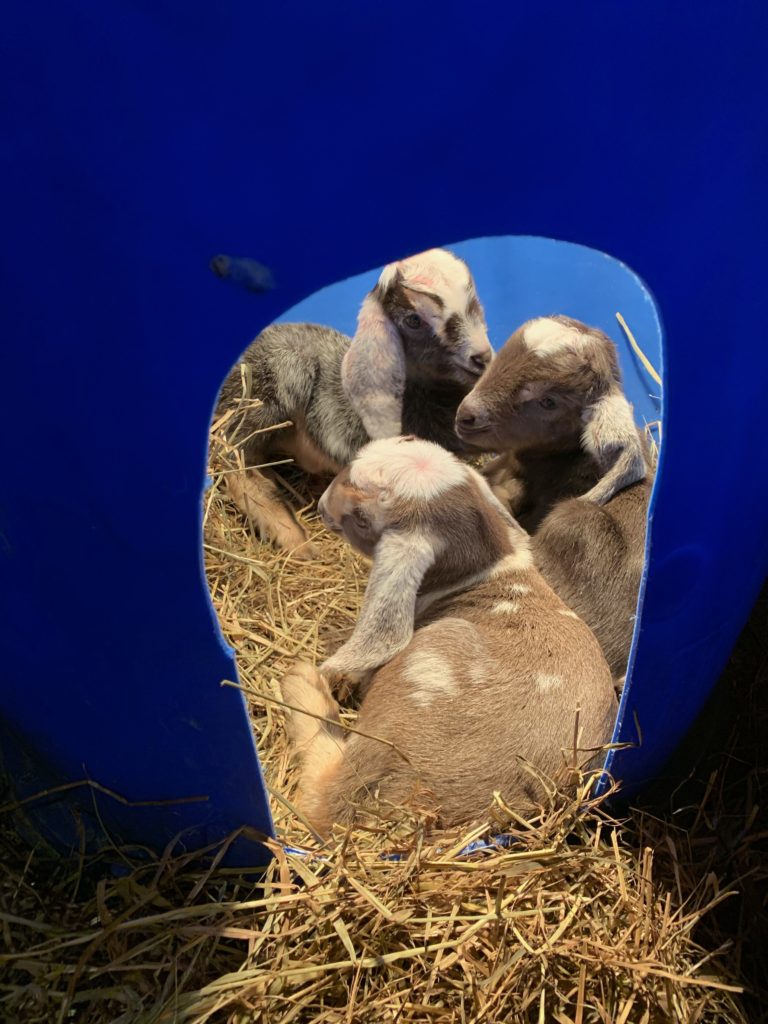
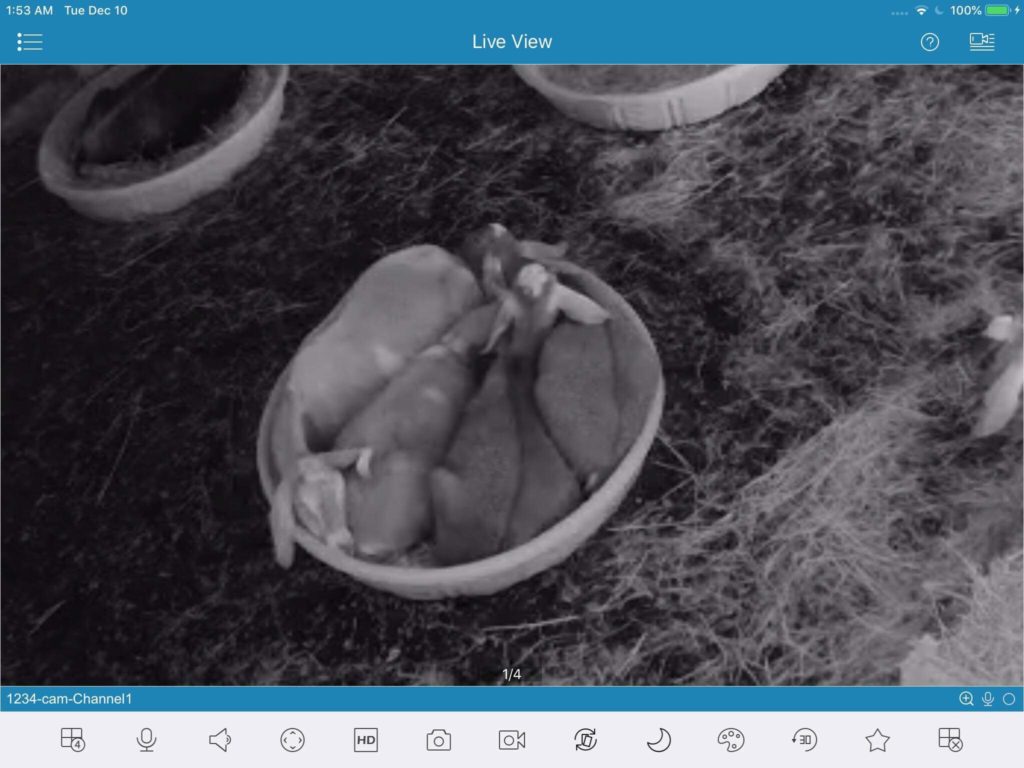
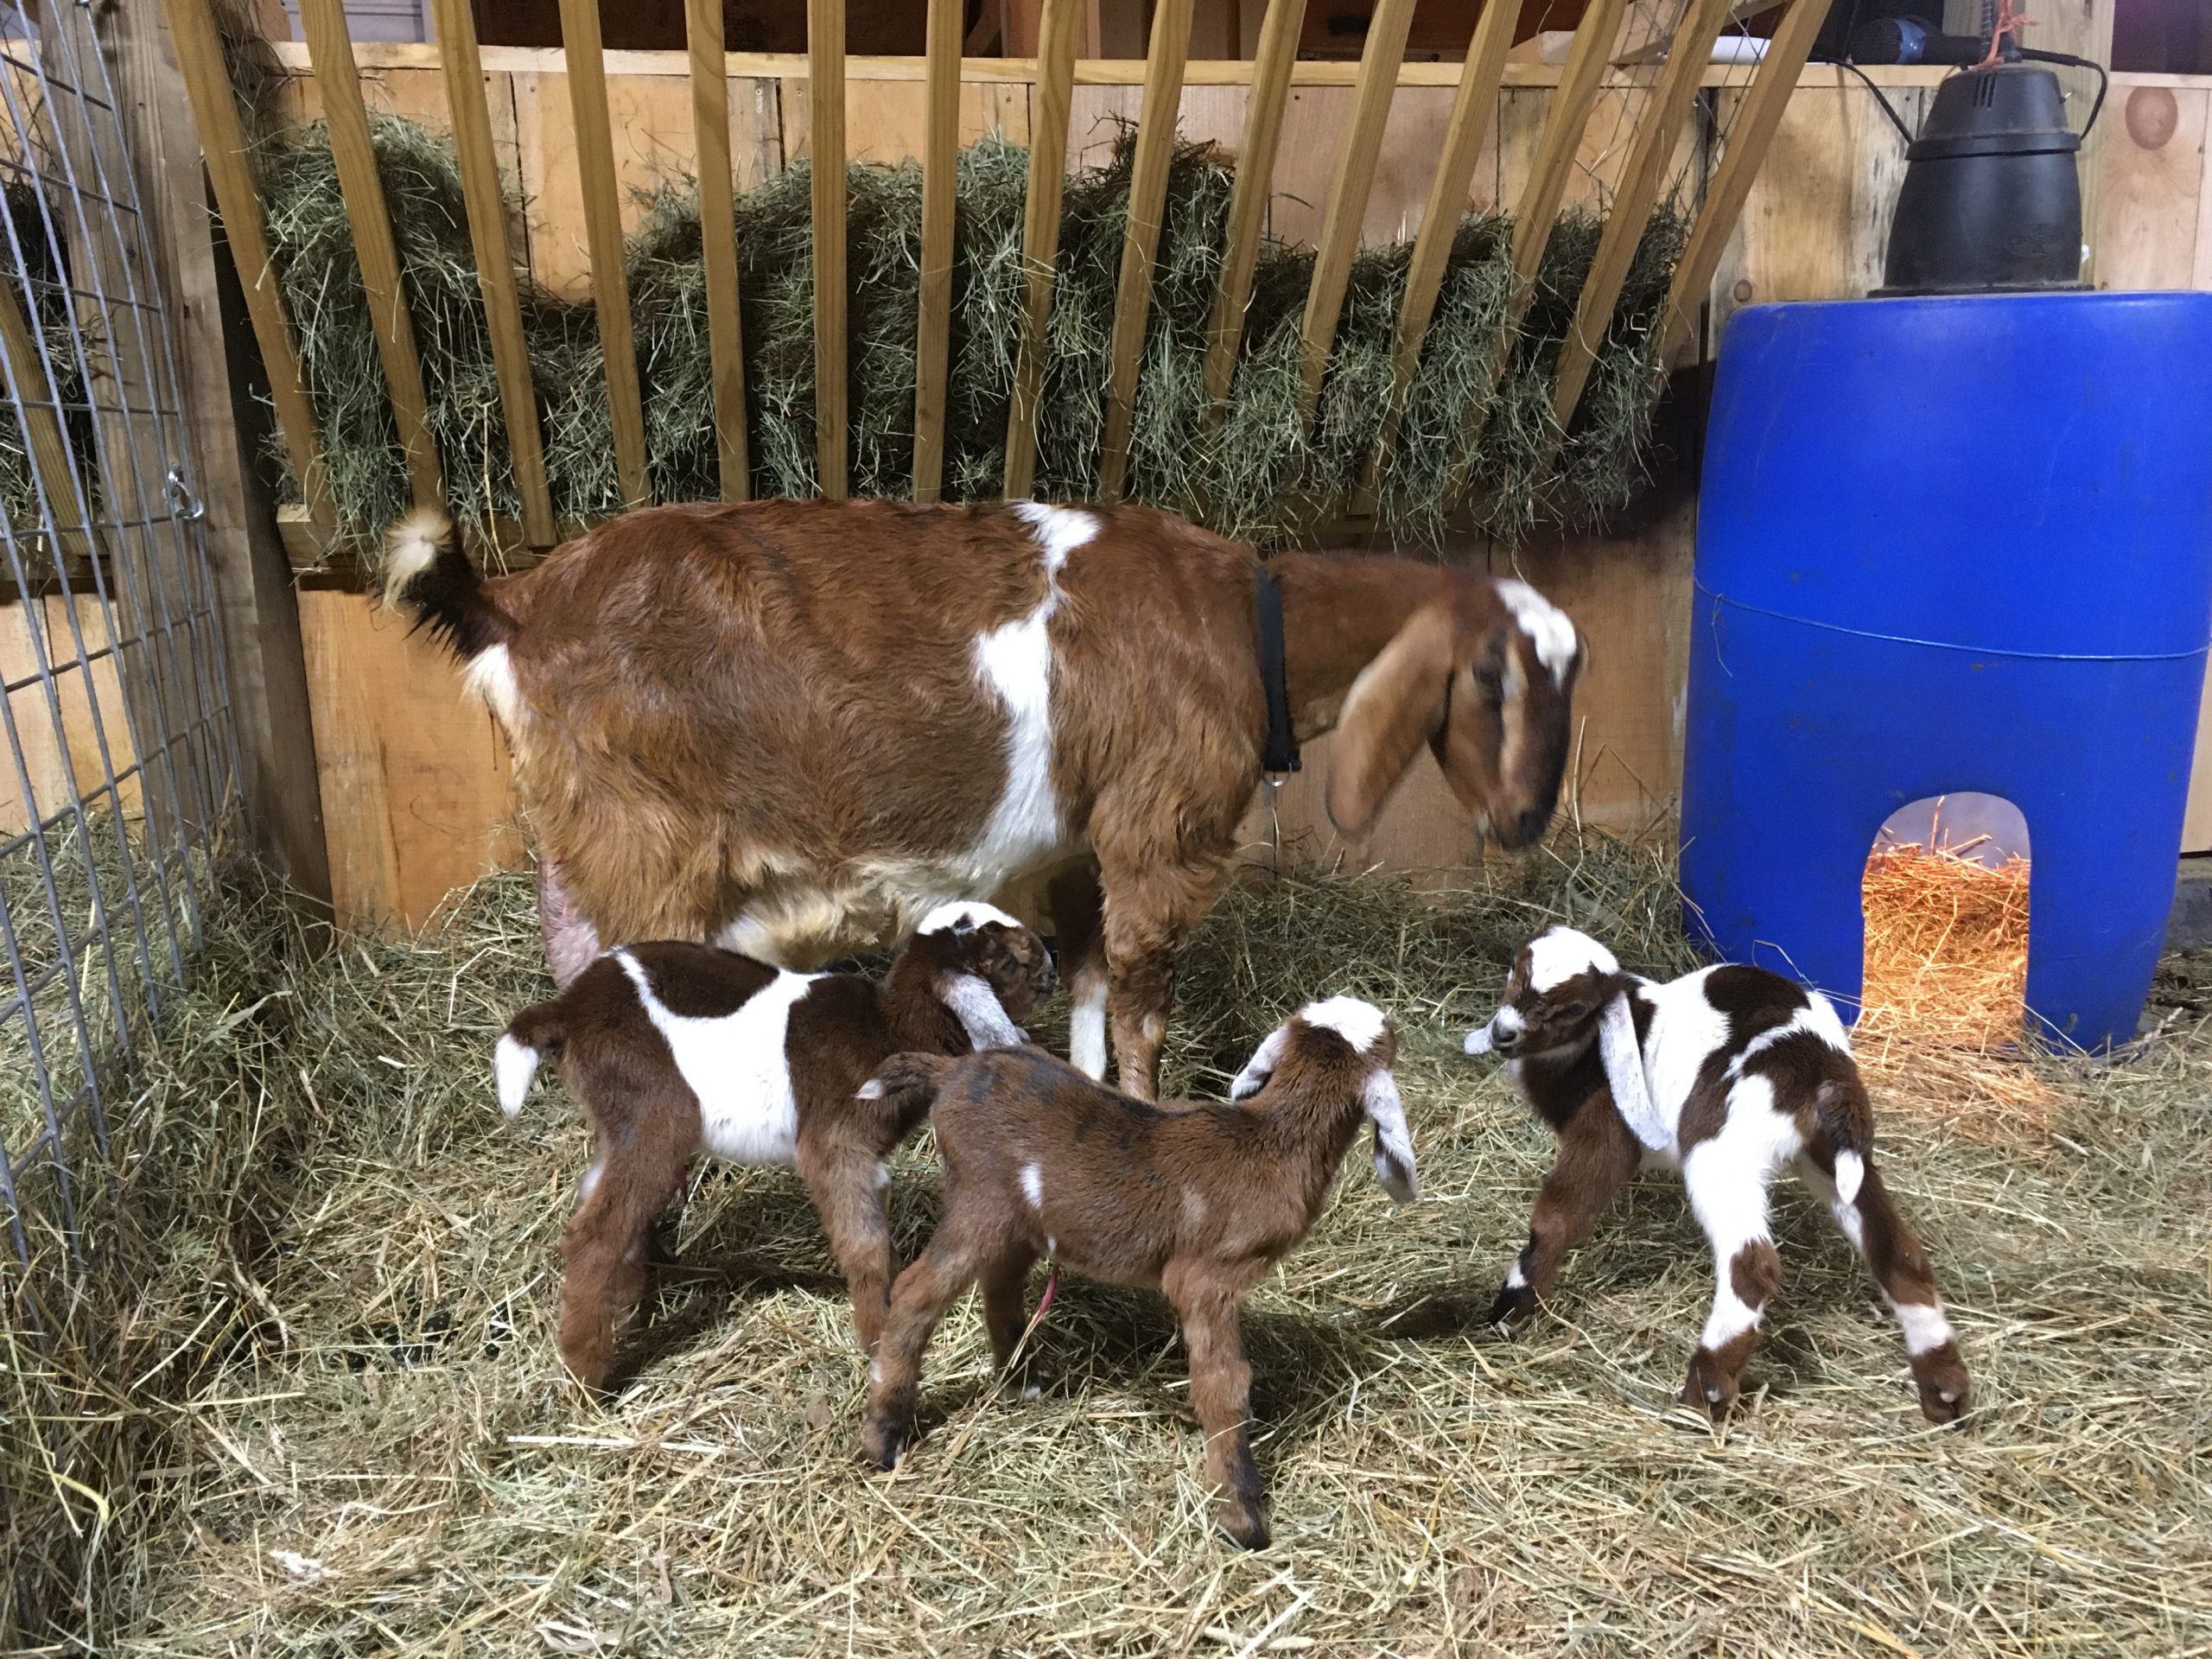
Of course, the icing on the cake is that she gave us three beautiful copies of herself to populate our new herd! We were amazed to be blessed with three doelings. The video below is of them only hours old. Mom is patiently still washing her new kids; Maggie (far right) is learning to scratch herself while standing up!
In keeping with our practice, we have thematic names that help us remember blood lines. Since Sparrow is a bird, her doelings needed to have bird names. First born was Chickadee, then came Skylark. We thought we were done. There was a significant time lag while we waited for the placenta–but lo! A third doeling, Magpie, was born. (Then, two placentas!)
I have since learned that a goat’s womb has two “horns.” Each can house multiple kids. It’s probable that Chickadee and Skylark were in one horn, and Magpie (Maggie in the barn) was alone in the other. This would explain why Chickadee and Skylark are smaller than Maggie, who is the longest and deepest of the sisters. Chickadee and Skylark have moonspots.
Meet Them One by One
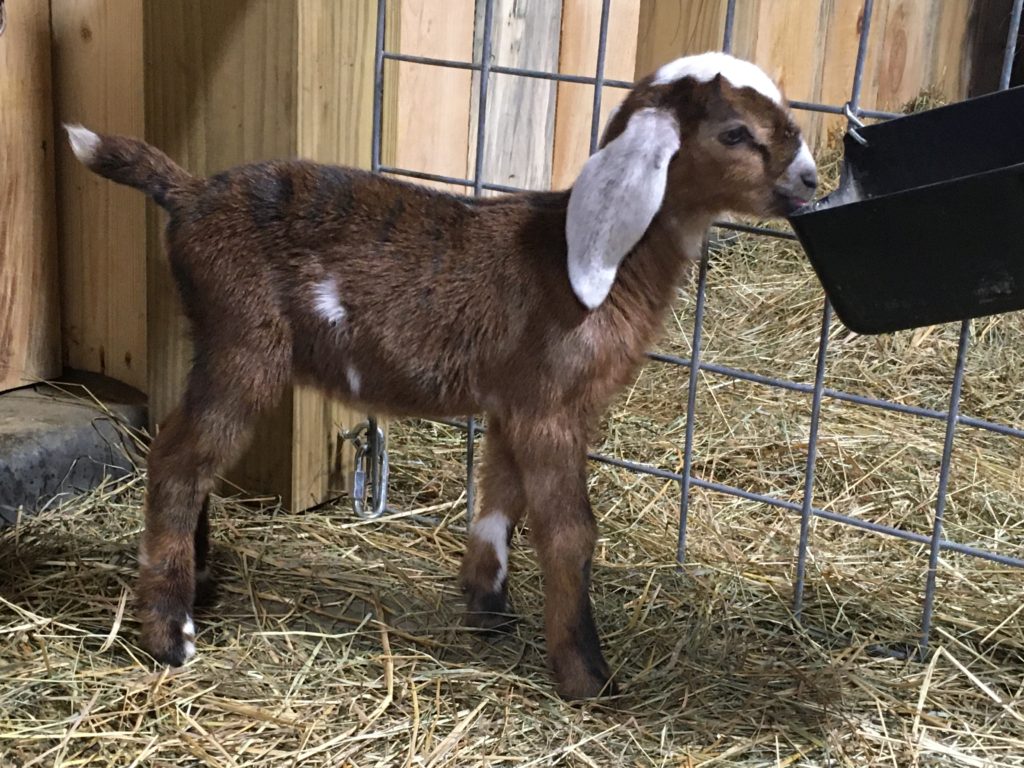
This is Chickadee, hours old. She is mostly brown, with some white and many moonspots. I so love her ears and breed character! She was firstborn, and the smallest by quite a bit.
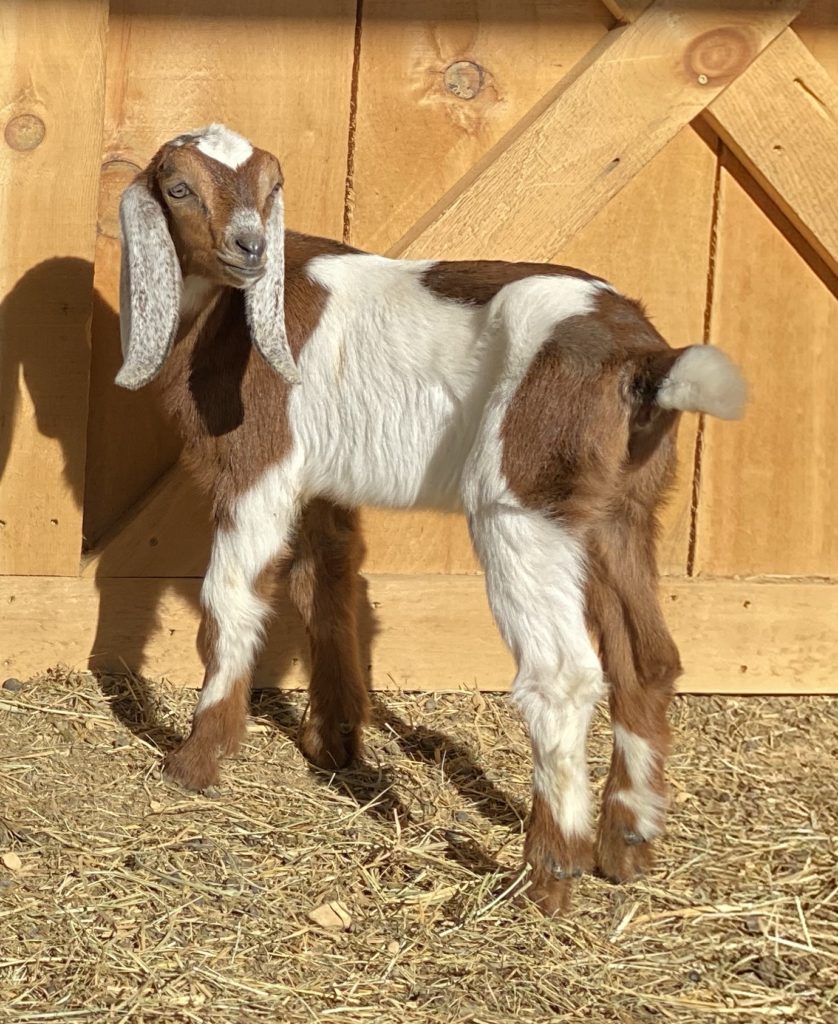
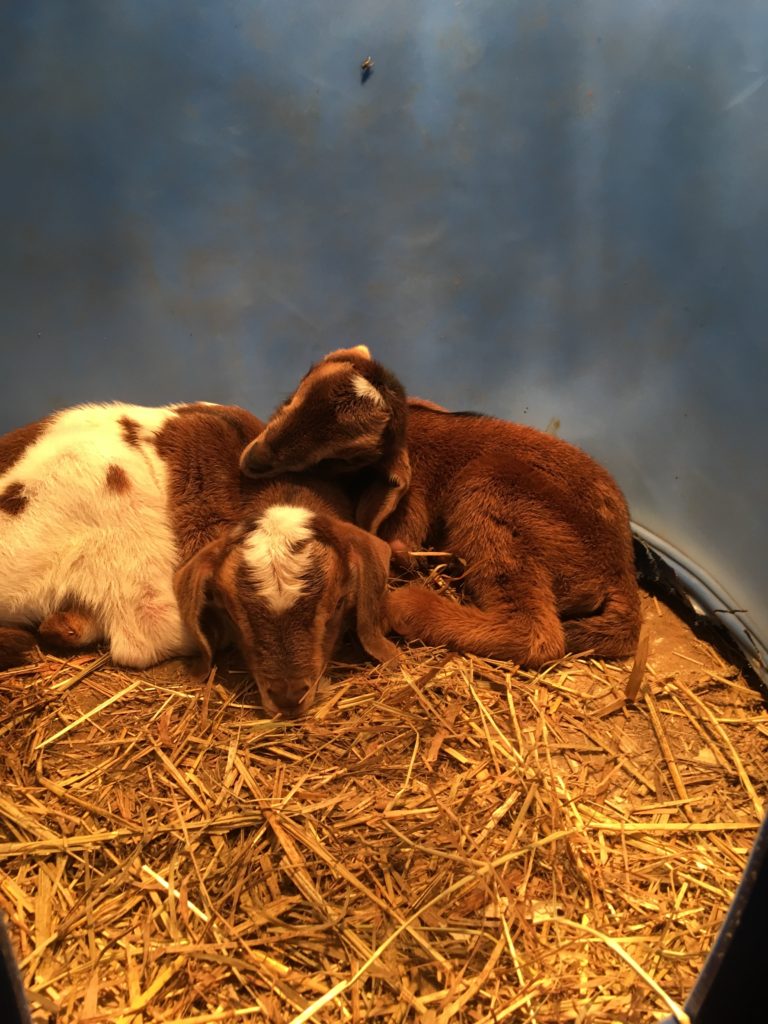
This is Skylark at 3 weeks old. She has a very pretty, feminine face, and is both deep and long.
At first glance, she’s hard to distinguish from her younger sister, Maggie. The way we most quickly tell is that the spot on her back is not connected to the brown on her side, she has moonspots, and there is no black on her legs.
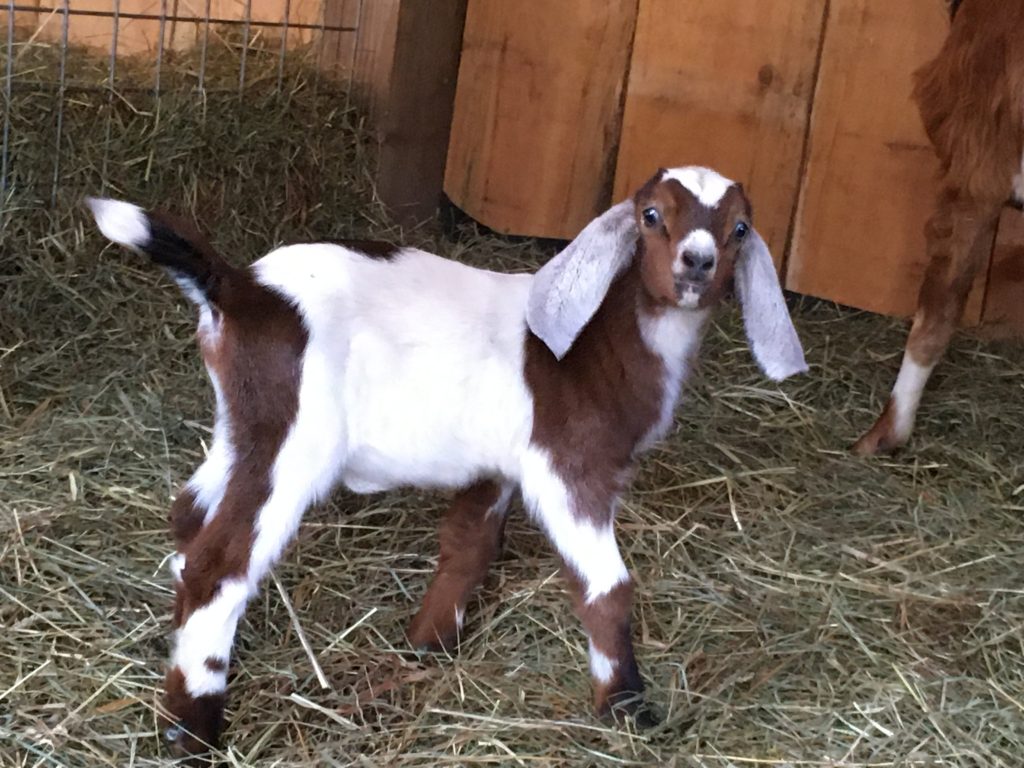
Below is a gallery of Maggie shots. She is the third born and biggest of the three sisters. Viewed on her right side, she is hard to distinguish from Skylark, but from her left side, the brown markings form almost a map of North and South America!
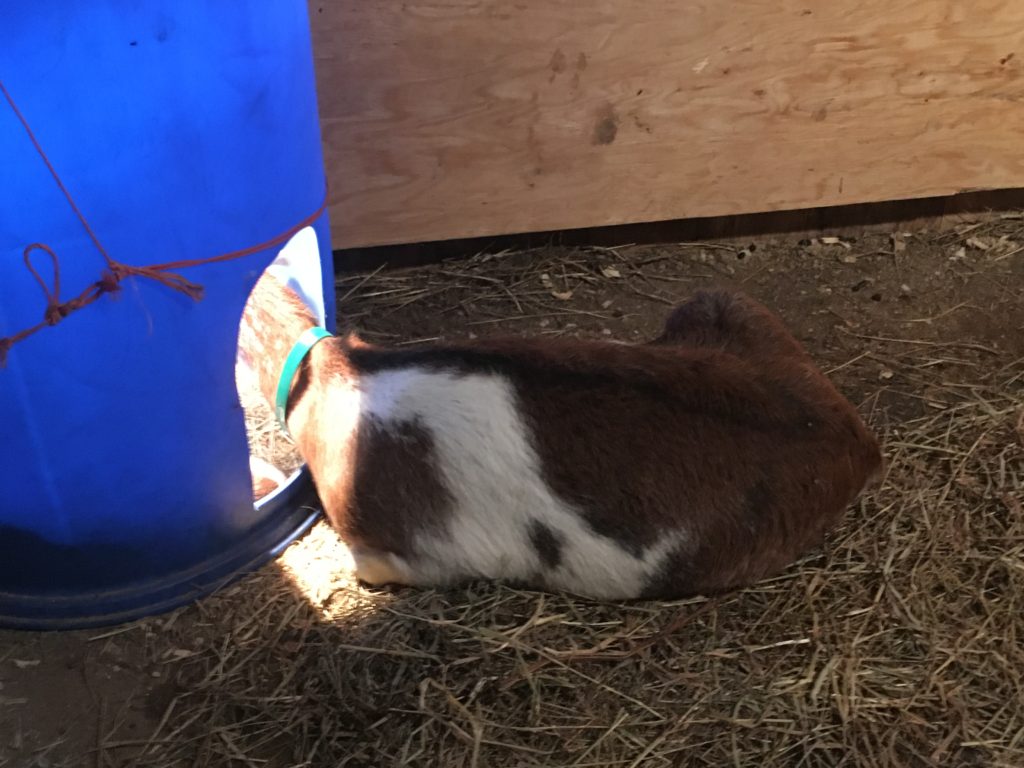
After two weeks, a friend online pointed out that she was folding her ears back (bottom left). This is a fault if left unattended. Thus, we devised a “hat” for her to train her ears. It needs to stay on for about two weeks. Naturally, she loses it regularly! We then tape it back on. She’s really good about it; it’s mostly lost when she battles her sisters for a drink from Mom’s two teats.
Maggie’s right side 
Maggie’s front 
Maggie’s folded ears 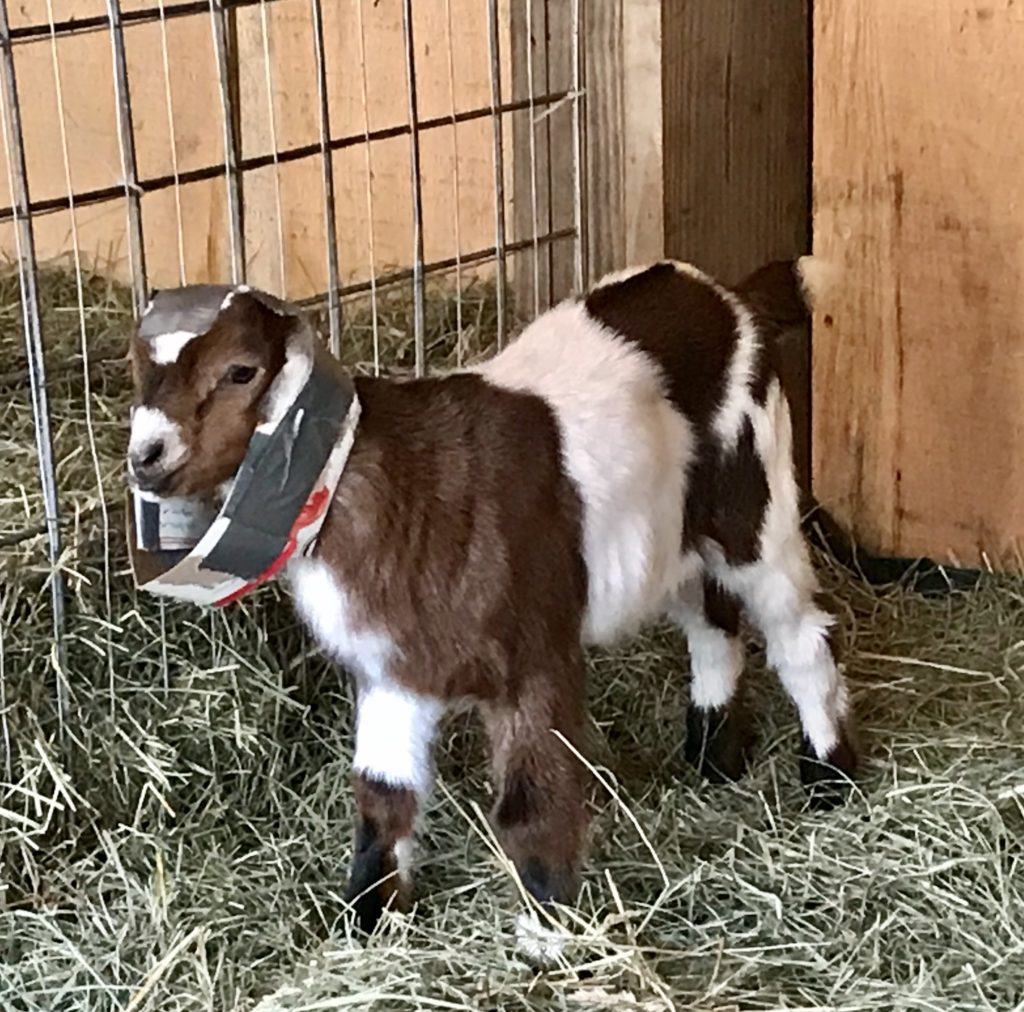
Maggie’s corrective cap
Of course, the biggest joy of having baby goats is sharing them with our grandchildren!
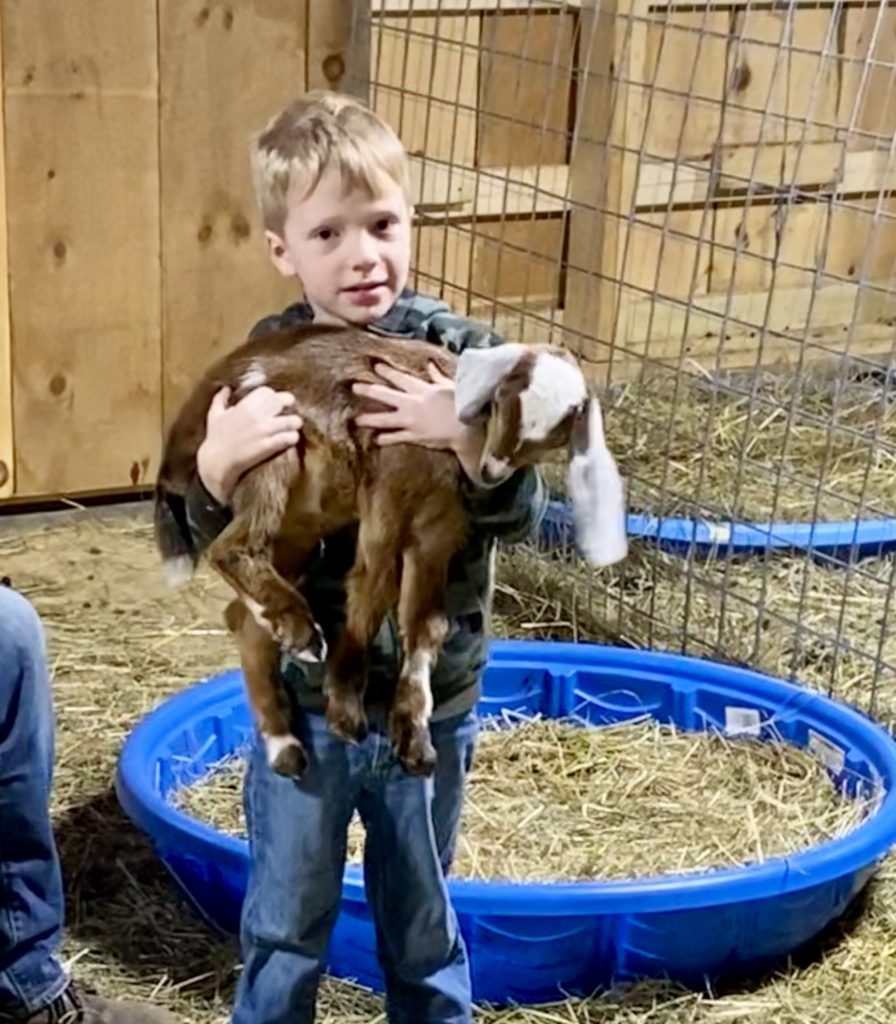
Jonah and Chickadee 
Emma with Maggie and Skylark