Part 2: Normal Labor and Delivery
This series is not meant to be comprehensive, but I hope that it’s helpful, especially to those facing pregnant mommas with no experience. I wish I had had such a webpage series when I was where you are now!
Part 2 focuses in on the basic steps and signs of normal labors and deliveries, which a vast majority of deliveries are. Part 3 focuses on delivering with more difficult kid positions and gives a few ideas of how to help distressed kids.
Follow this link to see other article in this series: Part 1: Preparing for Kids
I always pray for my animals when they are pregnant, and especially so during delivery. God is very gracious to help our animals and us through deliveries. He loves the animals that He has created (see Numbers 18: 14-17) and redeemed. I have done some of my deepest spiritual growth during stressful labors. Turning to the only One Who can really help is natural to me, and I highly recommend it as a normal practice for you!
Is She OK?
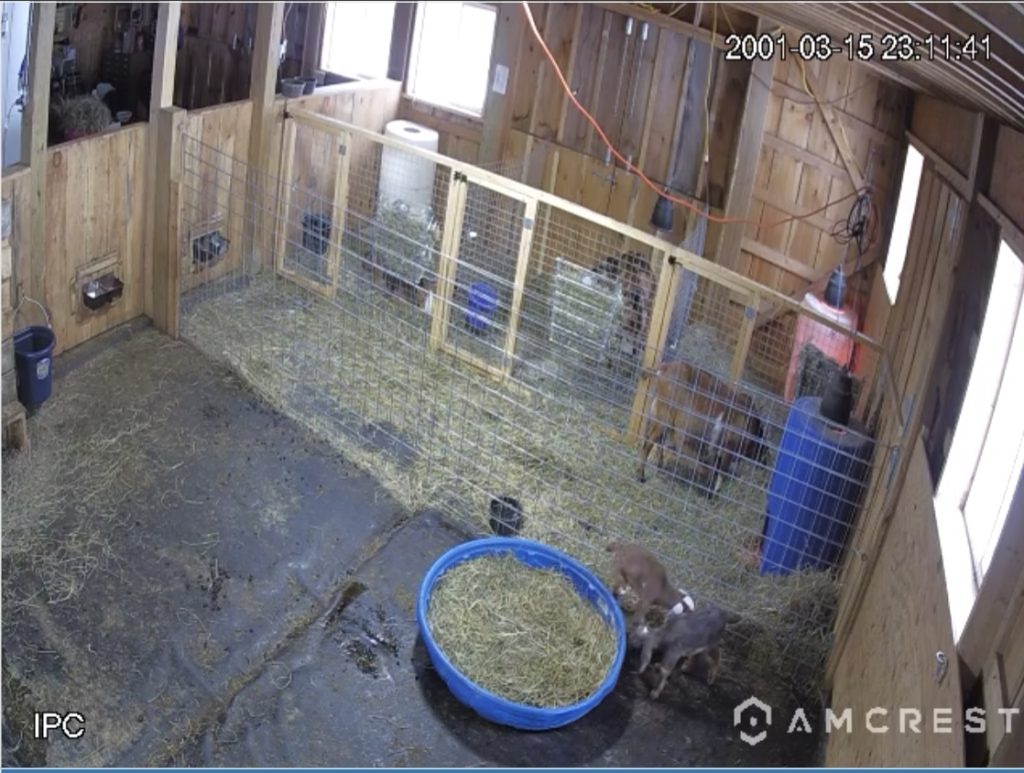
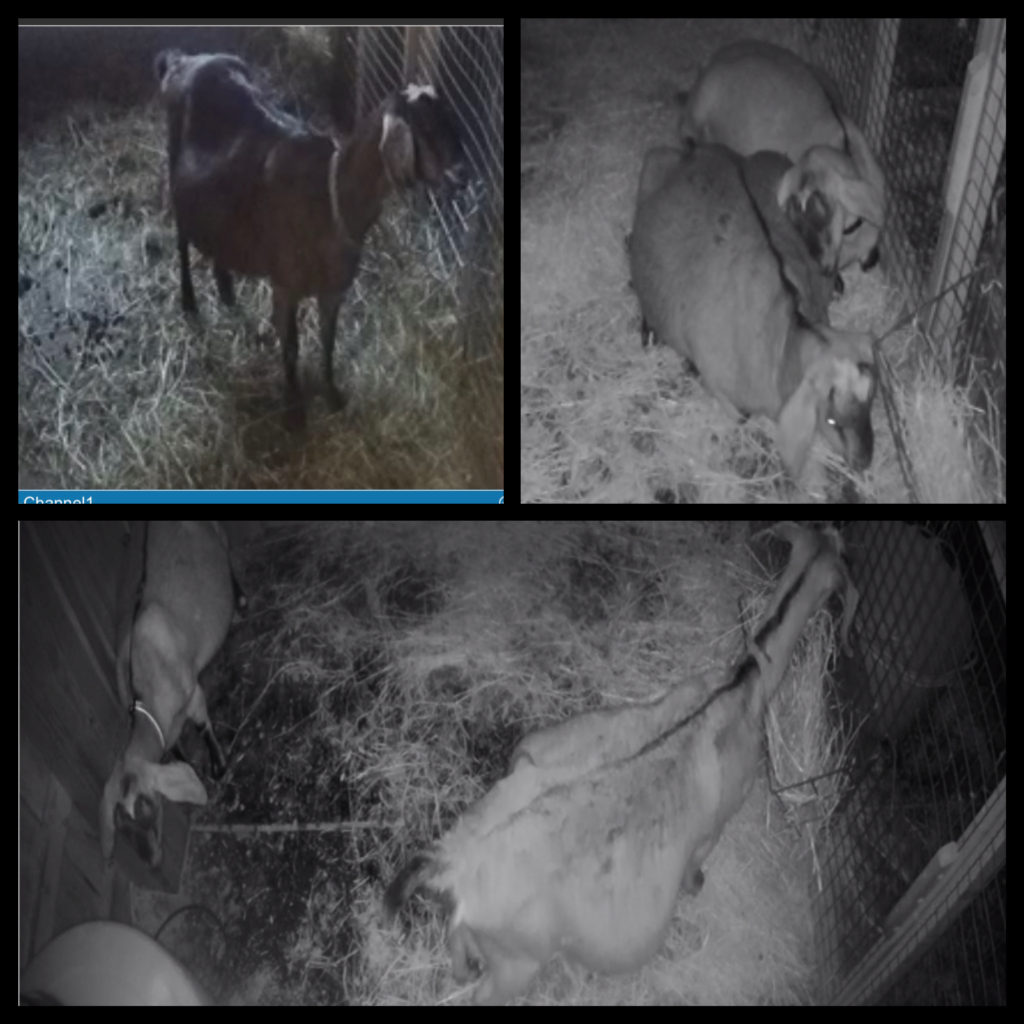
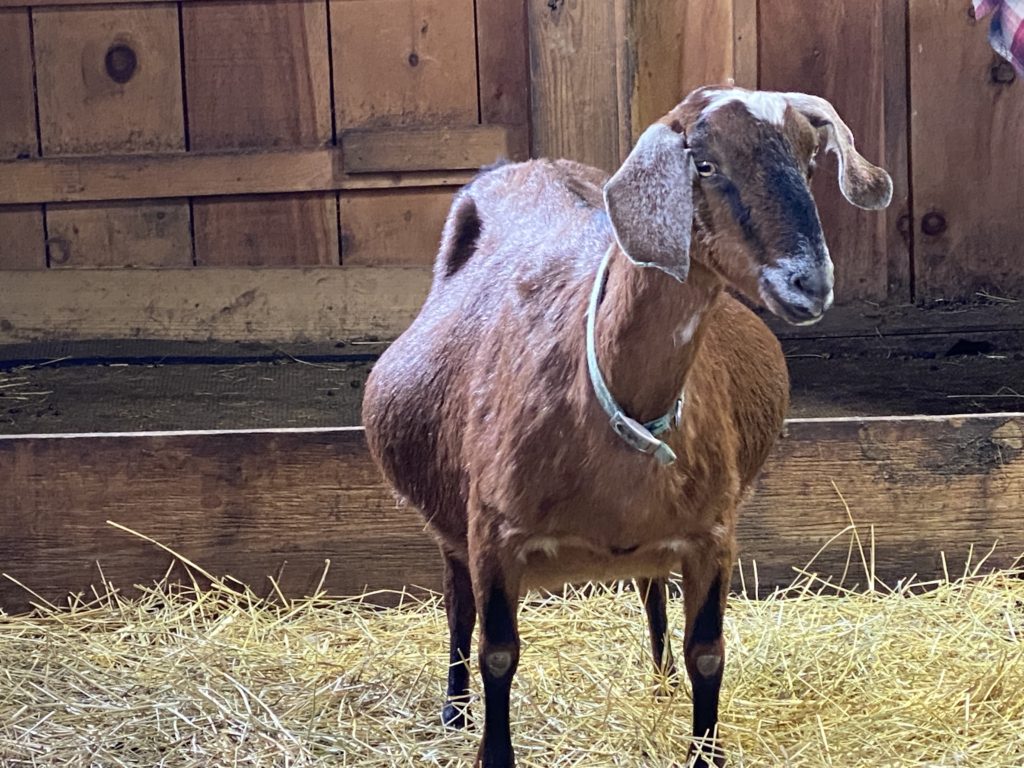
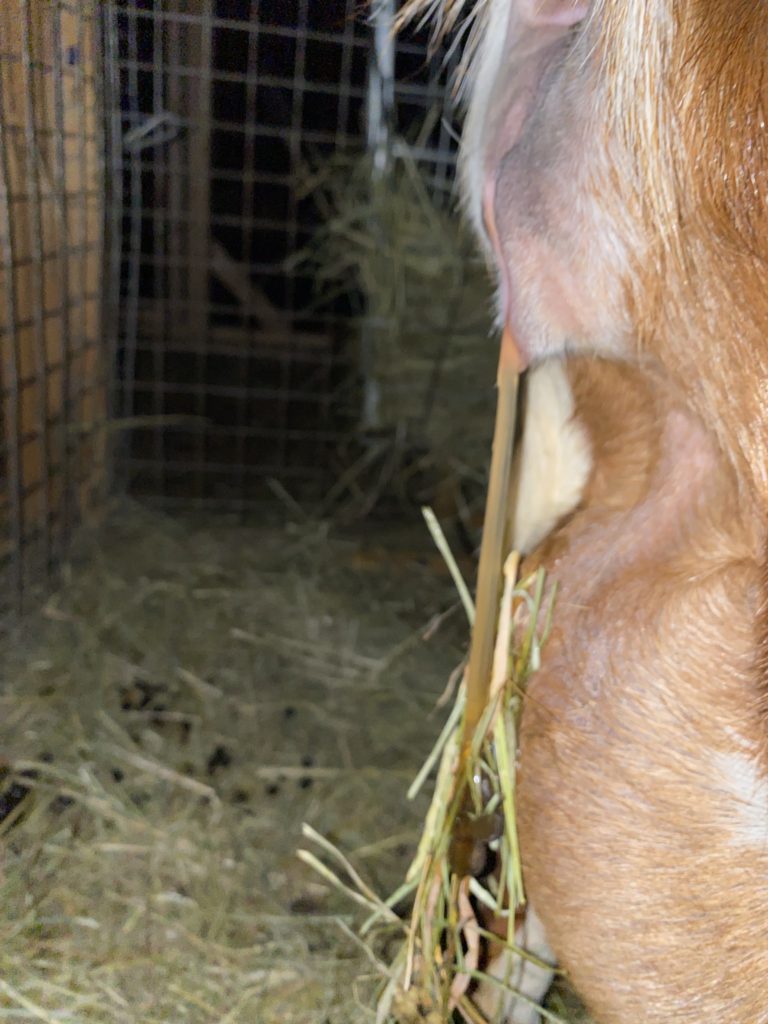
Our does can get SO big and look SO uncomfortable during the last month or weeks of pregnancy. Here is a small gallery of pictures of Candy (two with my barn cam at night) in her last week of pregnancy in 2023. I just feel SO BAD for them, but be reassured, they are fine and those babies will eventually come out.
The thing to watch for most when does are big with multiple kids is their behavior. If they seem listless, low energy, or “walking on eggshells” then suspect pregnancy toxemia and/or ketosis. Read up on these and lay in supplies so that you can detect/treat them!
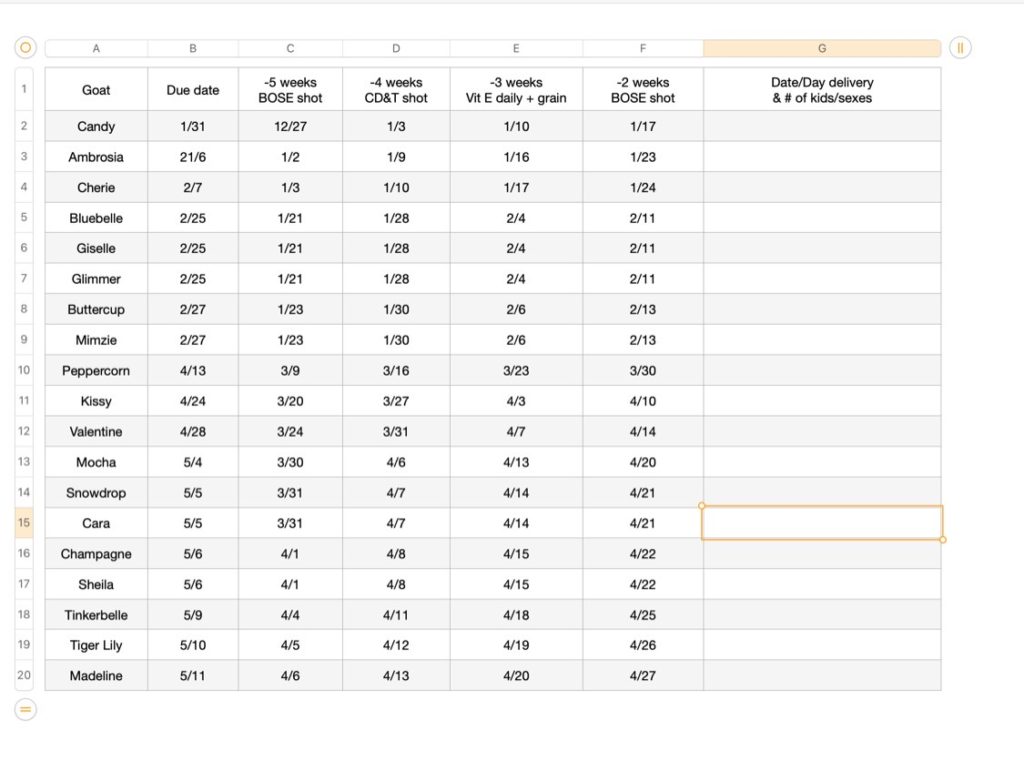
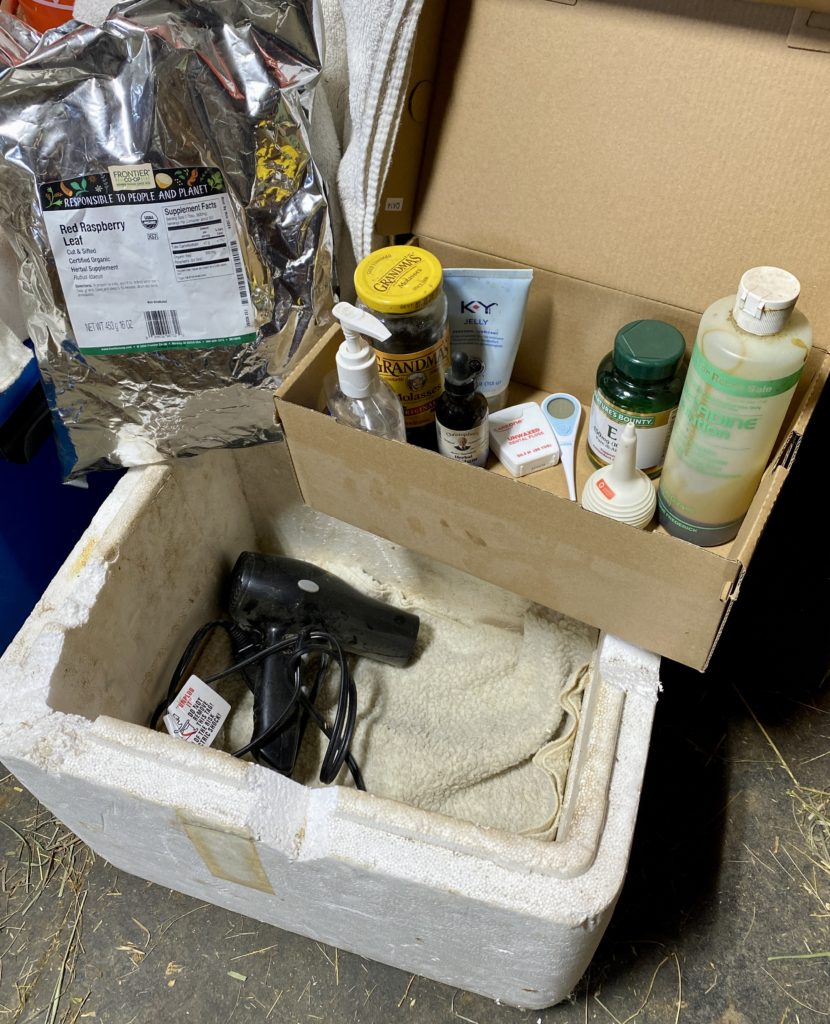
To detect or confirm these conditions, I buy new each year (because they do expire) Ketone strips. You can find them at any drug store. You hold them in a doe’s pee to detect ketones. We give our girls small amounts of grain, with Vitamin E and red raspberry leaves starting at 3 weeks out from their due dates.
Signs That She’s Getting Ready or in Early Labor
Spoiler Alert: A doe may have none of these signs, or all of them. The Doe Code keeps us guessing!
- Taken together, the signs give a pretty good warning that “today’s the day (or night!)” but a doe can fool you.
- For grins and giggles, watch THIS VIDEO to give yourself a stress reliever and reality check. Does have their own body clocks, and usually obey Murphy’s Law to the letter! 😉
- The Doe Code is real, so find some stress relievers and pace yourself. Try to not stay up all night watching the barn cam from a week before the due date. My husband and I check a doe who’s soon due, watch and watch, every two hours (He wakes up at 2 AM and 6 AM, while I wake up at 12 AM and 4 AM). Thus, we both get 4 hours sleep at a time on those nights when it’s feasible that a doe could deliver, or is overdue and needs watching. Given your resources, choose a pace that’s sustainable for you!
OK: the list of SIGNS. From the earliest indicators to “this is probably IT!” signs.
Check her ligaments. Next to the tail, there are two ligaments (that support tail wagging) which, before delivery, soften and seem to “disappear.” (See more details on the ligs here.) In goat-speak, we talk of a goat’s “ligs being gone.”
Full disclosure: I’ve had does whose ligs go a week or two before delivery. But, for many does, it’s a good indicator that labor is a day or two away — or closer. Remember, it’s just one of the many signs that labor is close at hand.
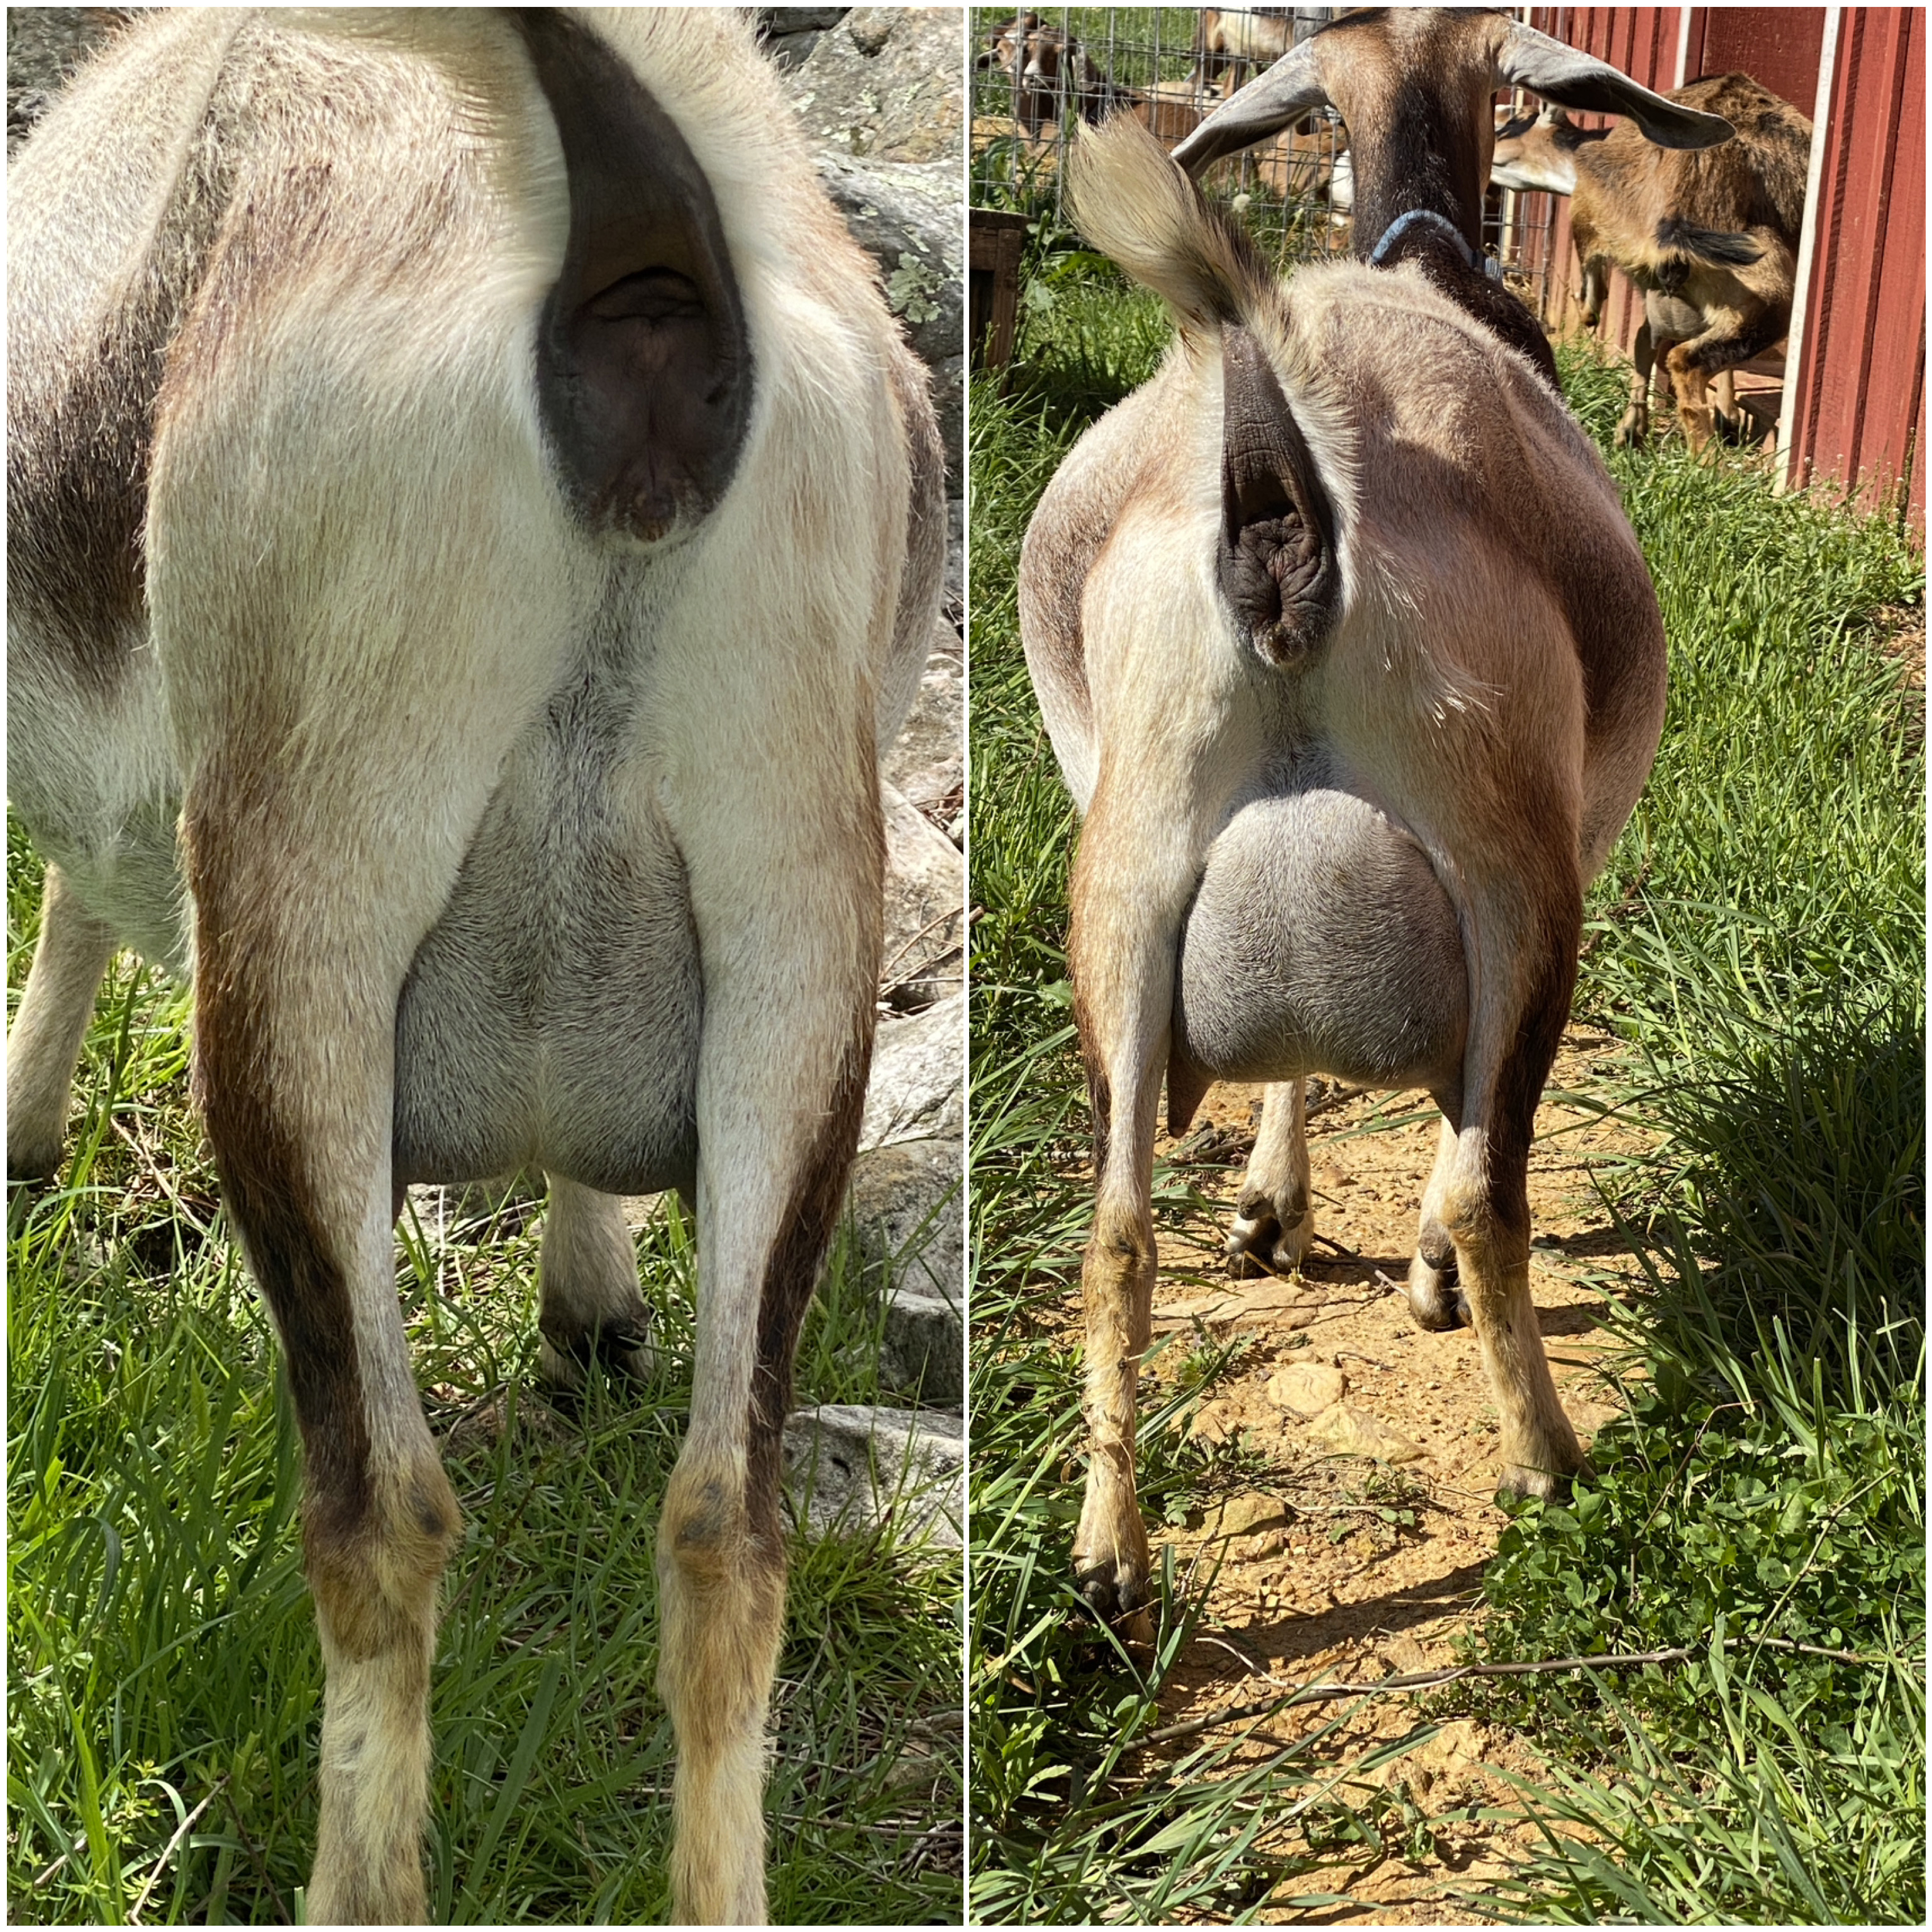
Look at her udder. Taking pictures every couple of days, starting when they are 2 weeks out or so, can really help newbies to see changes. A doe’s udder starts to be noticable anywhere from 6-8 weeks before due date. BUT, it really grows in the last few weeks, and typically, you can really tell a difference in the udder and teats when labor is 24 hours (or less) away (right picture is 2 days later than left). The udder will be engorged, and the teats will be firm to stiff.
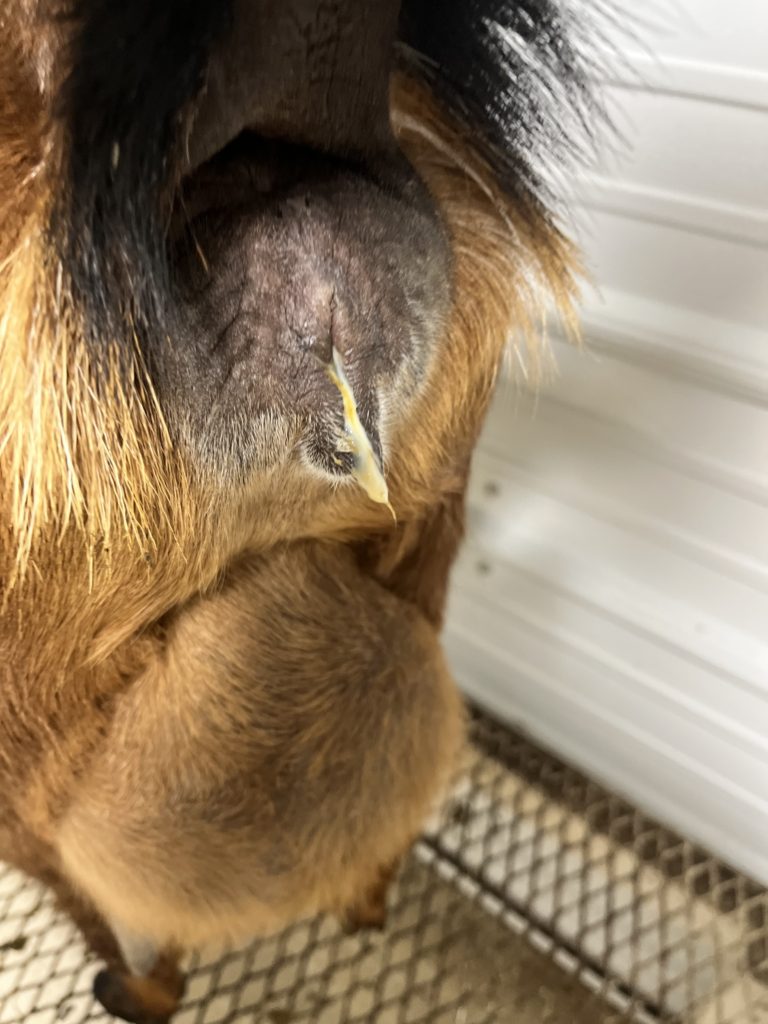
Watch for her mucus plug. This is my most reliable sign. If I see an inch or more of mucus hanging out of her butt, I know that we are going to have babies within the next… oh… 10 hours on the outside, but typically more like 6. 🙂
Signs of Early Labor
- Not eating her breakfast. Or, not eating hay, if it’s after breakfast.
- If I’m watching a doe through the night on the barn camera, and she’s eating away, I’m thinking she’s not in labor, nor will she be, for the next few hours.
- Generally speaking, does kid on an empty rumen, so they don’t tank up right before delivery.
- Here’s a free tip: LOAD up does who are near to deliveries on hay in the evenings and you may not have as many night time labors.
- Standing off by herself in a way not usual for her.
- An “inward look.” She’s not alert to her surroundings. She concentrating on what’s going on inside her.
Mucus is visible on her butt, or even a long stream of mucus as in this picture… six to eight inches long, thick and white or yellowish and more transparent. This doe is well into labor.
Generally, the closer to delivery she is, the more liquid or transparent it will be.
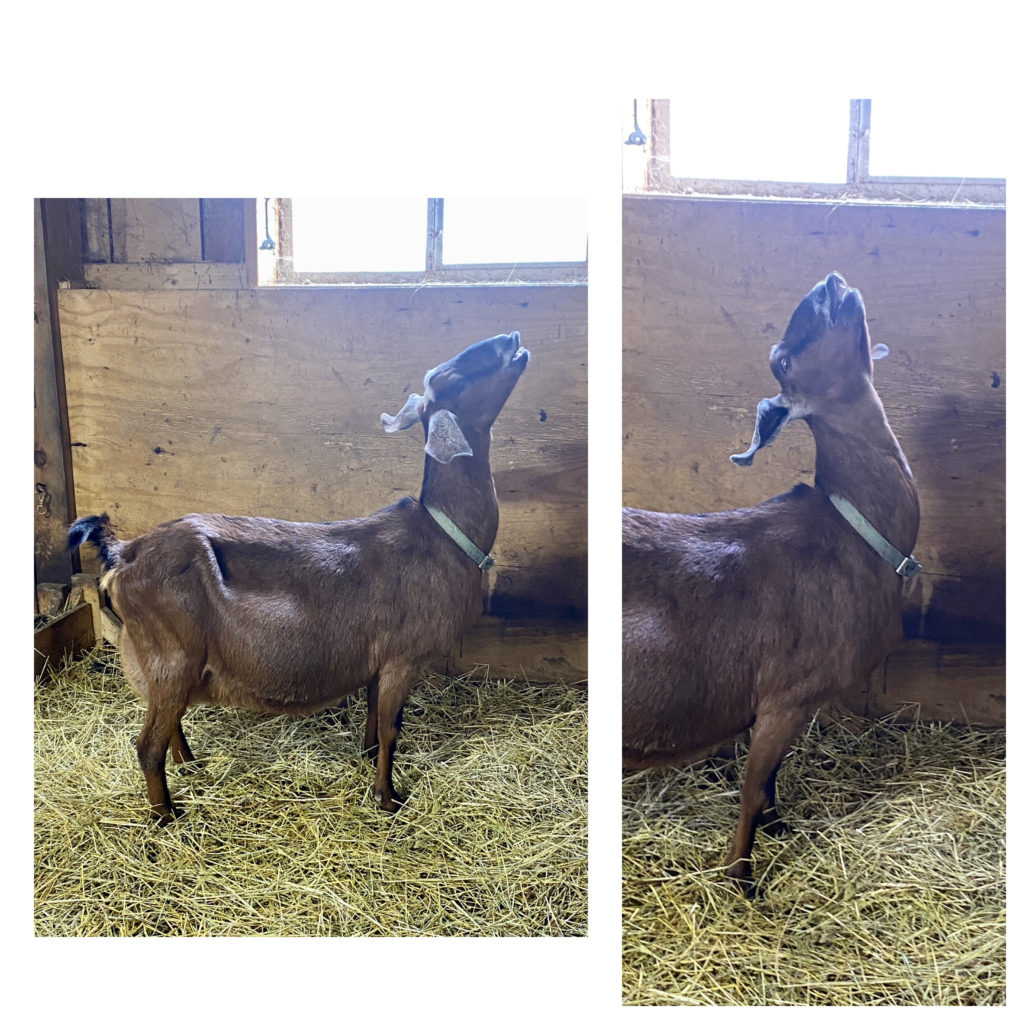
- Stretching and moving, looking uncomfortable. Some will lie down and then get up several times.
- Biting her sides.
- She may want to be licking your hands.
- Visible contractions: tensing of muscles, while tail extends straight upward.
- Her vulva may look convex (pushed out).
- She may paw at the ground.
NOTE: You may have all these signs going, and then they will diminish, and the doe may eat and/or drink. It’s normal. She is taking a break. Typically, labor will start up again after a bit.
You should not think of intervening until the doe has been actively pushing for 30 minutes. The early contractions are lining the kids up inside, and the cervix is opening. The doe must feel the pressure of the first kid to be born pressing on her cervix before she will begin to push him out. If you intervene too soon, you will be trying to pull a kid through a tight cervix, and can do real damage.
In these pictures, Candy is not pushing. She is having heavy contractions and stretching so as to line up her kids, but she is silent.
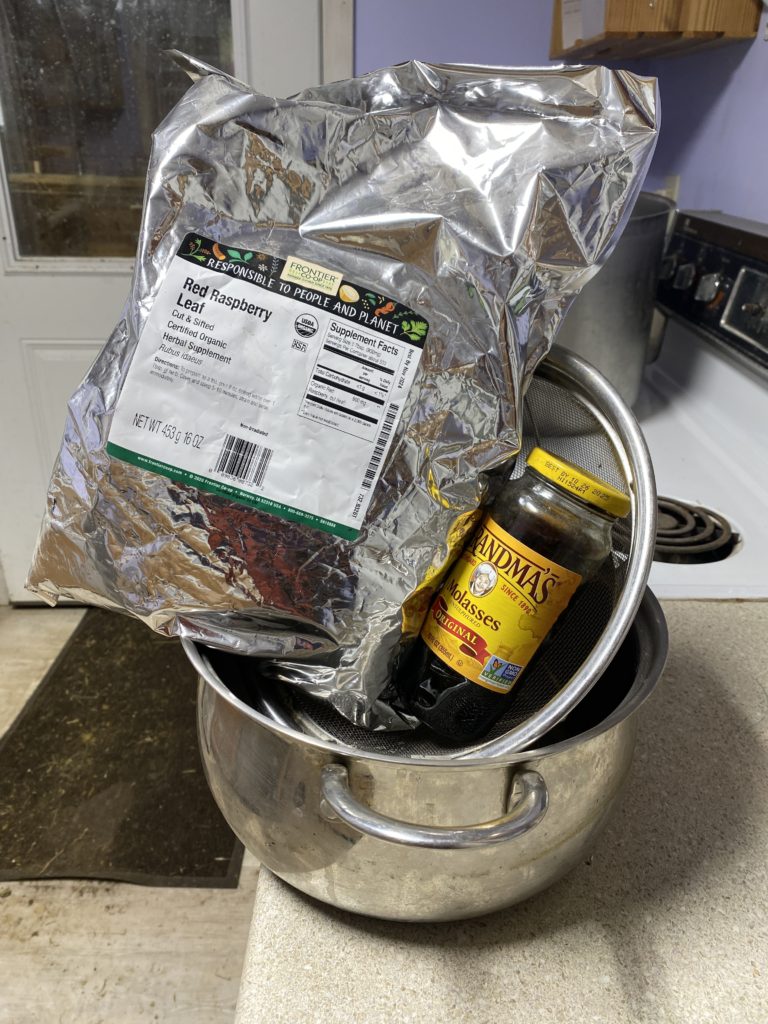
When the doe is well into labor, you’ll want to start brewing the red raspberry leaf tea. This warm drink given after all the kids are delivered will give her an energy boost and also help her uterus to contract and expel the placenta(s) sooner.
Get a 4 quart pot and a colander that will fit into it.
Put the red raspberry leaves (available on Amazon or other providers) into the colander and turn the water on to medium heat.
Allow the leaves to steep, making tea. Set a stopwatch for about 20 minutes.
After the tea is made, turn down the burner to “warm.” (Make sure it doesn’t boil away…)
Get out your molasses and a large serving spoon. Put them nearby.
Right after the doe is done kidding, you’ll stir in a big dollop of molasses and serve the tea warm (but not hot) to the weary momma.
Pushing and Delivery: Normal or Ideal Presentations.
Normally, after a few hours of contractions, the doe will begin pushing. I’ve only had two does who was soundless in this. Most will give prolonged grunts as they bear down; a few will actually give high-pitched screaming at this stage.
- Pushing is different from contractions: you can tell that she is bearing down. You can hear it on a barn cam, so I always leave the sound on at night. I’ve had one birth in particular to which I was only alerted through hearing the doe pushing, since it was mid-morning, and she was out of sight behind a manger, and we had no idea since our last barn check that she was in labor.
- The dam may push standing up or lying down. Mine almost always lie down, and almost always wedge their butts into the most uncomfortable (for me) location available. This is one good reason for kidding in the open, and not in a tight kidding stall. It gives us humans more room to maneuver around the doe.
Pushing is the stage when you will begin to see the kid. Below are details of what you’ll hope to see and do …
Focus on the dam…
- Each normal, live kid is encased in an amniotic sack, filled with fluid. This sack can look white or yellowish, and is translucent. As the kid begins to be pushed out of the doe, you’ll see a “bubble” — it’s the tip end of this sack.
- There are two ideal (or normal) presentations: two feet and head first, or two hind feet first. Both of these are “normal” or “ideal” presentations. See these diagrams. (We will discuss abnormal presentations in Part 3.)
- If you have a bright light (such as a flashlight or cell phone light) you can look into the bubble, and hope to see two hooves encased in a protective, white casing. Ideally, there’s a nose there, too. Often you can see teeth and a tongue.
- Sometimes, the sack will burst as the doe pushes the baby out. This is normal. If it does, and the kid is nose first, you can wipe its face and nose with your towel, as it may start to gasp and breath before it’s fully born, or not.
- Typically, after the head and shoulders are out, in a normal delivery, the rest of the kid slides out and onto the floor.
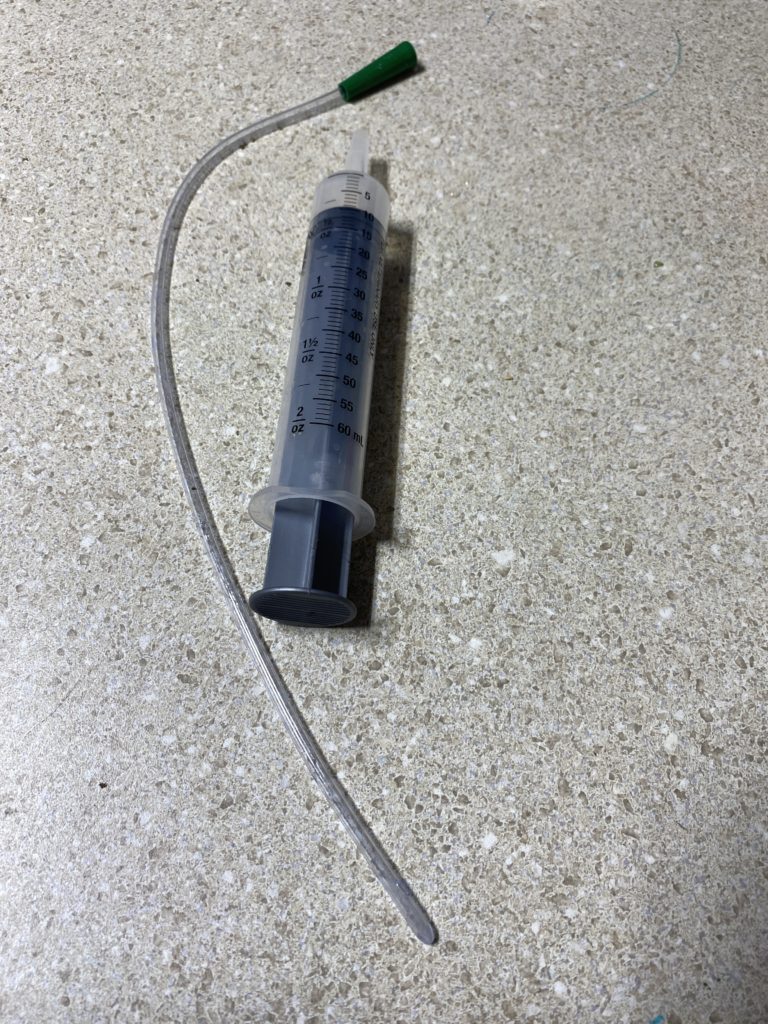
- Ideally, you are waiting with a towel (or feed sack) placed right near the scene of the action. You should wipe the kid’s head with a towel first, clearing its nasal passages (carefully — they are delicate) and throat if needed with the bulb aspirator.
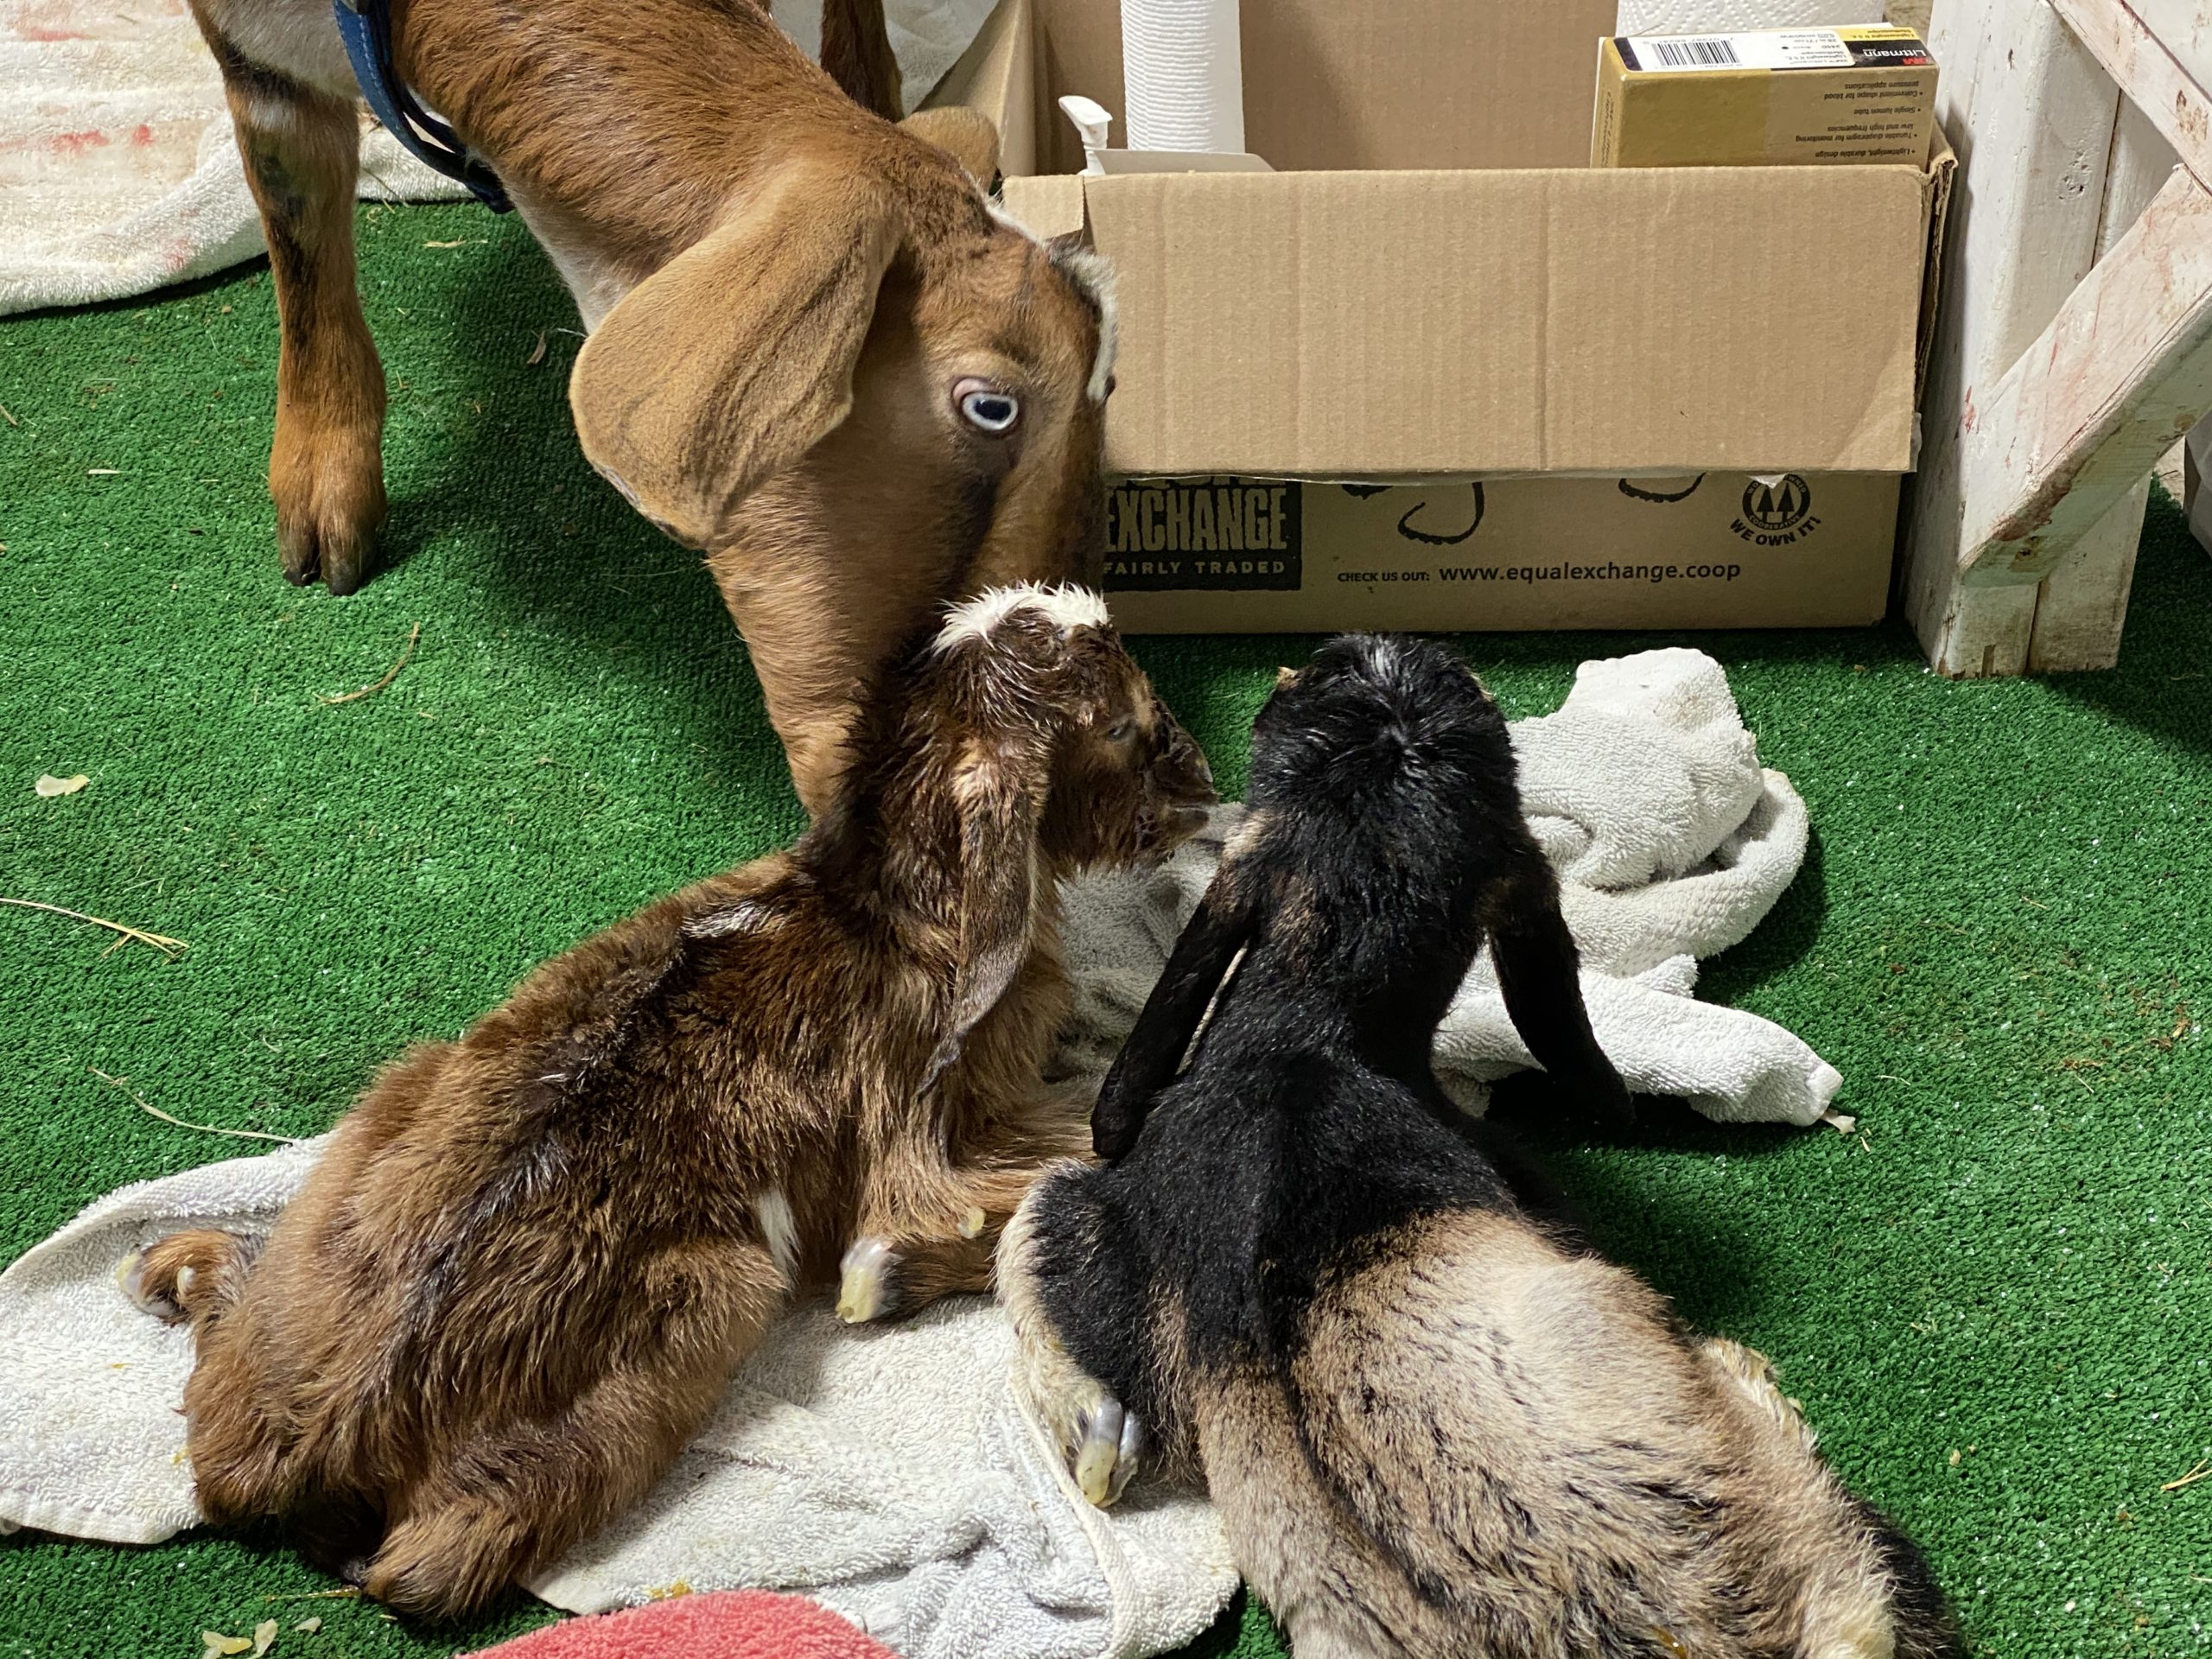
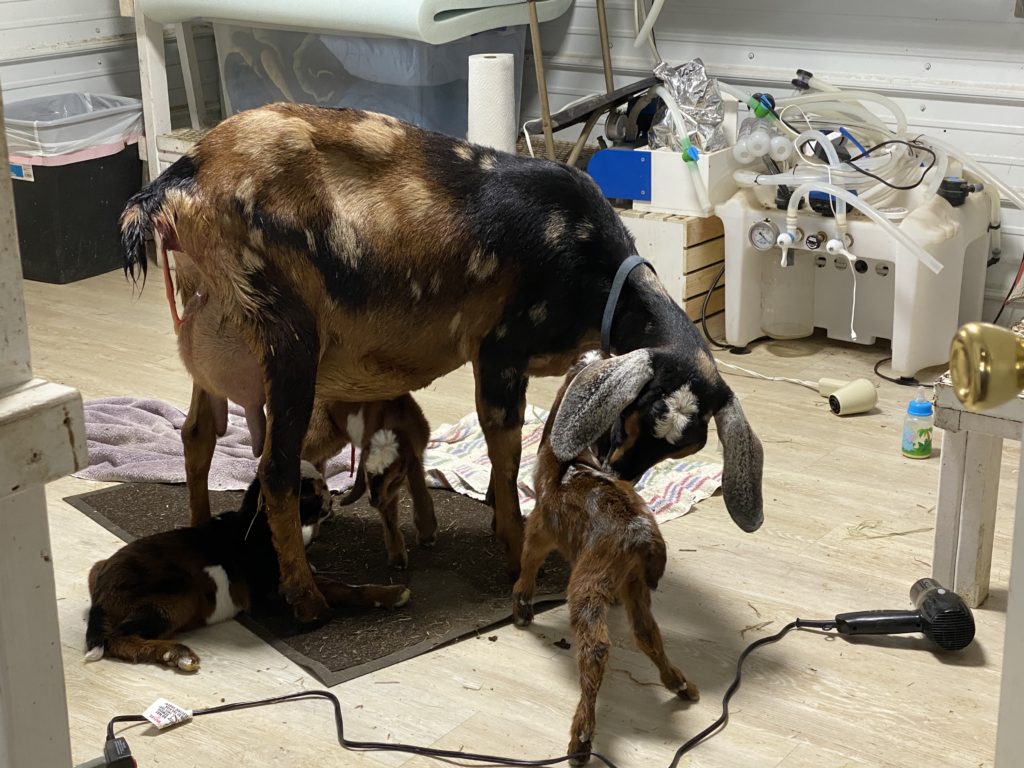
- After the kid is breathing well, which should be within 30 seconds, put the kid in front of the doe so that she will lick it and smell it.
- This is VERY important. She needs to bond with her baby, and should eagerly lick it. You can assist with drying, but do not get in her way, especially if she’s a first freshener. Such new dams might not know to do this. Present the baby to the doe, and if she’s uncertain, back away and see whether she will start to lick it on her own.
- If it’s not cold in the barn, you don’t have to assist with drying at all.
- This is VERY important. She needs to bond with her baby, and should eagerly lick it. You can assist with drying, but do not get in her way, especially if she’s a first freshener. Such new dams might not know to do this. Present the baby to the doe, and if she’s uncertain, back away and see whether she will start to lick it on her own.
- In most cases, there will be about 15-20 minutes between kids. It can go longer, or shorter. Sometimes multiple kids can come fast: one after the other. During the interval, it is a great idea to get each kid nursing if possible. (See details below)
- Bumping her: If you think the doe may be done delivering kids, you can try a little test to see if there are any kids left inside her. If she is standing up, stand behind her butt and reach around her belly and lace your fingers together. Then pull up on the belly and then let it drop again into your hands. (This is not a big motion, but it is quick. Be gentle, but firm.) If there are kids left, you can typically feel sharp hooves or bony butts bumping against your hands.
- When she is finished delivering kids, you will want to give her the red raspberry tea with molasses as an energy boost and to help the uterus contract to expel the placenta(s). (If the tea is too hot, cool it by adding some cold water.) Most of mine gratefully suck down nearly a gallon of the stuff.
Also focus on the Kids…
As each kid is born, it will need to breathe freely first, and then quickly be presented to the dam for cleaning, sniffing, and bonding. Additionally, you need to be concerned with each kid’s temperature and note their sucking reflexes.
Healthy kids will emerge with open eyes and a perfect mouth. They are miracles on hooves, ready to stand and eat within 5-10 minutes of birth.
They will be slick and wet from birth fluids.
As the dam licks them, she is drying and stimulating (and thus warming) them. However, if the barn temperatures are cold… under 40° or so… the wet kid can get chilled.
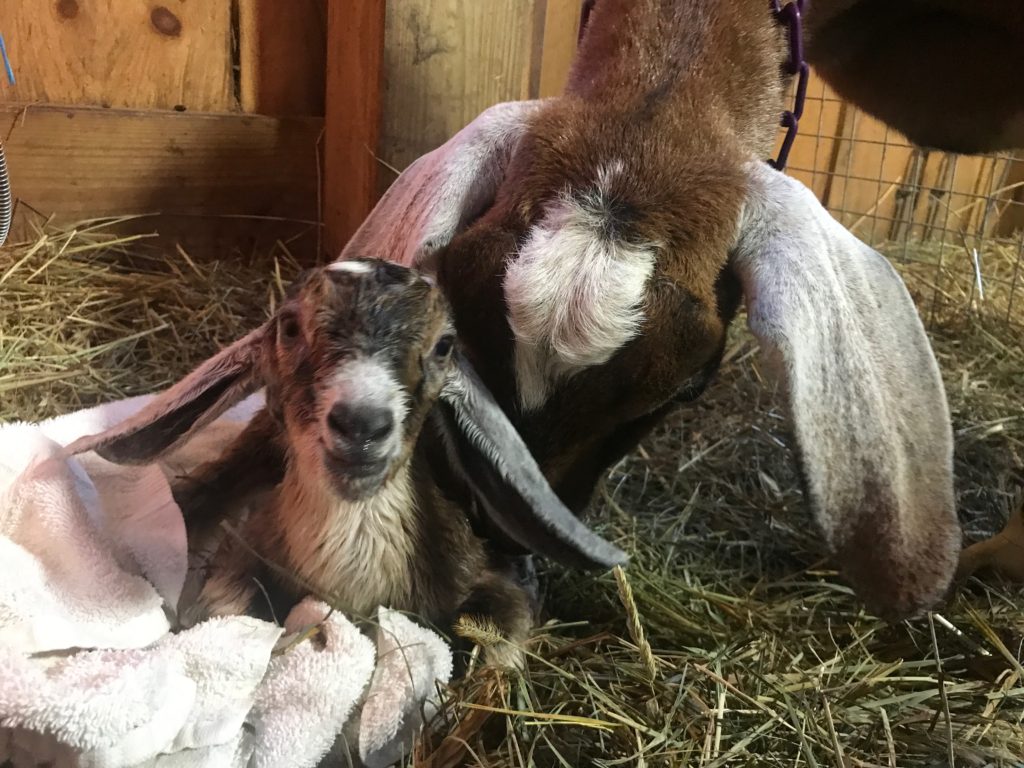
- If your barn is cold, help to dry the kid with a towel and, if the kid is “floppy” — i.e. not attempting to get up to nurse — put your finger in its mouth. If it is cool to the touch, then you need to warm the kid.
- We use a styrofoam cooler and a hair dryer. Put the kid into the cooler; turn the hair dryer on a low but warm setting, and then put a towel over the cooler. Be careful not to burn the kid, but fill the cooler with warm air from the hair dryer. Typically, this only takes 5-10 minutes. If this is the kid’s issue, it will brighten considerably and start looking to nurse your hands and/or to stand up. Take it back to its mother and help it to nurse, as described below.
- As you are helping to dry a healthy kid with a towel, don’t be too gentle. Friction on its skin will stimulate and warm it.
- As the kid warms, it should attempt to get on its feet. Because it is using its ligaments and muscles for the first time, it will usually take many tries for the kid to be on his feet, and some only seem to know how to go in “reverse.”
- You can assist with this process, maybe by untangling limbs and making sure that the surface under the kid gives him good footing, but also do let the kid struggle to right himself. This is how his muscles strengthen.
- IDEALLY, each kid should get some colostrum in him within 30 minutes of being born, the sooner the better. It is vital that the kid be warm, or he will neither seek the teat nor be able to digest the colostrum.
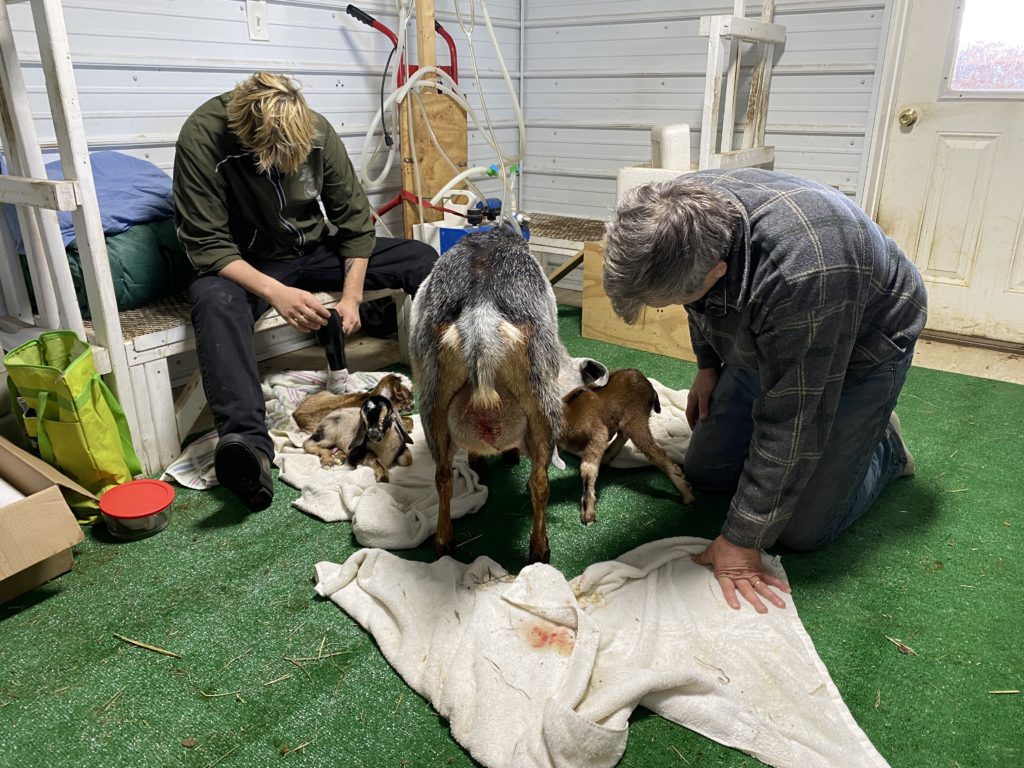
- If the kid is warm and active, it will start searching for the dam’s teat. She will nuzzle her dam’s side and bump her head on her dam’s belly (or your hands). She may go the wrong way, nuzzling along the dam’s chest or ear.
- If it’s been about 15 minutes and no active pushing is going on, urge the doe to stand so that the firstborn can nurse. (Nursing will stimulate uterine contractions!)
- You can pick the kid up and bring her to the teat. Don’t try pushing her butt or her head towards the teat, as her instinct will be to push back. The kid has eyes; you can put her in front of the teat, and then bend the teat towards her mouth. Her God-given reflex will be to “latch on” and suck vigorously.
- If the kid just “sips” at the teat, that’s OK for a first try, but attempt to get the kid back to the teat in a very short while. You want to see vigorous, prolonged suckling as soon as can be.
- Take a break from trying to get kids to nurse if the doe starts to deliver another kid. Make sure that the first one is safe from being sat or stepped on, and then give your attention to the delivery of the next kid.
- As soon as you can, dip each kid’s umbilical cord in iodine.
The Clean Out
Typically, after the last kid is born, there will be long, stringy, bloody tissue hanging out of the doe’s vulva.
Do not touch it! Between one and twenty-four hours later, the placenta(s) will emerge on its own.
- Most of my does have birthed their placenta(s) within 2-4 hours, but it’s not unsafe in goats for it to take up to five days to deliver placentas, especially if there are birth complications (see Part 3).
- Again, NEVER pull on the tissue that is hanging out of the vulva. You want the placenta(s) to disengage naturally.
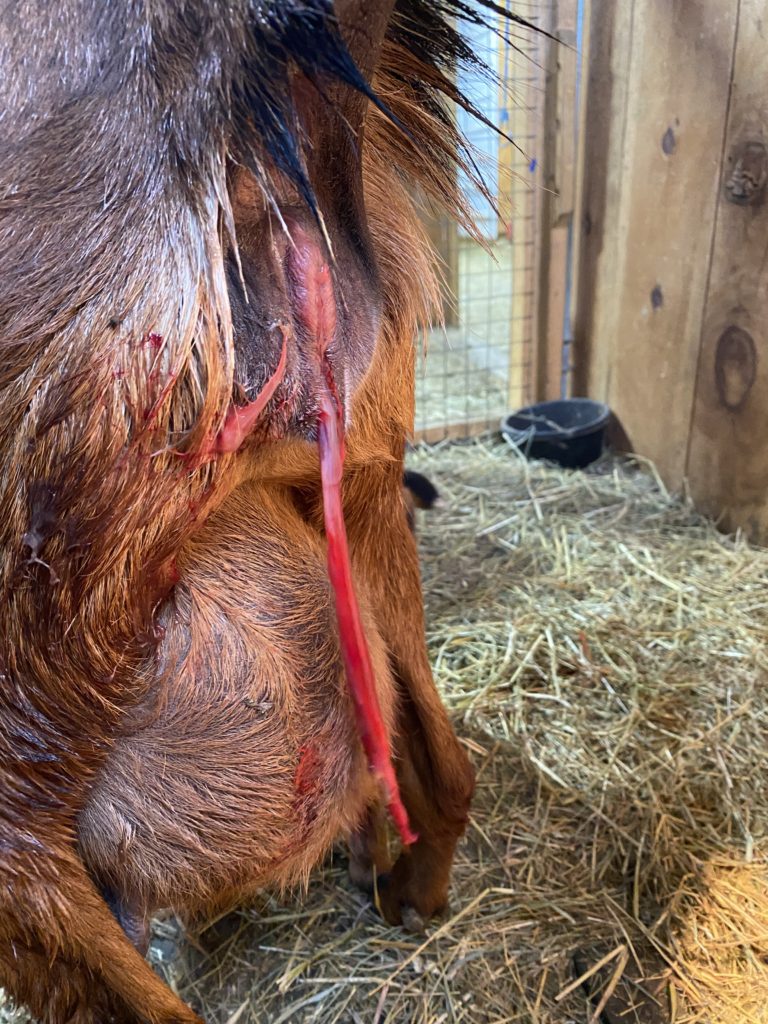
- Did you notice that (s) on the end of “placenta”? Yup. Sometimes there are two.
- A goat’s uterus is pronged: it has two “horns” in which kids can be lodged. In some cases, each of these “horns” can have its own placenta.
- VERY rarely, you can have a kid or two born, and then a placenta, and then another kid (or two). This has only happened only a few times to me.
- A goat’s uterus is pronged: it has two “horns” in which kids can be lodged. In some cases, each of these “horns” can have its own placenta.
