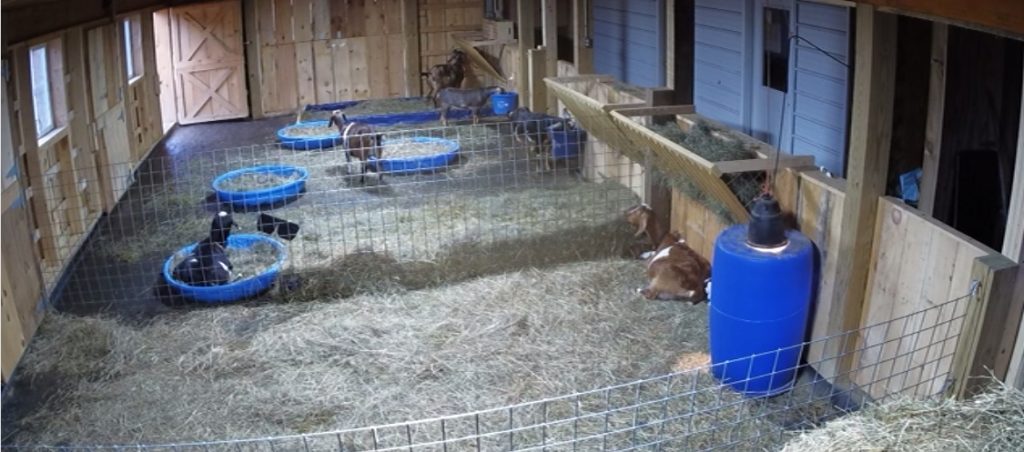
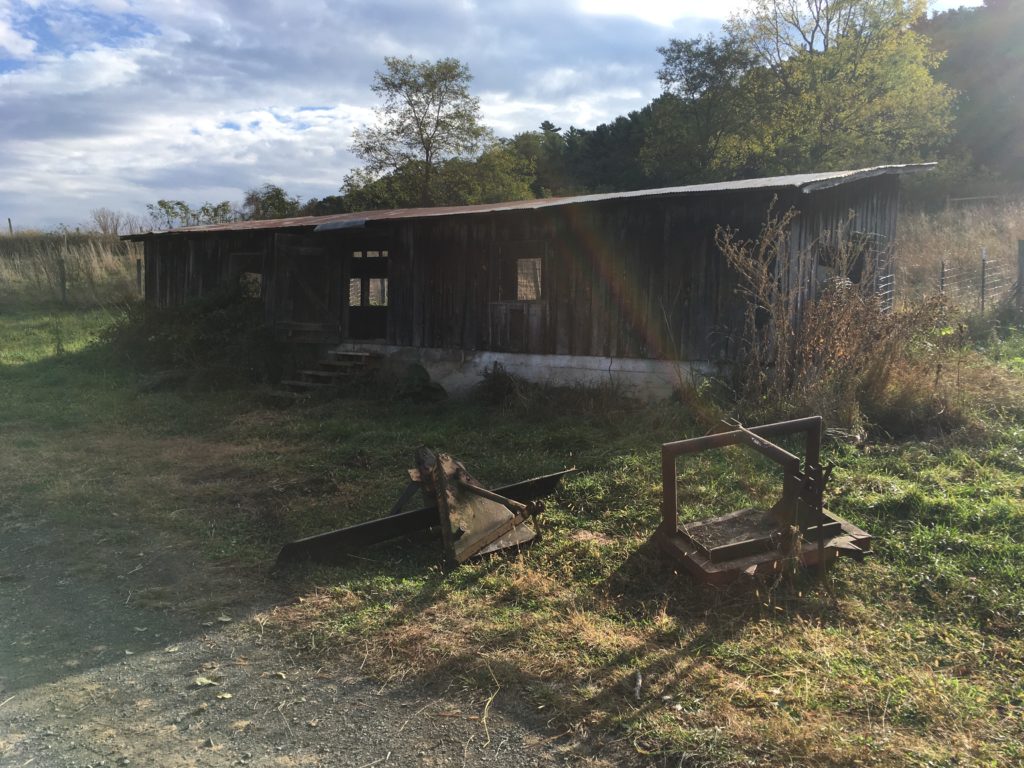
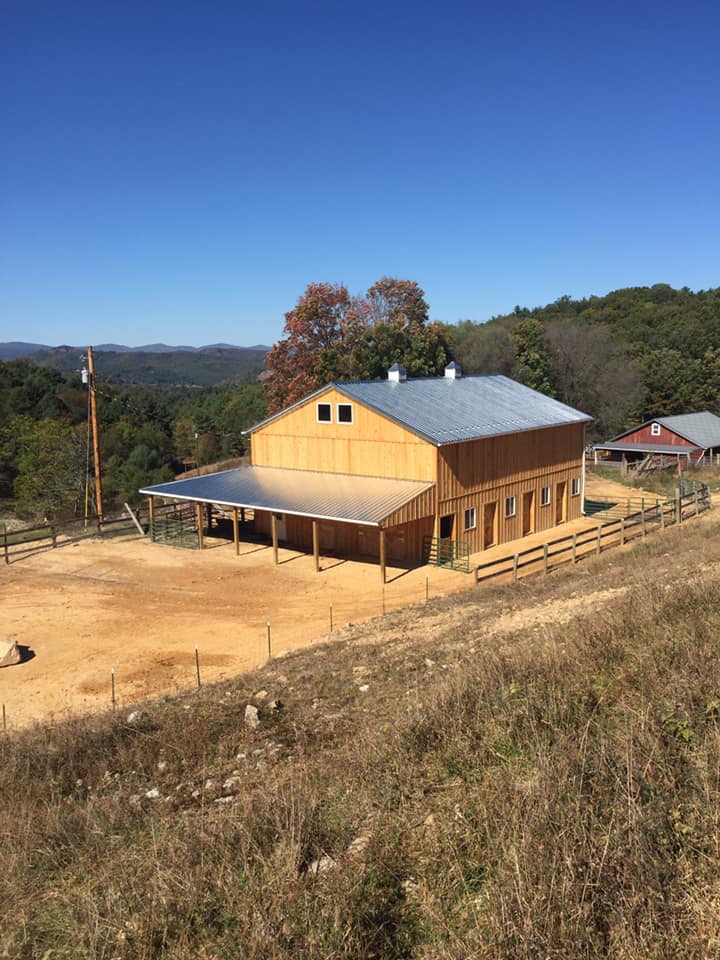
We have had a building hay crisis at Storybook Farm. We got a delivery of what looked like excellent hay in the fall, but as we’ve been going through it, about 1/5 of our square bales have molded! (We have a brand new barn with an excellent hay loft, so the hay had to have become damp somehow before it got here. Luckily, I buy locally, and the farmer who made it has 100 bales on reserve for me, so I have more on the way if we get a break in the weather. But I digress.
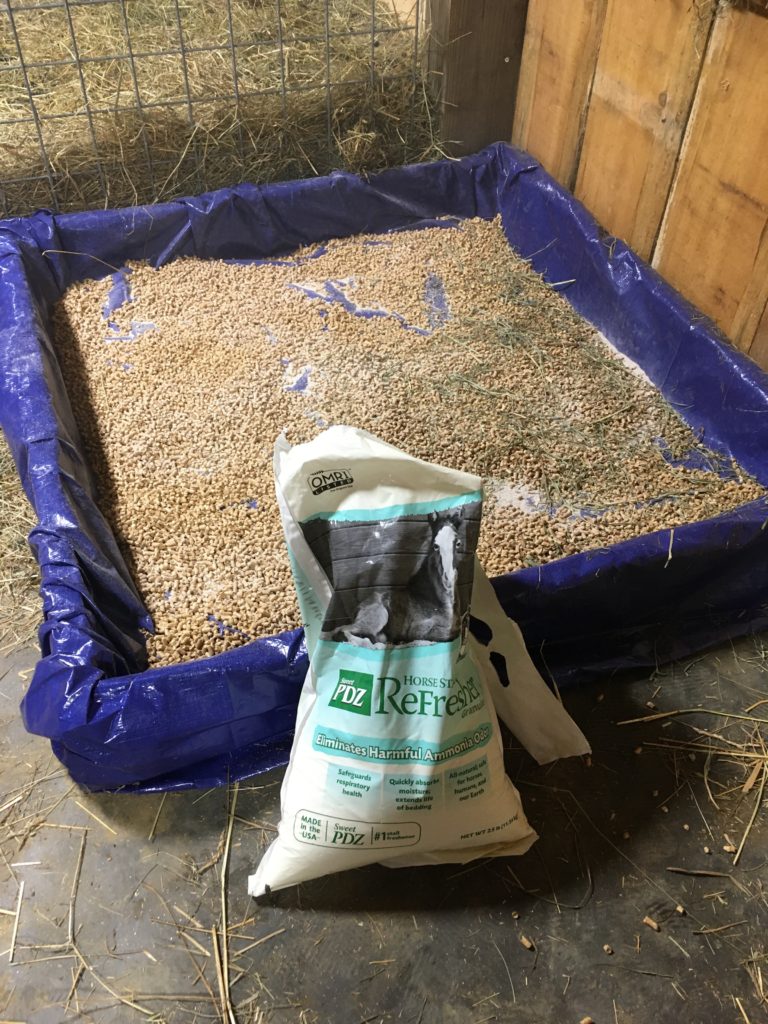
It was the combination of the concern about hay shortage and the crazy amount the the precious hay that I was sweeping up each morning as I muck our rubber-floored stall that made me decide, “ENOUGH IS ENOUGH. There has to be a better manger that saves hay!”
We just couldn’t afford to throw out any more!
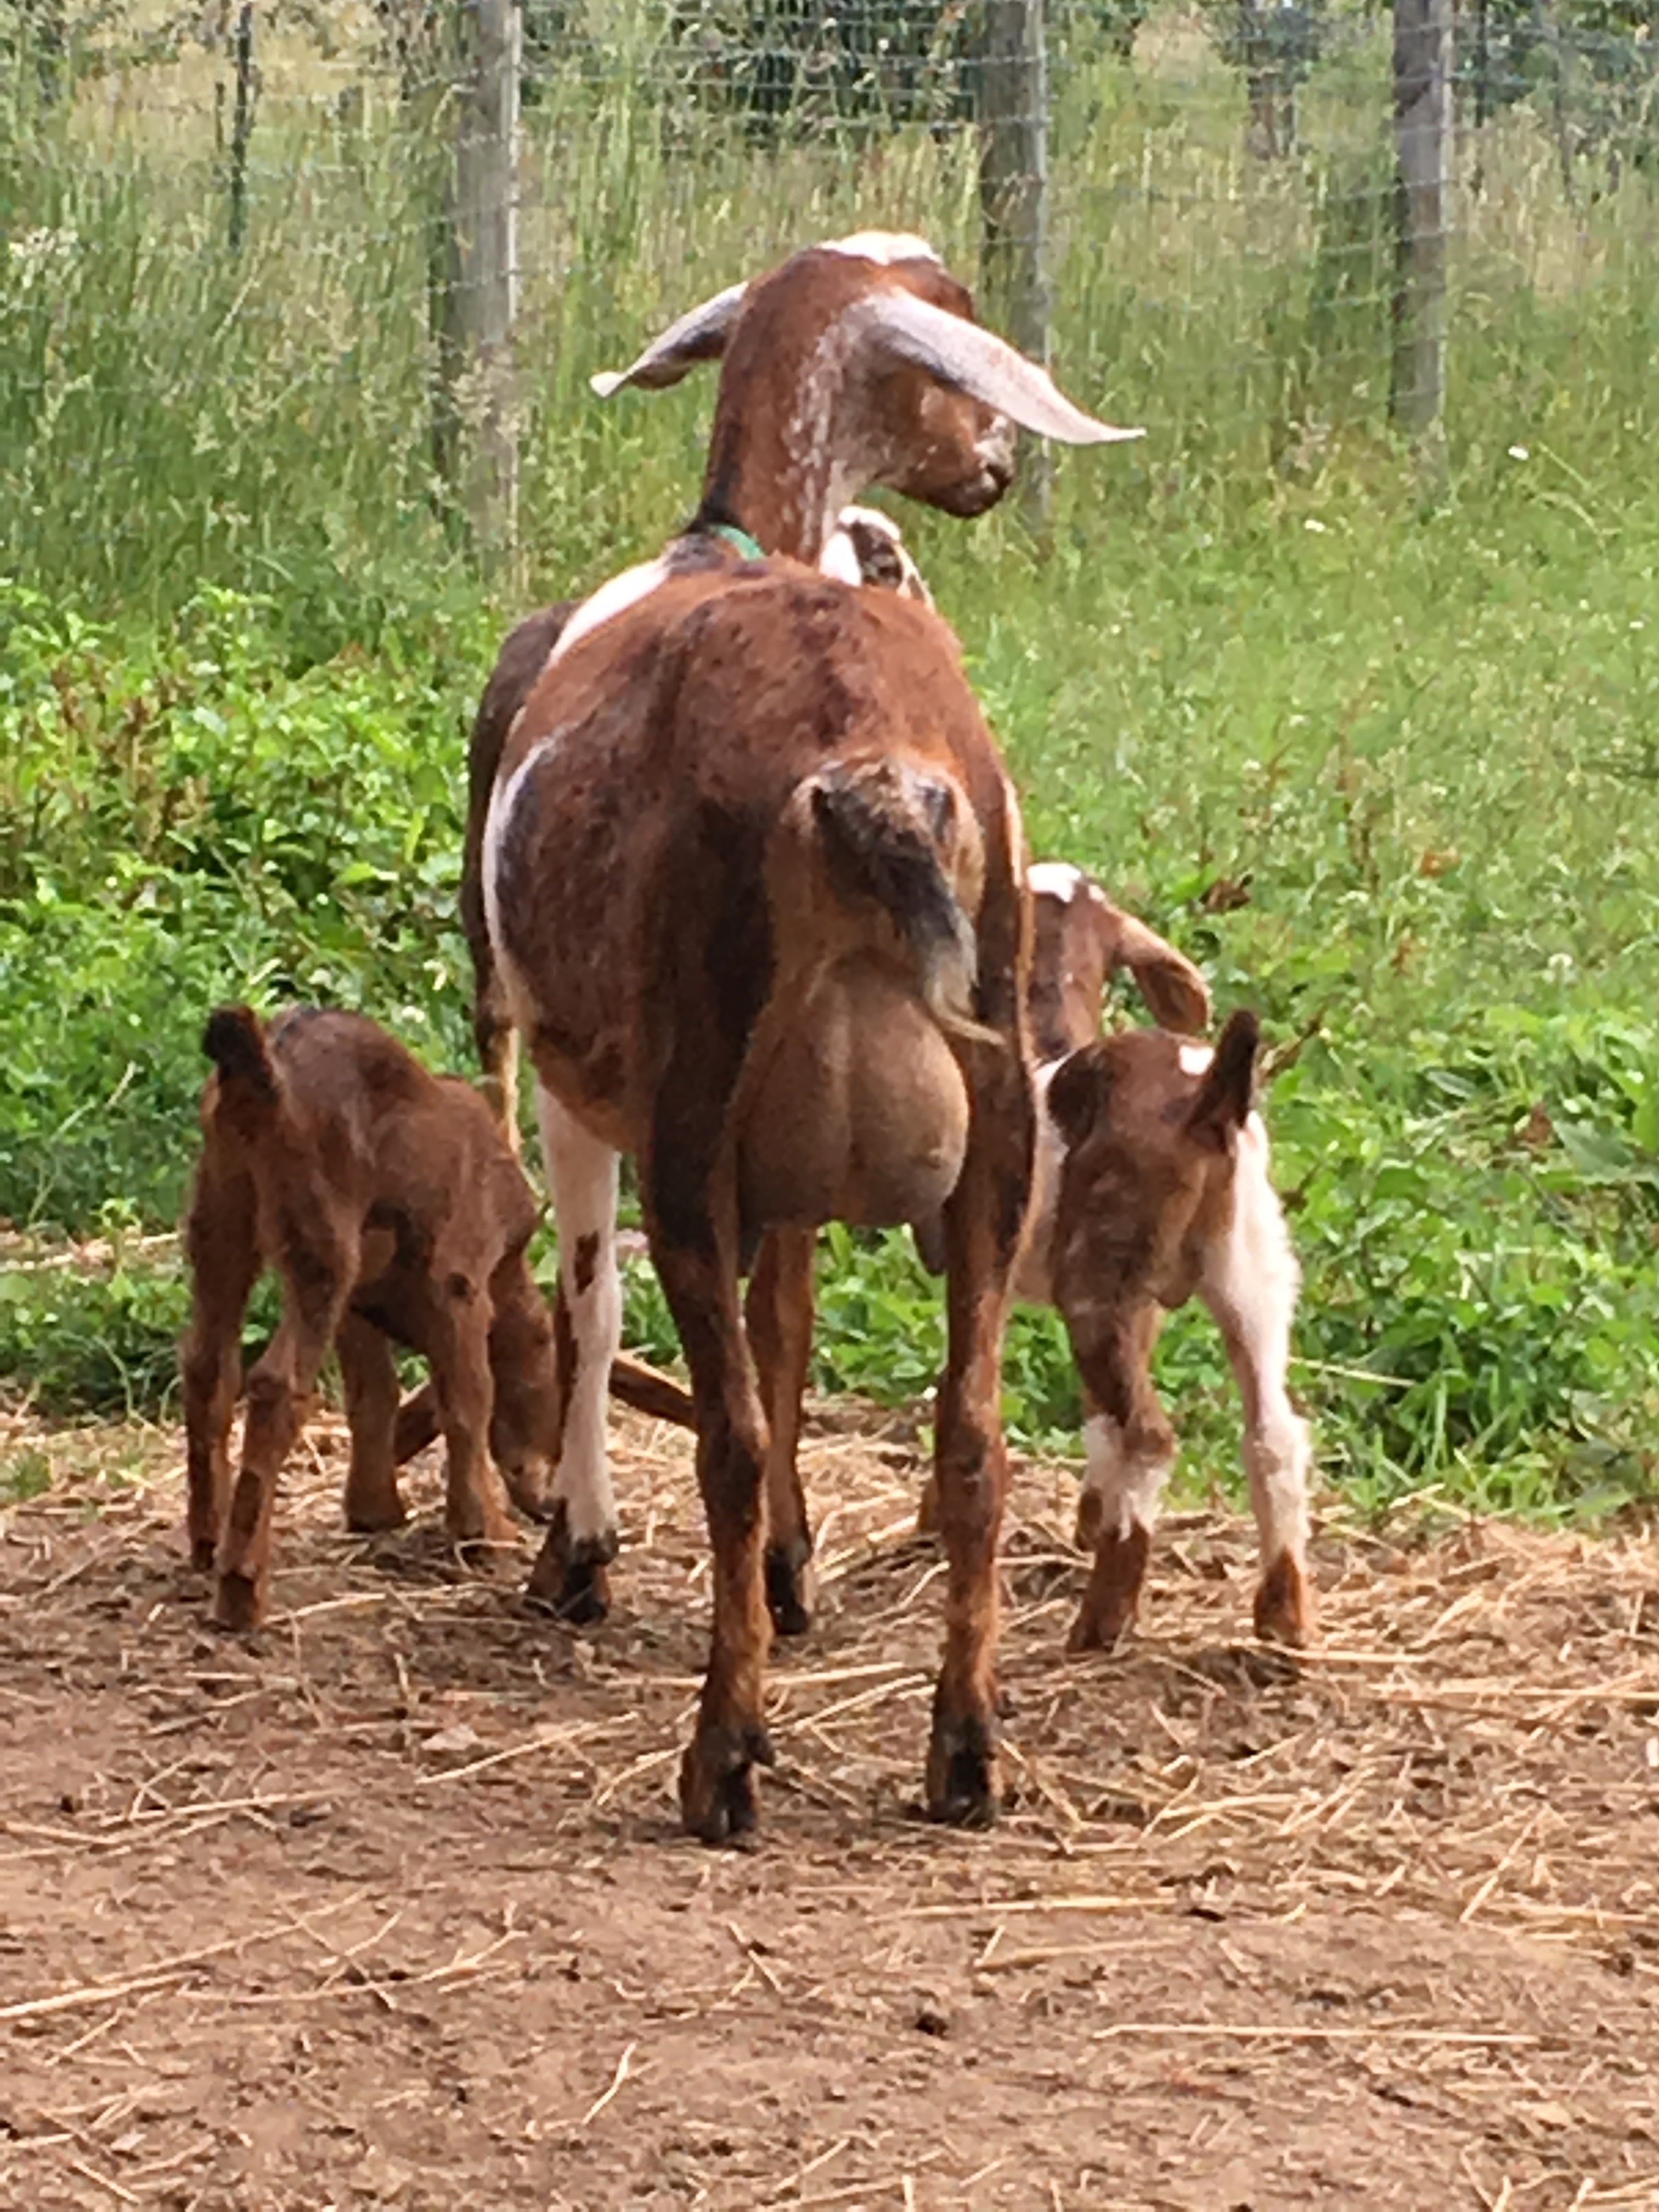
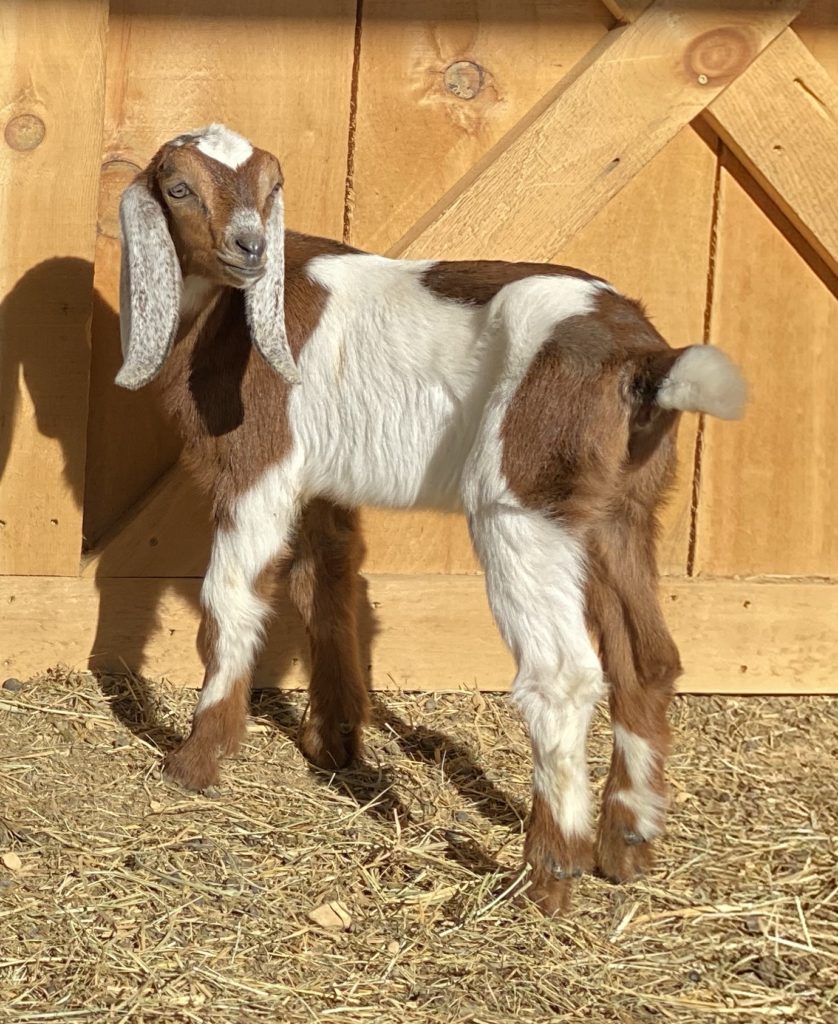
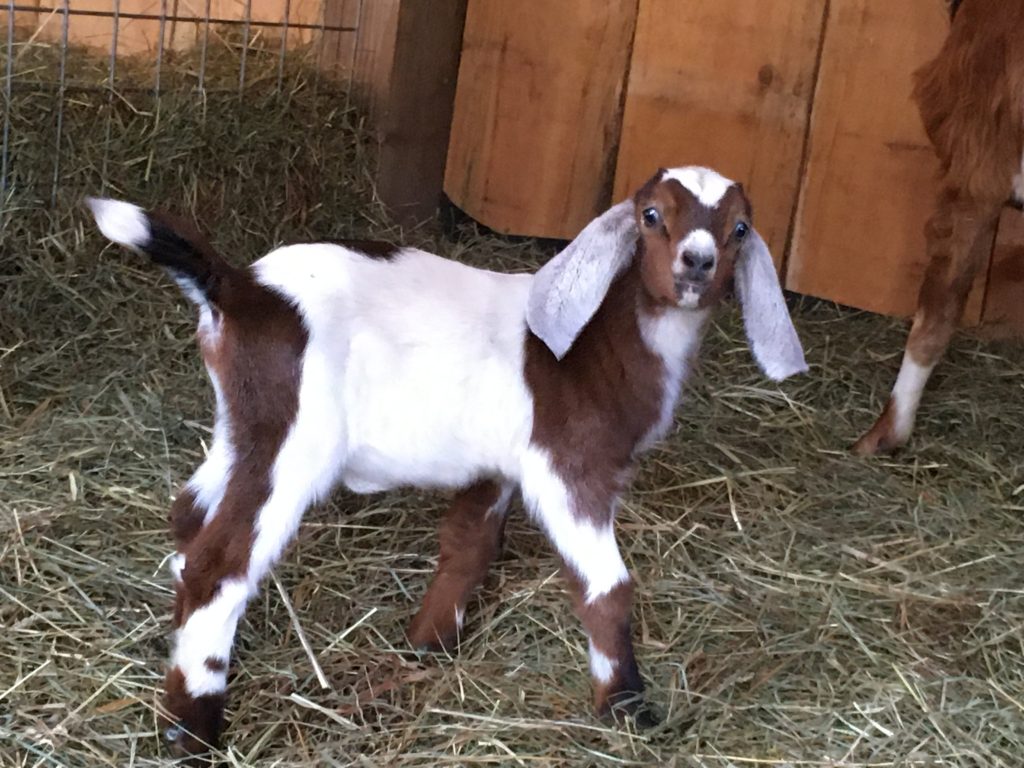
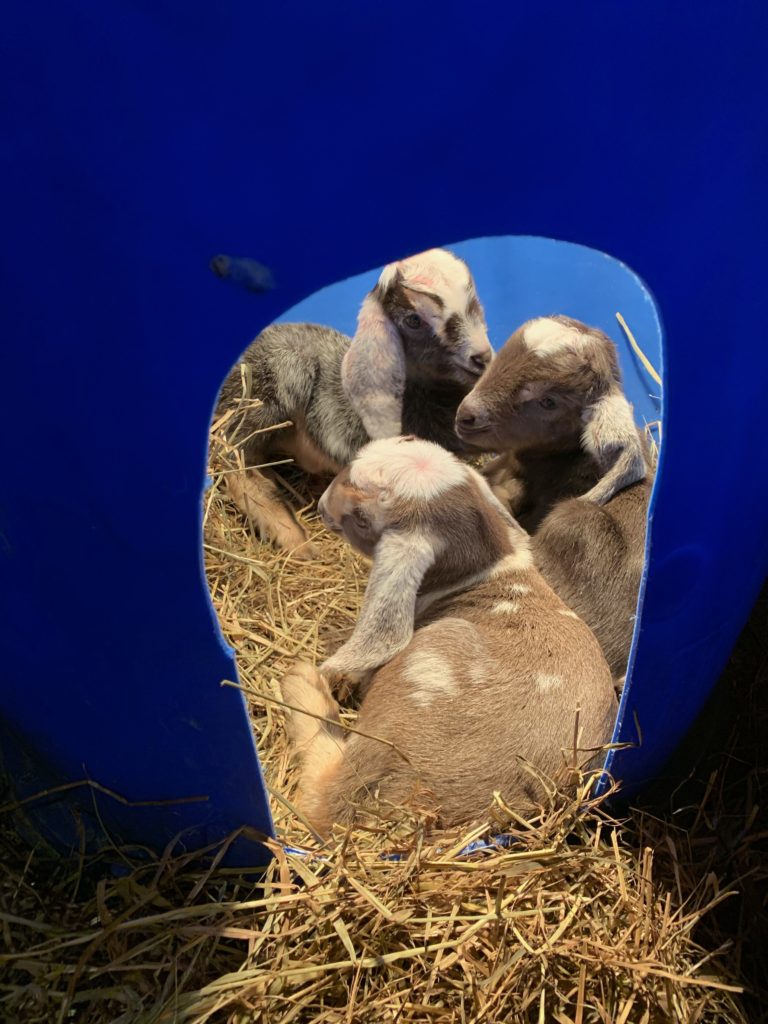
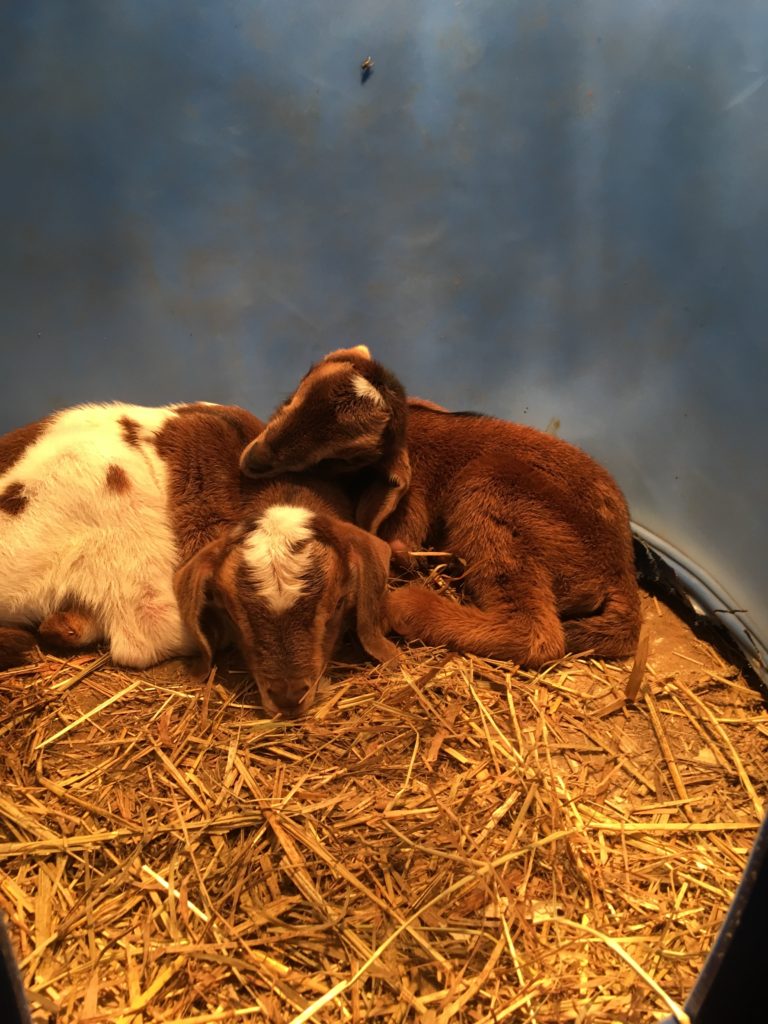
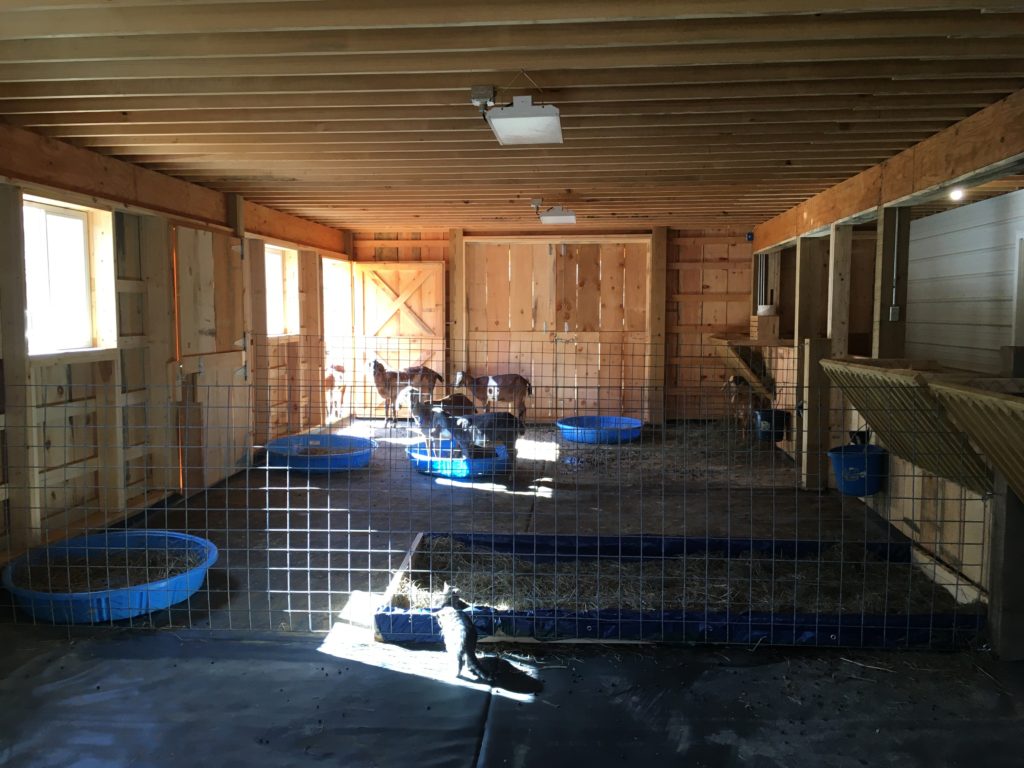
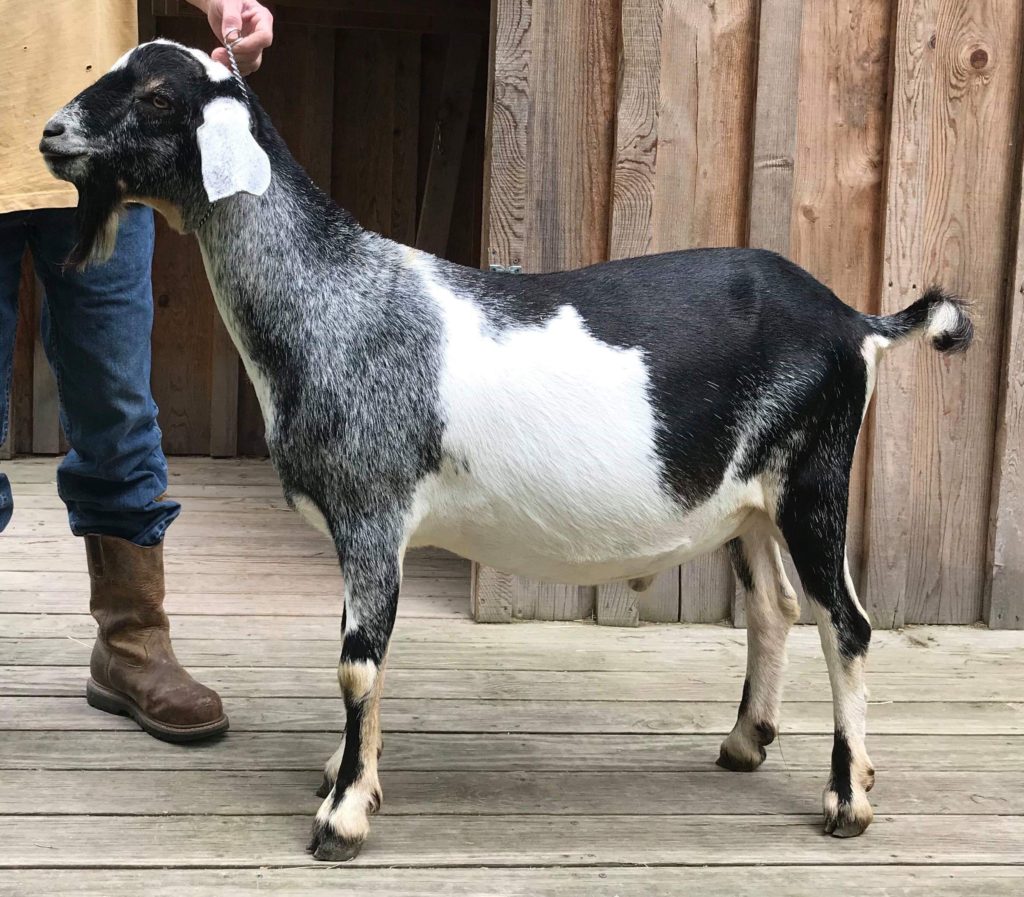
One of my biggest problems (besides waste) has been that, because we dam raise, little kids get into most mangers and do “the pee and poop dance” there. So, I was looking specifically for a solution for a group of mixed-aged does. I have kids that are 5+ weeks old, one that is 6 months old, three that are 9 months old, and then full-sized senior does—who range from small to large Mini-Nubians. Indeed, one of my does is almost the size of a standard Nubian.
These were my challenges going in, but I couldn’t be more pleased with the solution that I’ve found!
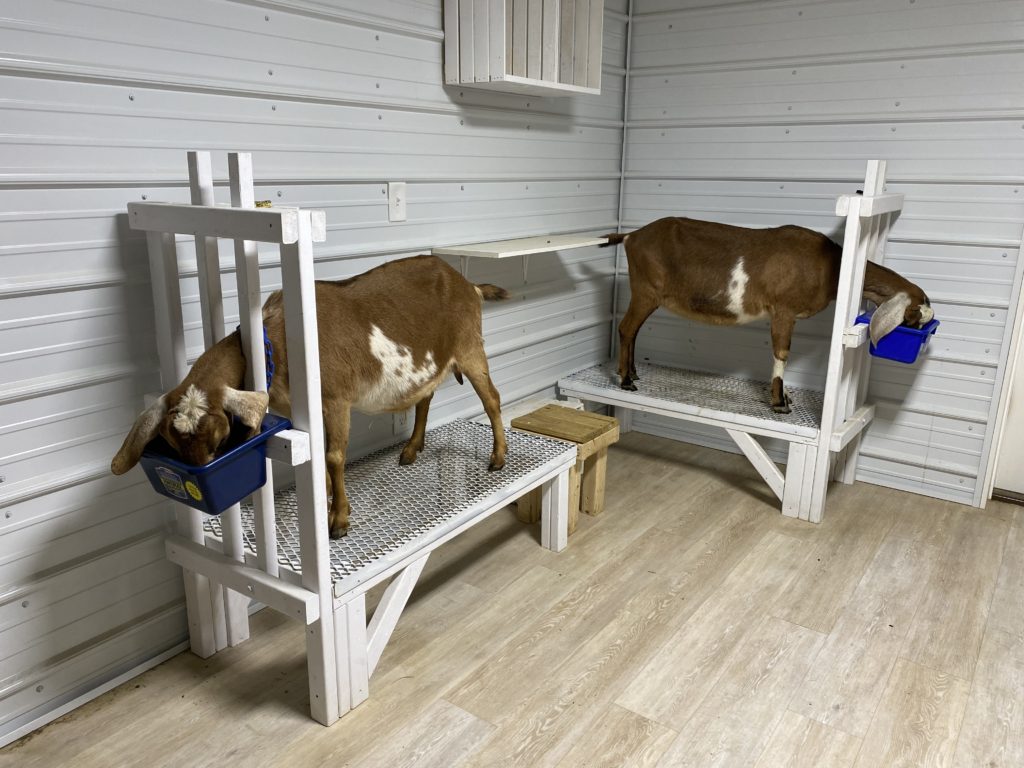
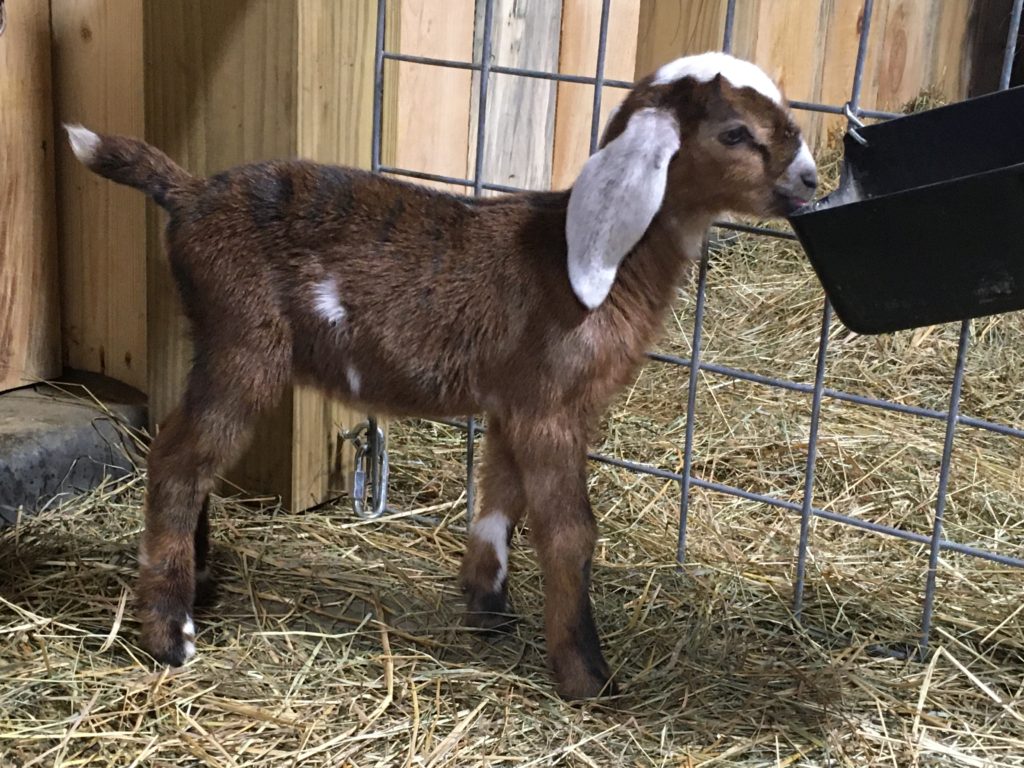
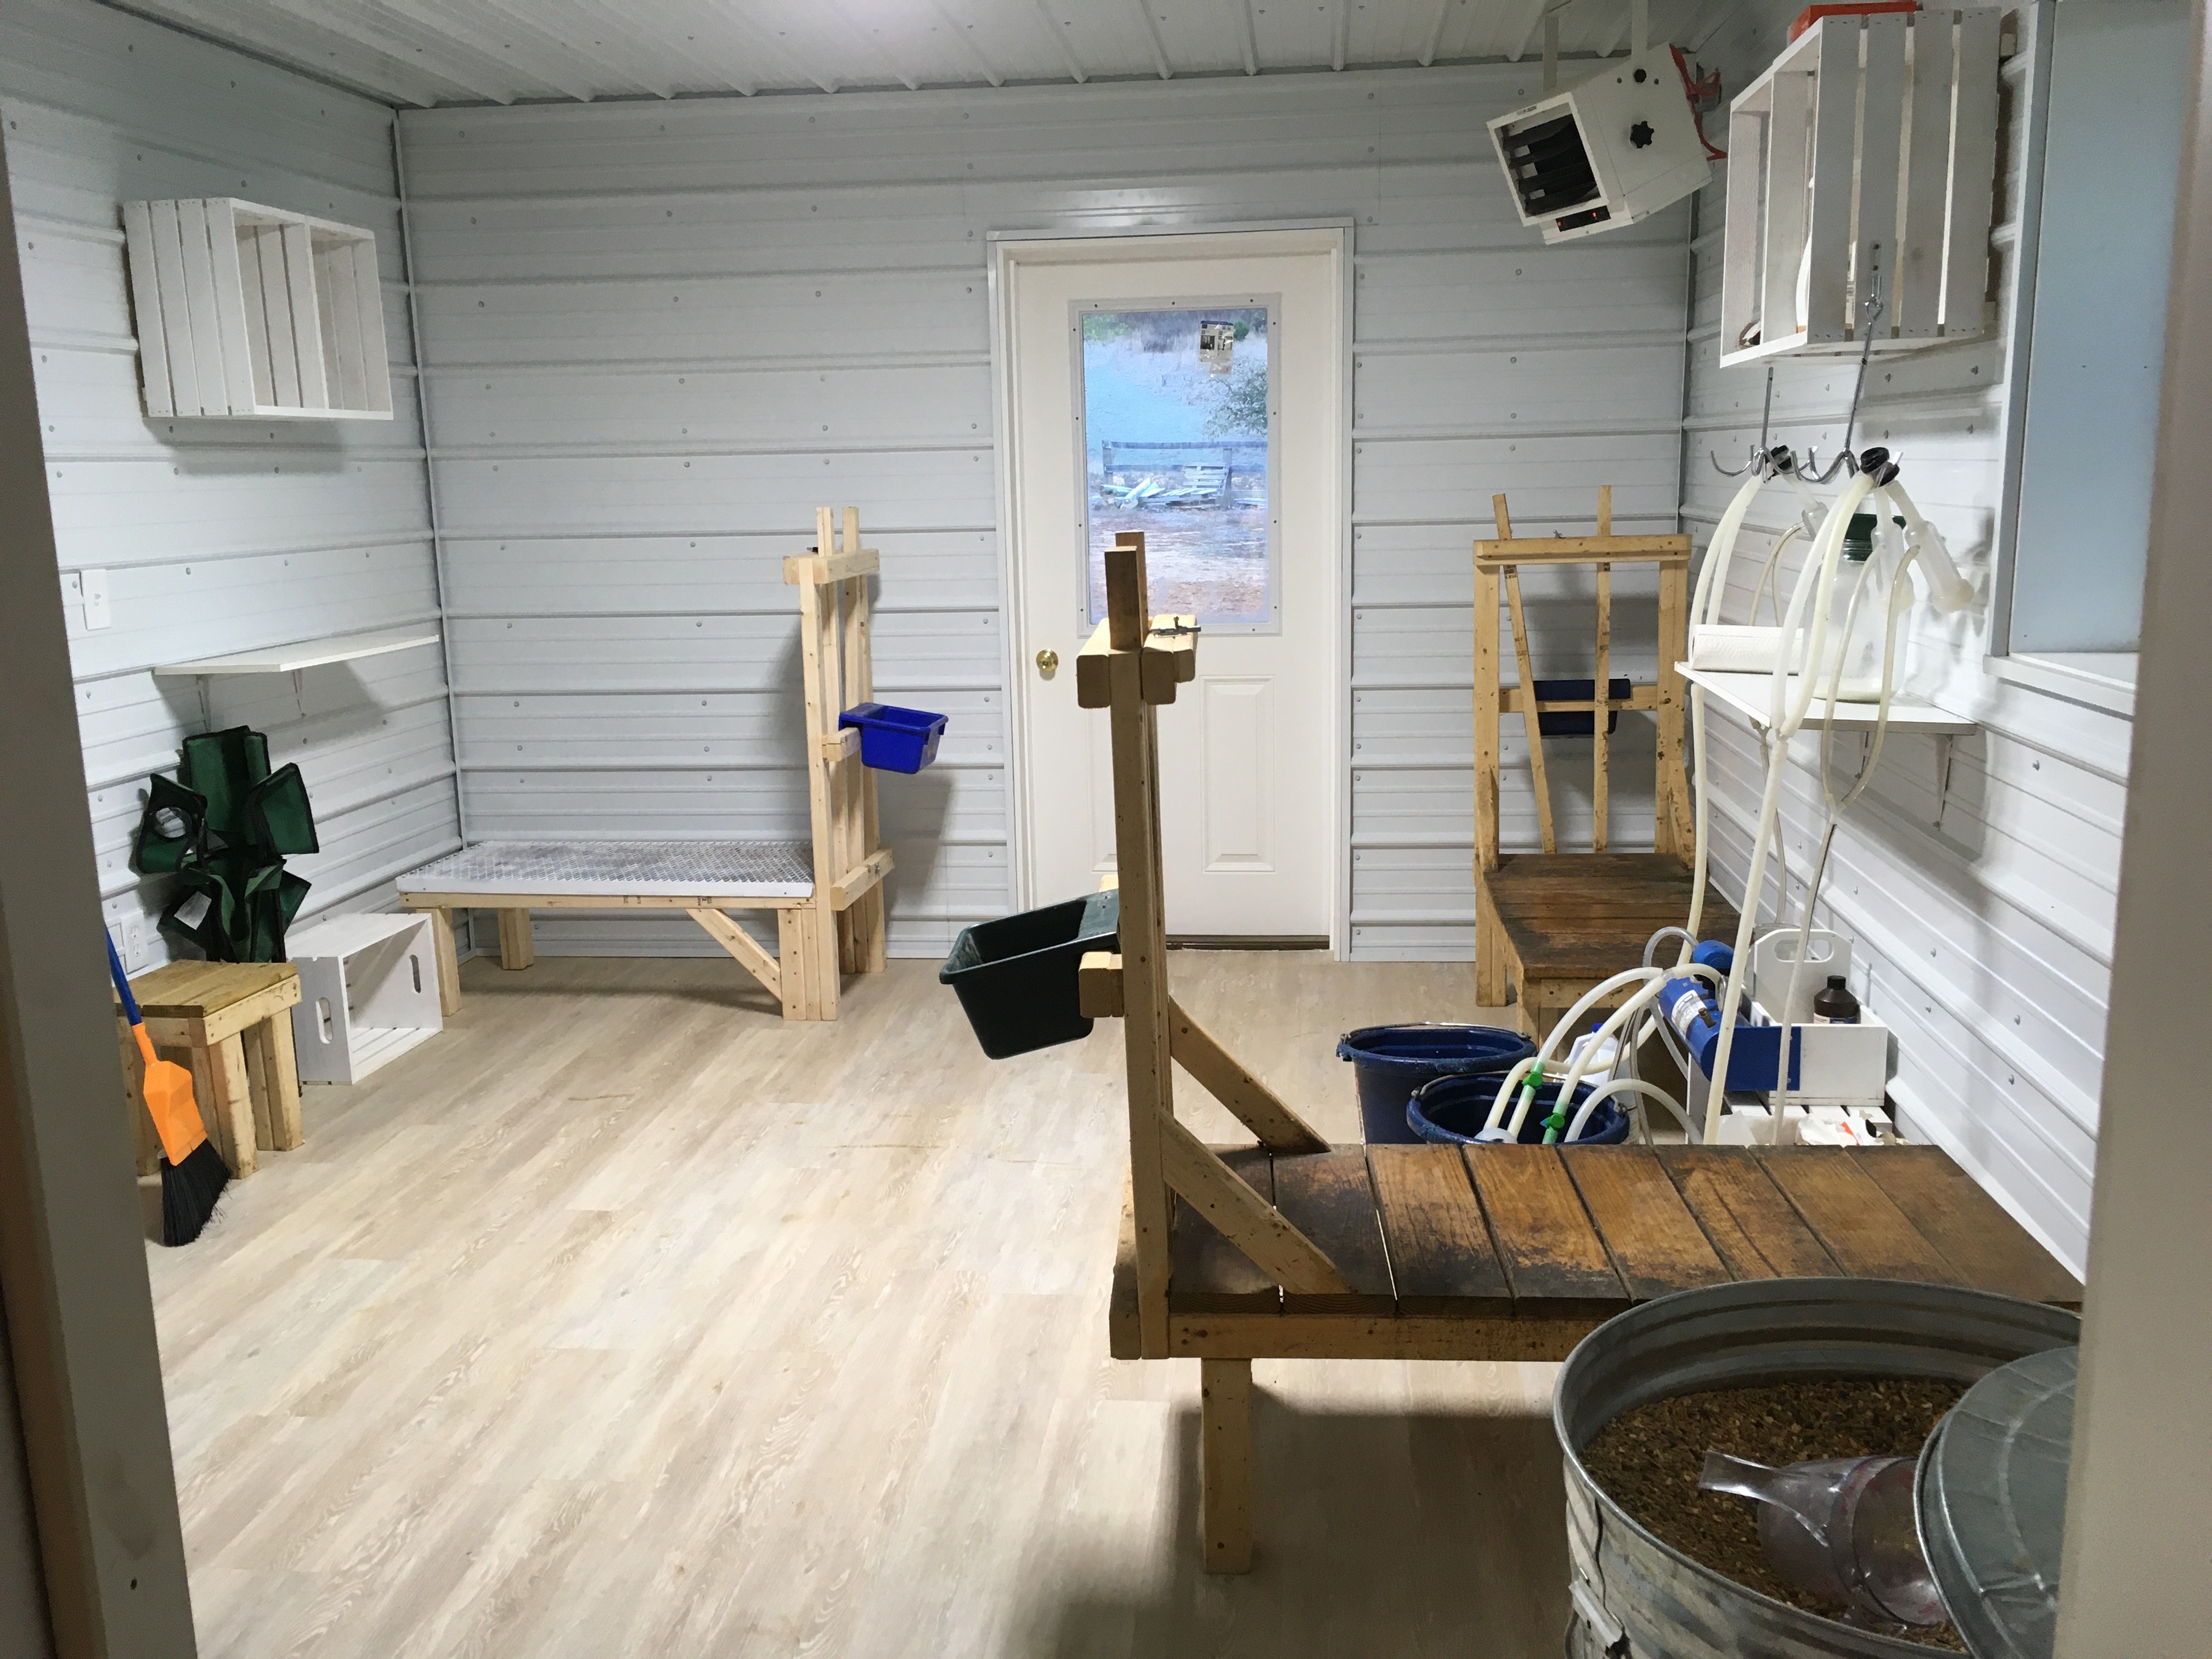
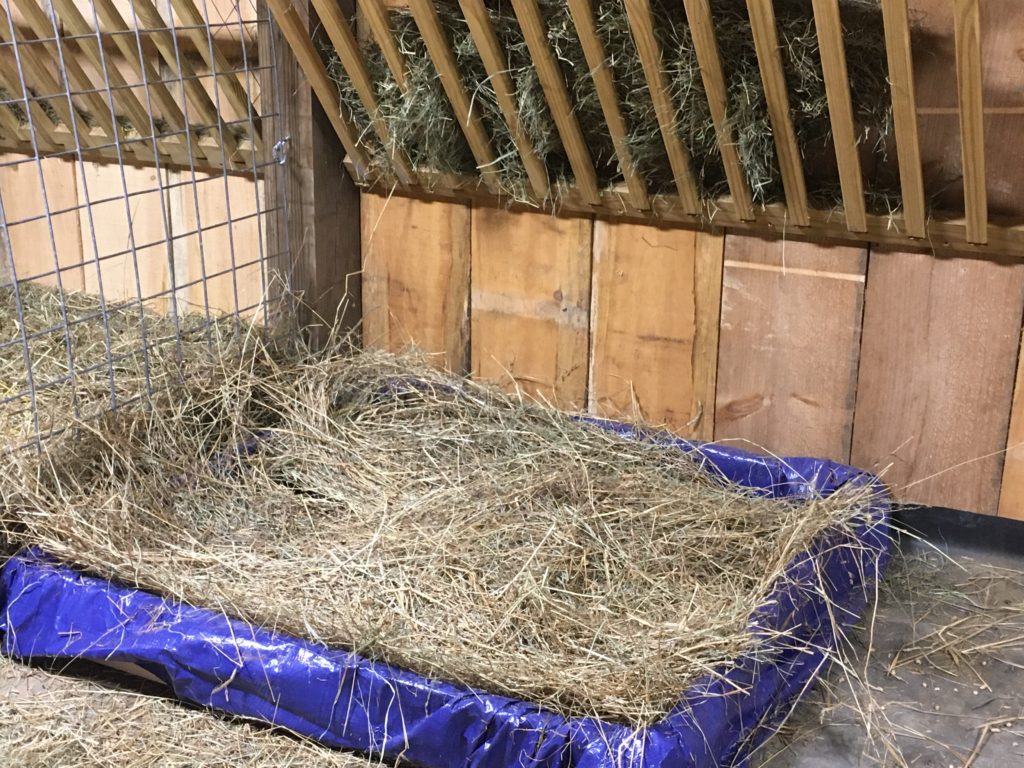
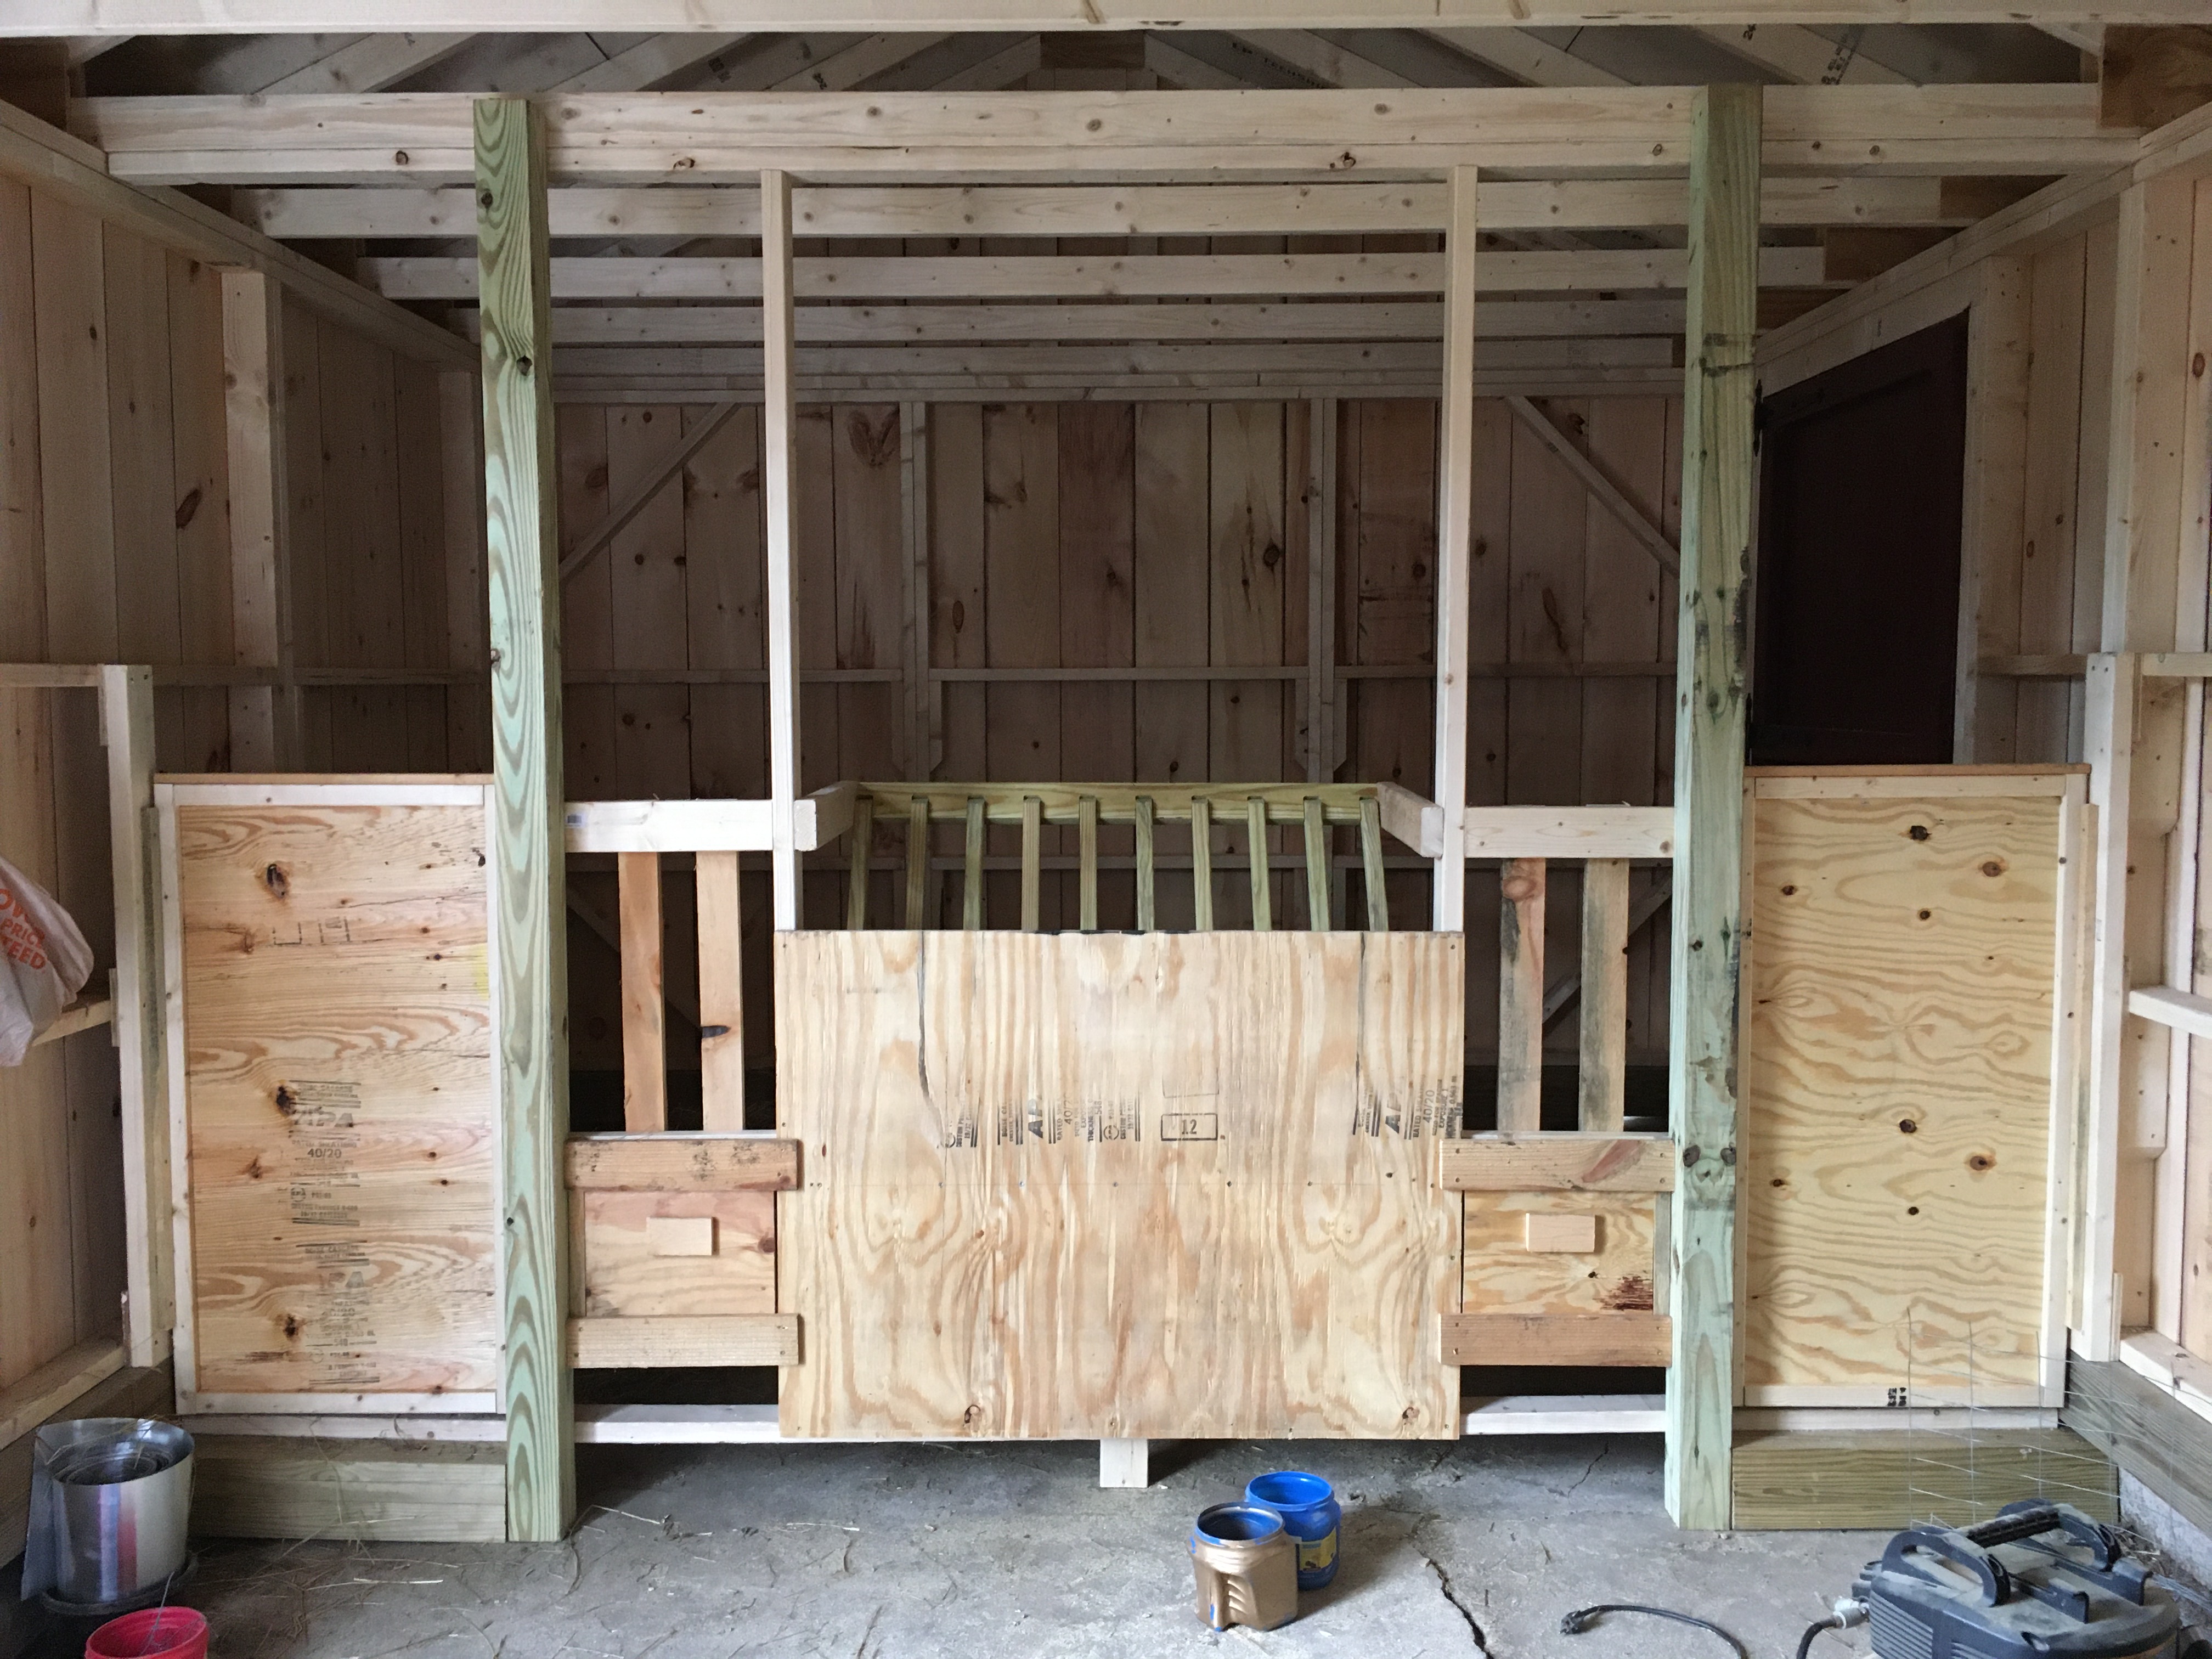
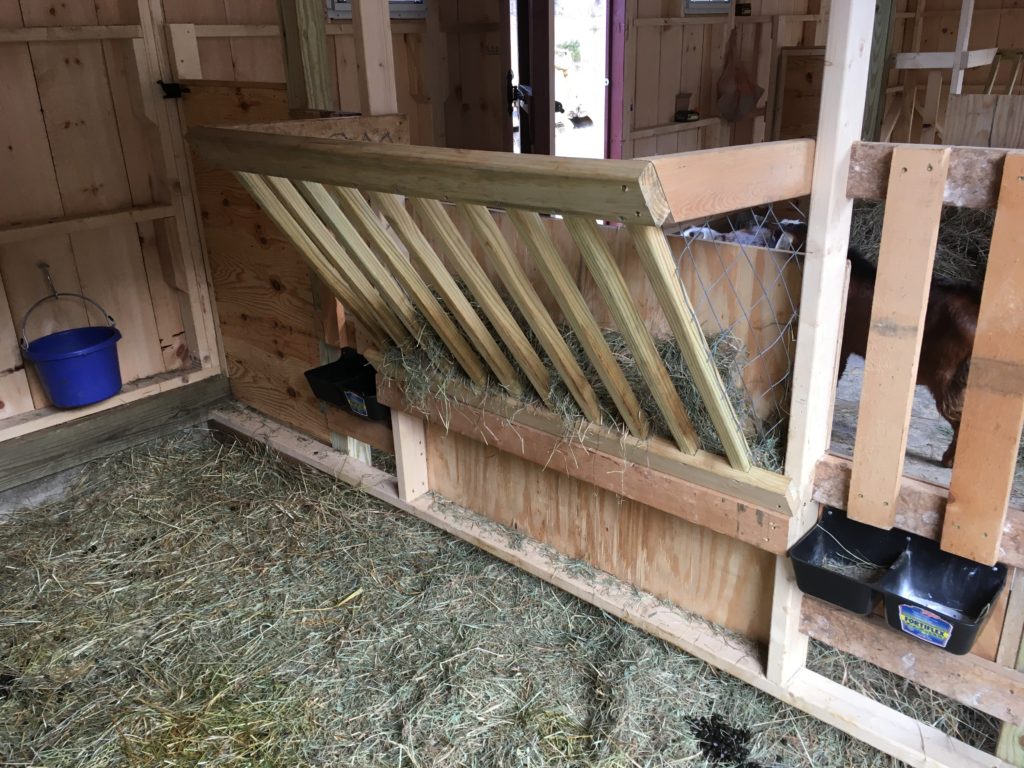
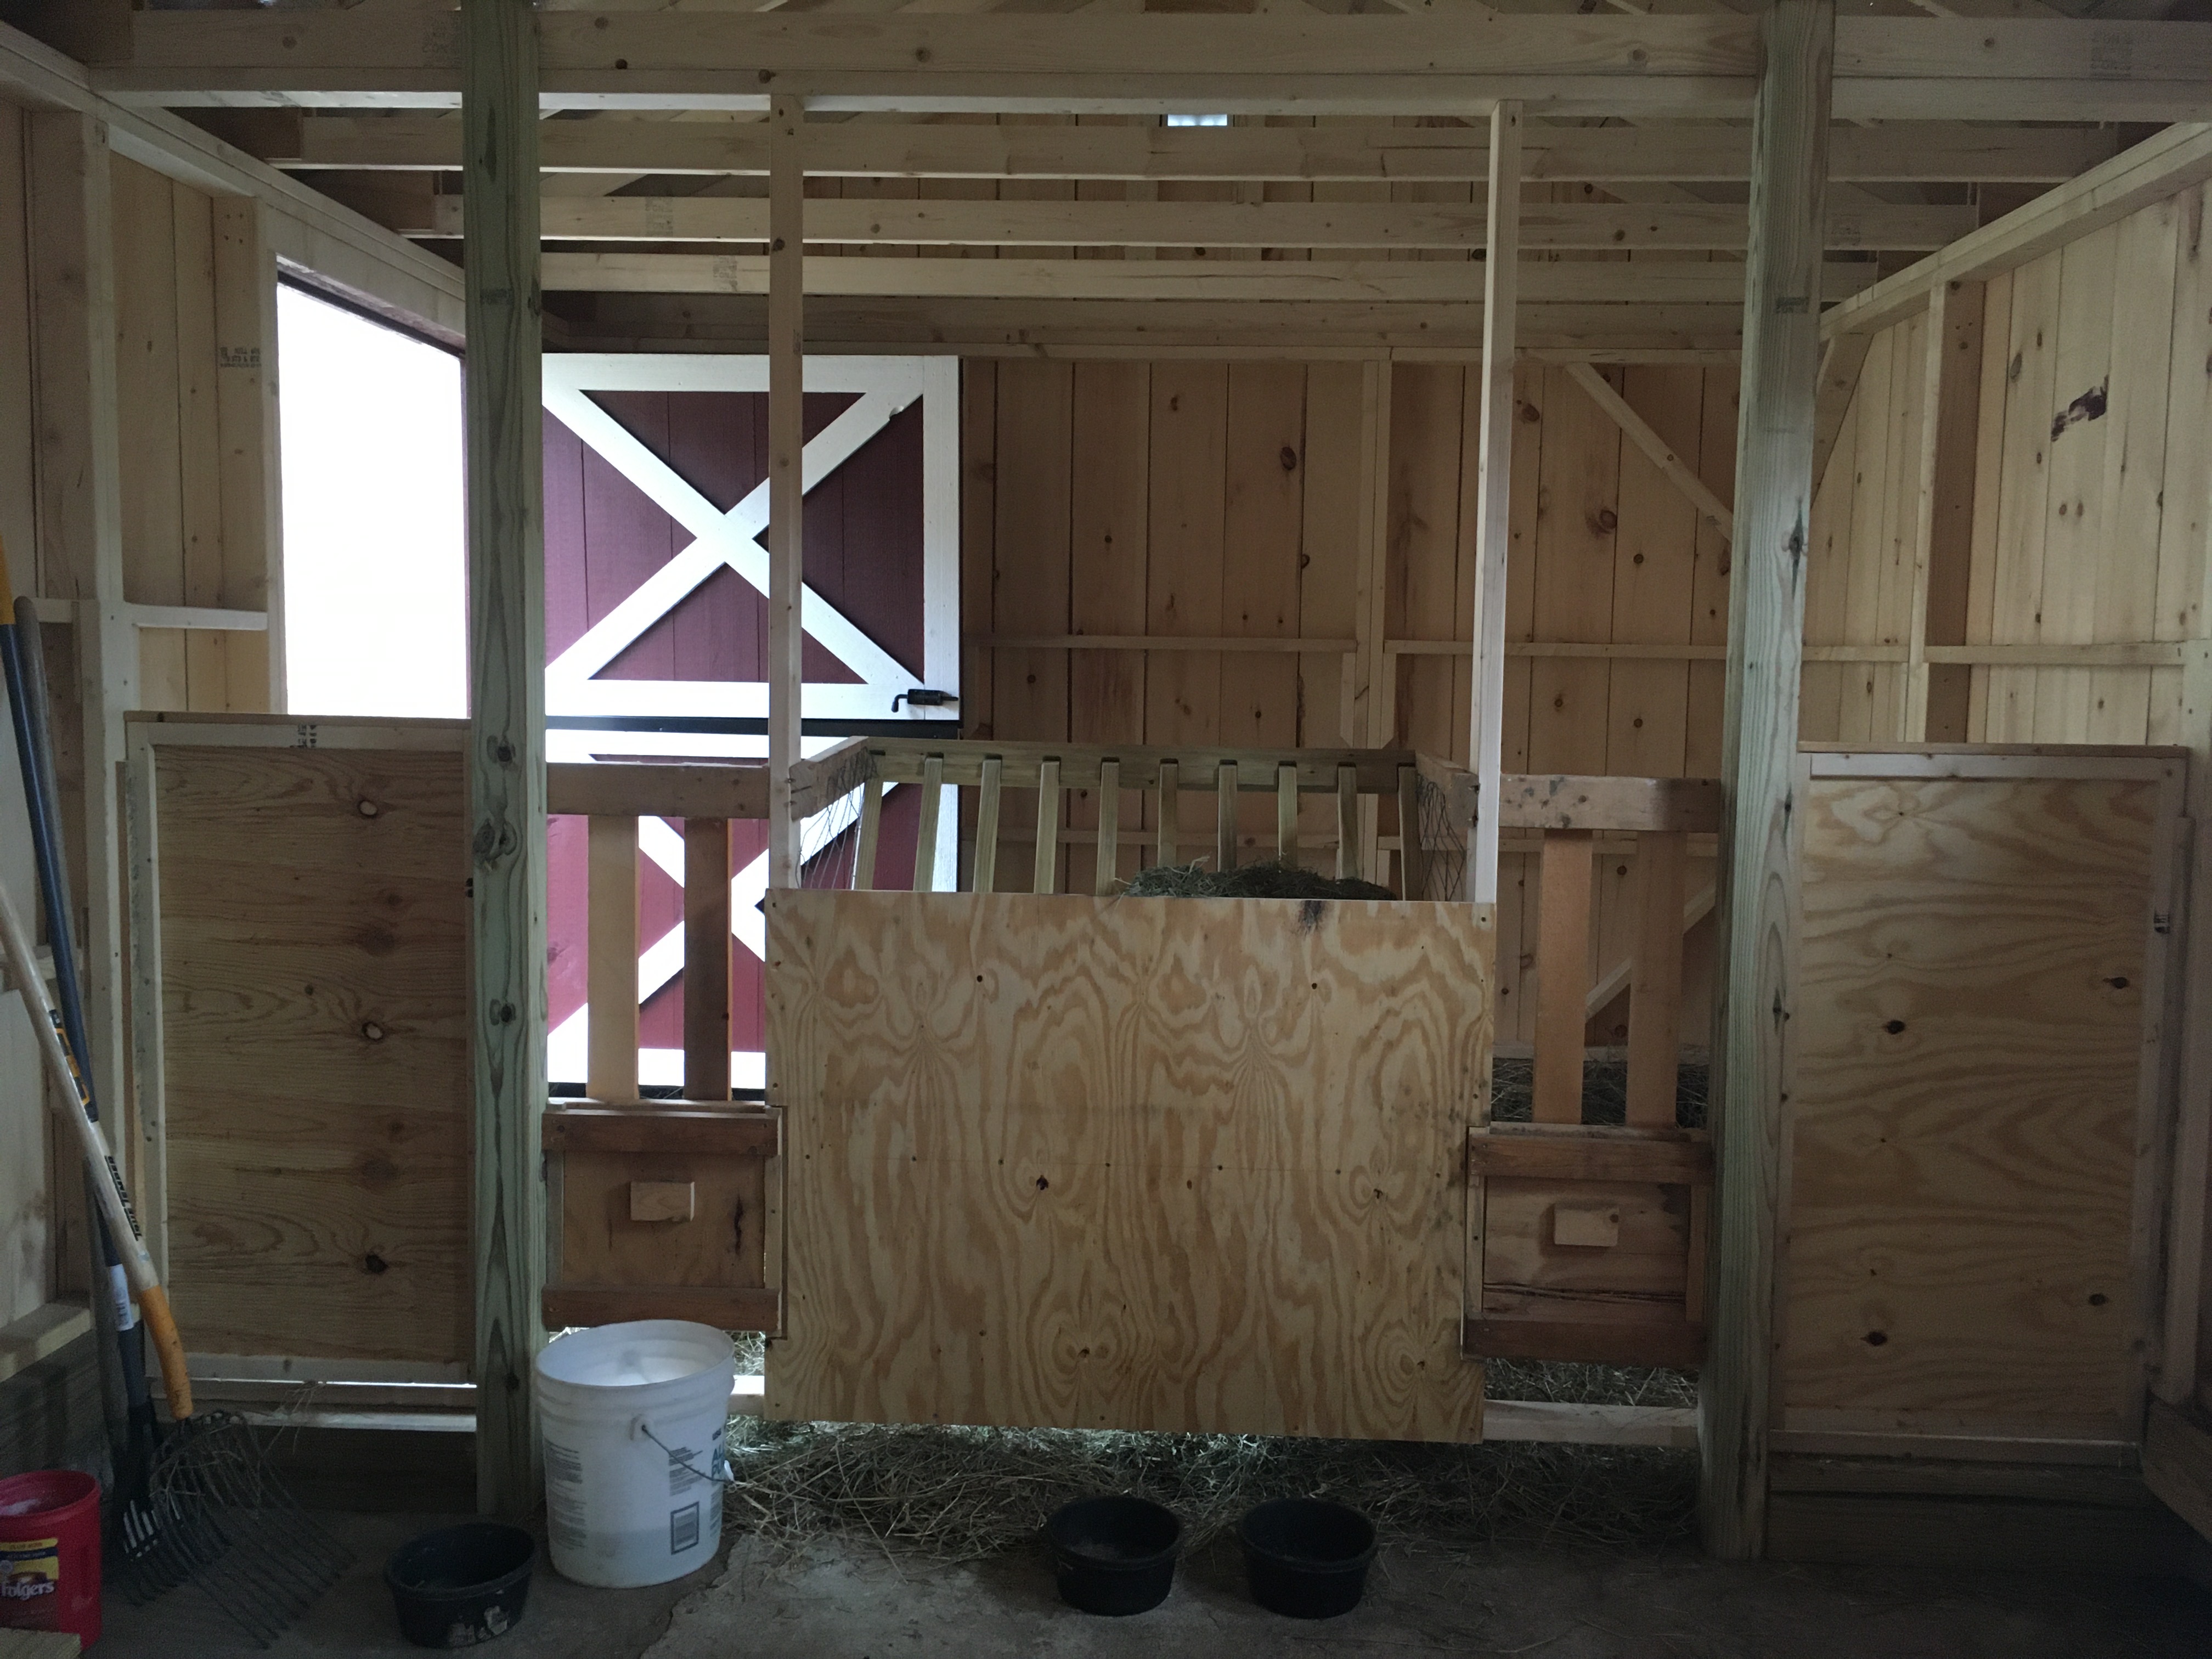
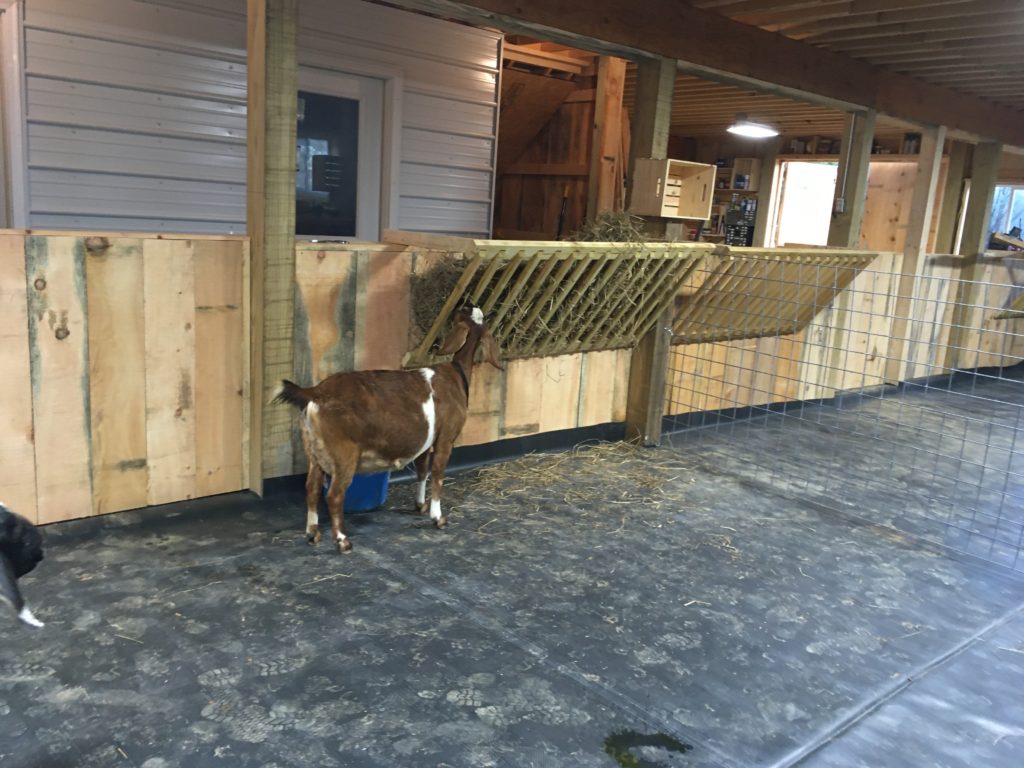
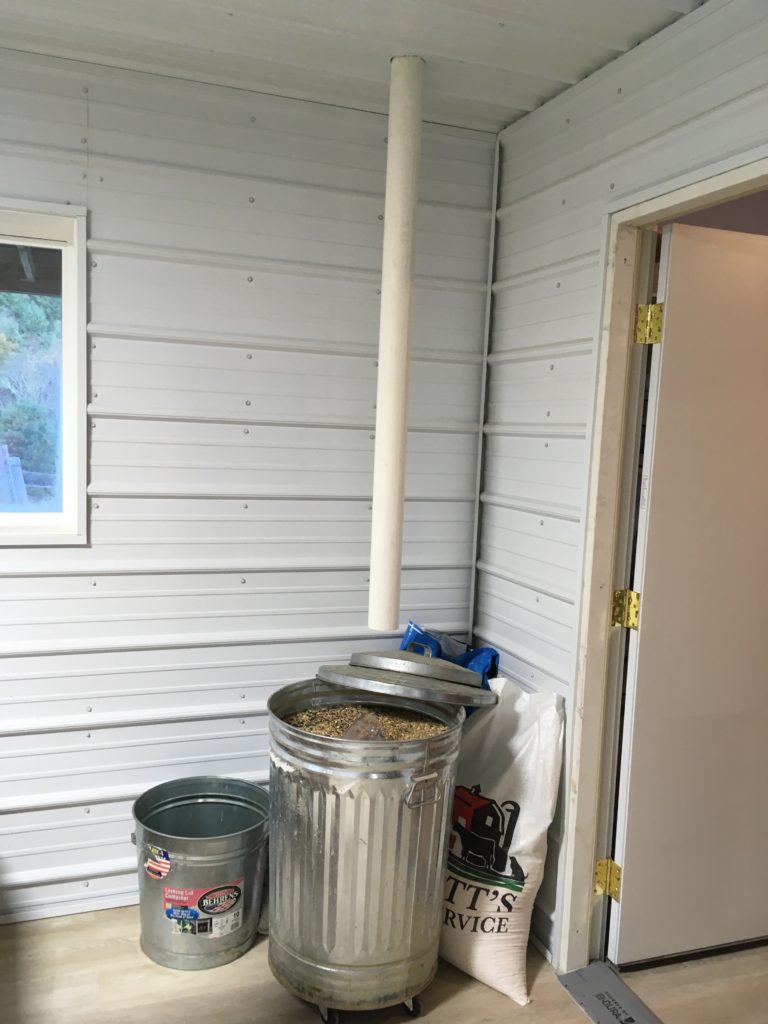
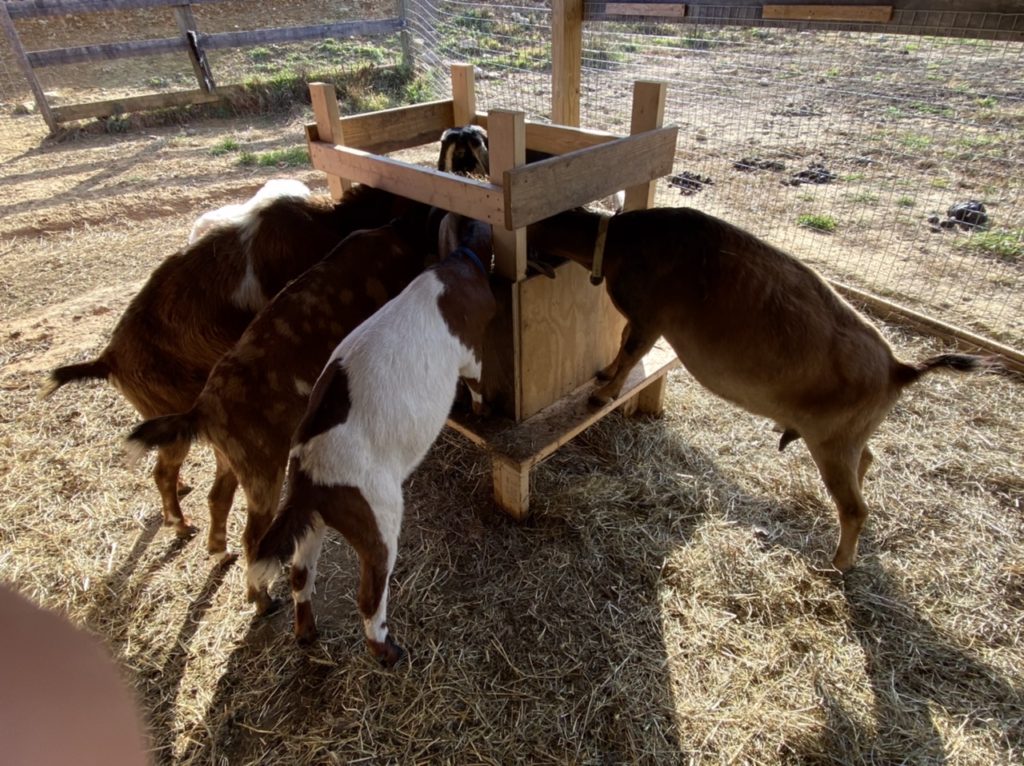
Fair warning: this manger solution is not for horned goats. That said, there are enough of us out there with disbudded goats that I think it’s worth the share. The above picture is the “before” shot. The picture at the right is the “after” shot.
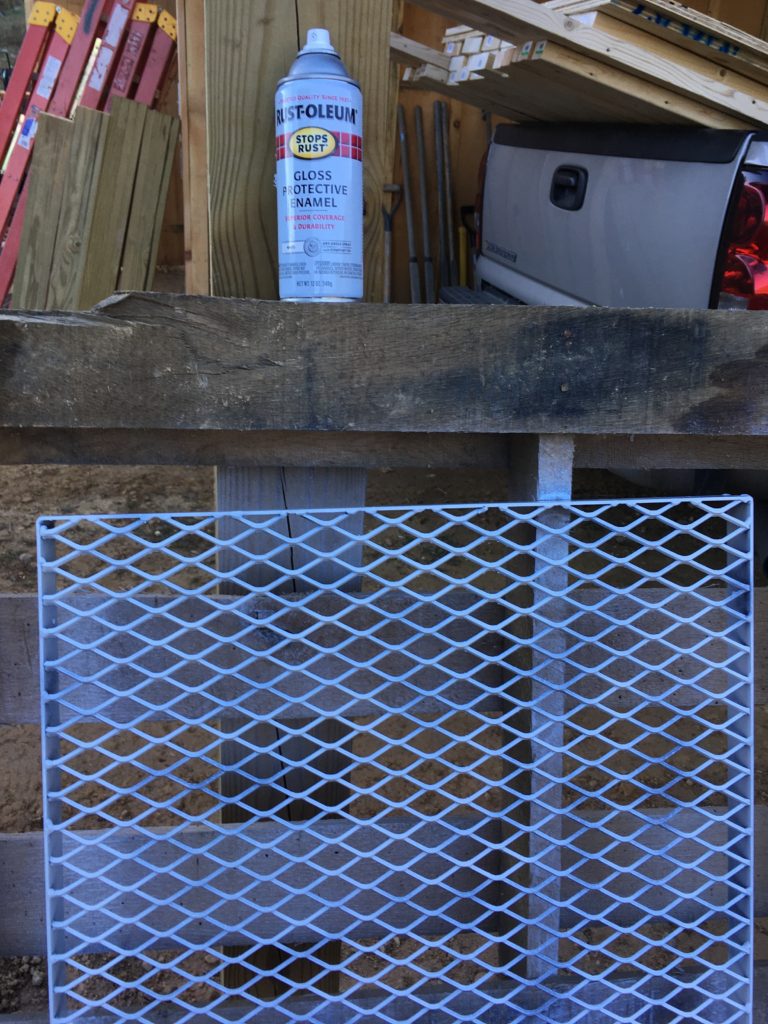
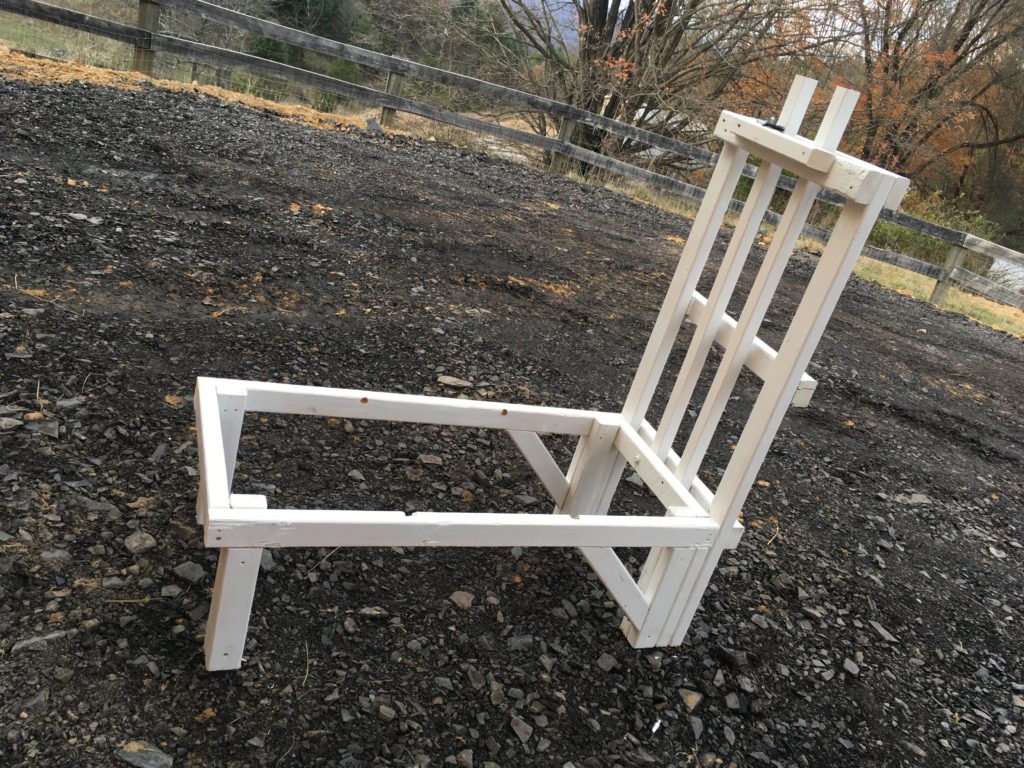
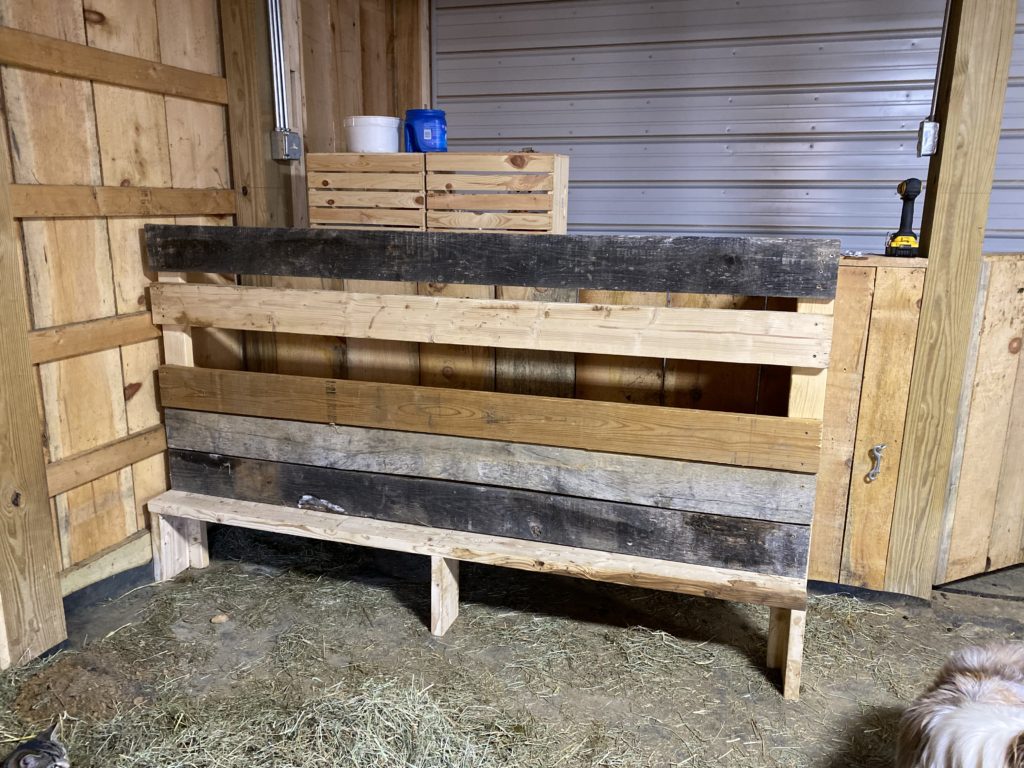
I want to give a big shout out to the designers of this manger: creds to Thorcrest Farm in Canada for this outstanding design. From what I read, they’ve been tinkering with it for 25 years. They raise show-quality standard Nubians, but I followed their exact directions (using screws in case I needed to make adjustments) and so far, it’s working like a dream with Mini Nubians.
Some kind soul posted this picture of one of Thorcrest’s farm page posts, and the build was super easy. It took me (with a bit of help from Scott in a couple of places) about four hours to build from scrap wood found around our farm.
Below are pictures and videos (just hit the triangle even if there’s not a preview picture) of our does using the manger, and beside each one are comments that answer common questions that I’ve received on the Internet about this manger. Enjoy!
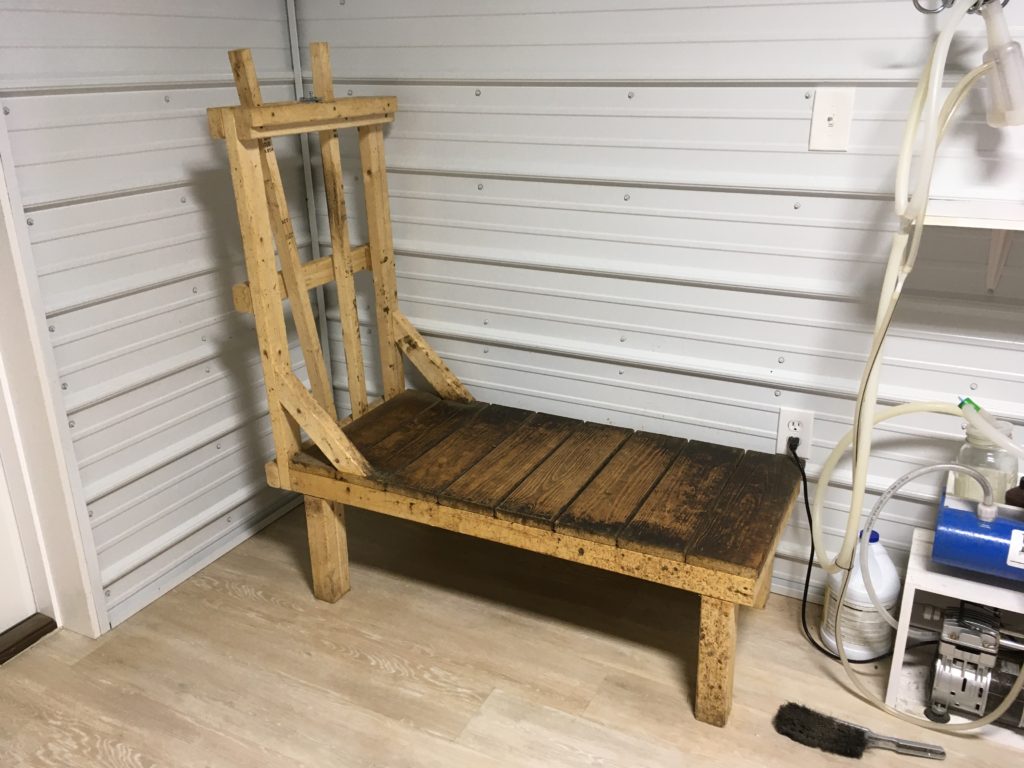
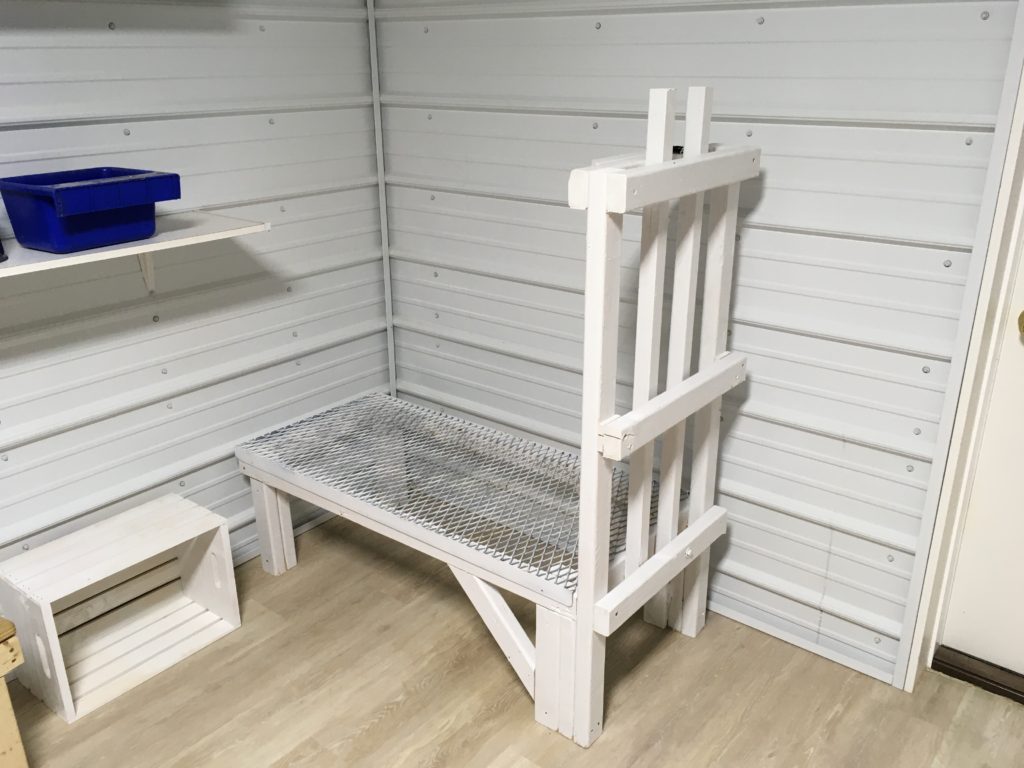
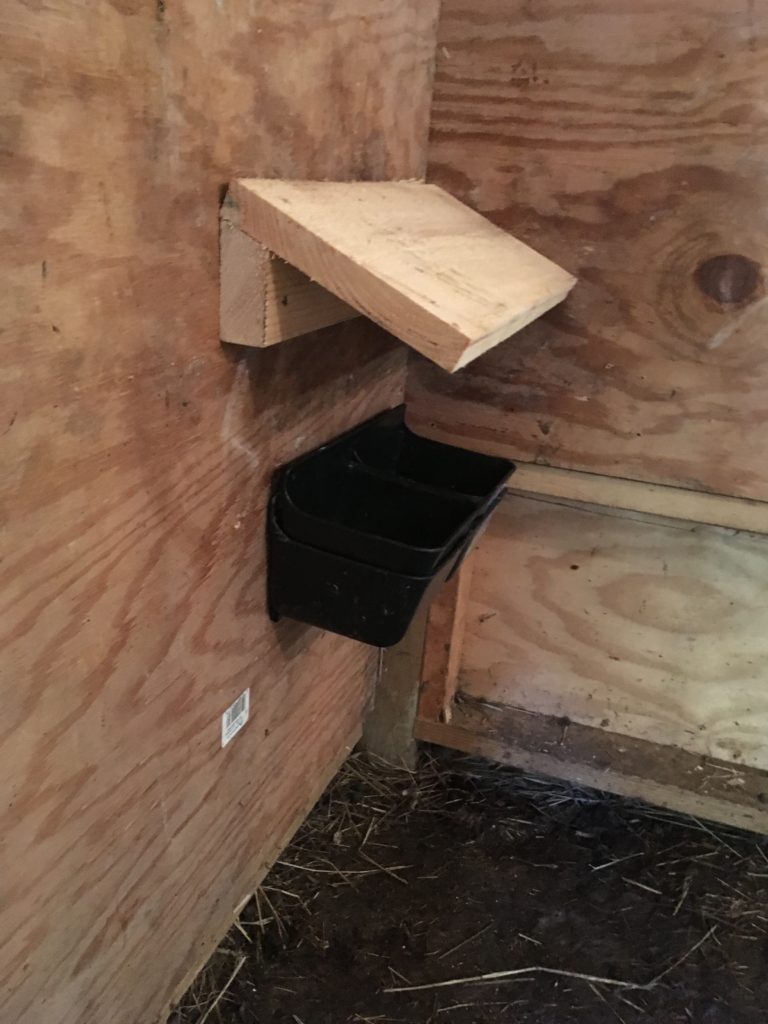
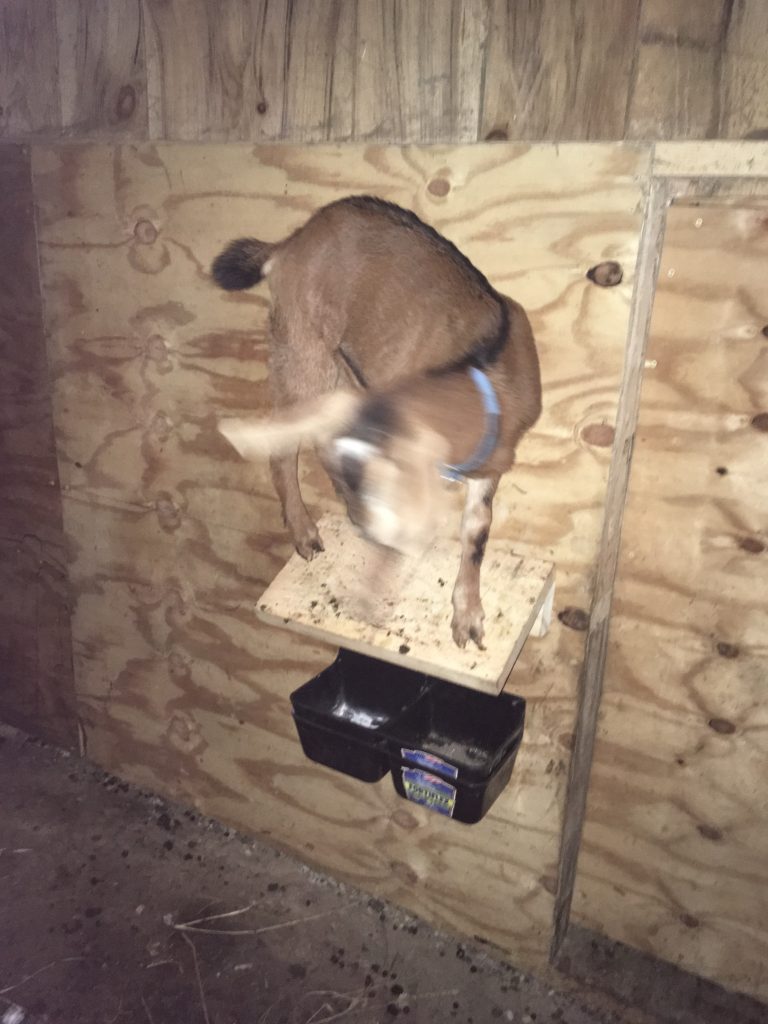
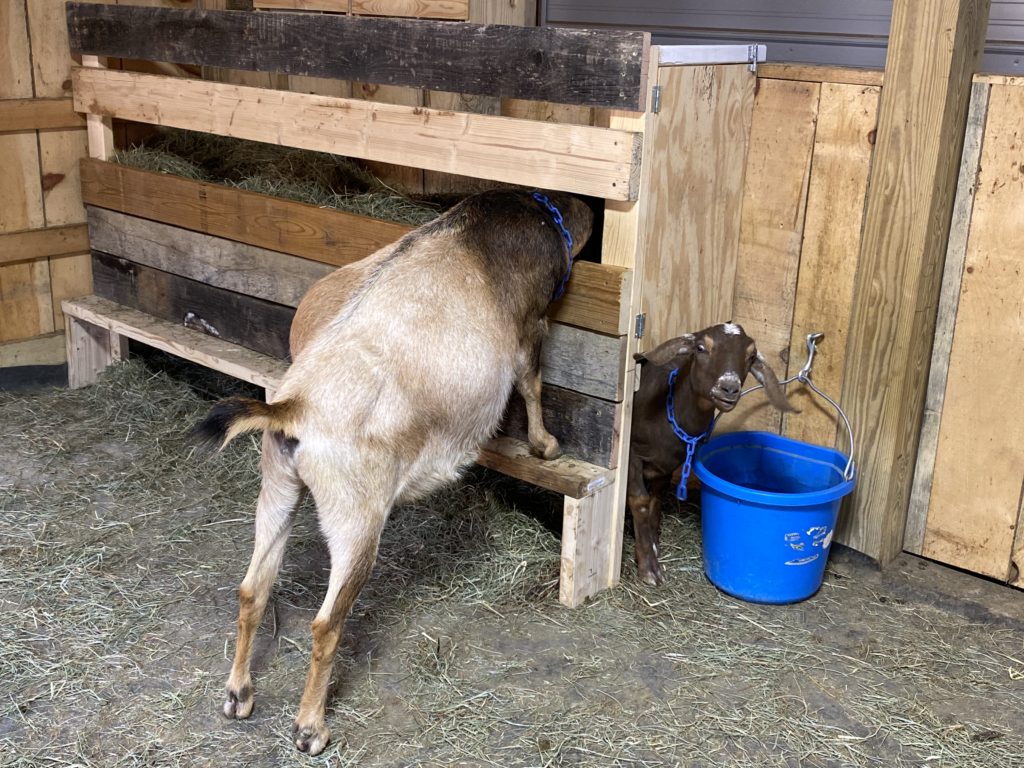
This video shows the step, which is about 5” deep. Skylark (at 5 weeks) can just balance on this step, but her tubby little body is too wide for her to turn to eat or to jump into the manger. YAY! Problem solved about kids playing in the manger!
She can, however, reach the manger from the floor. That opening is 2.5’ up from the floor, so she can’t just jump in. And, when the does eat it down to about half full, she can’t feed from it. But, since littles are still nursing and don’t need a lot of hay (and because they have their own hay in their creep pen, this feeder is just fine for her.
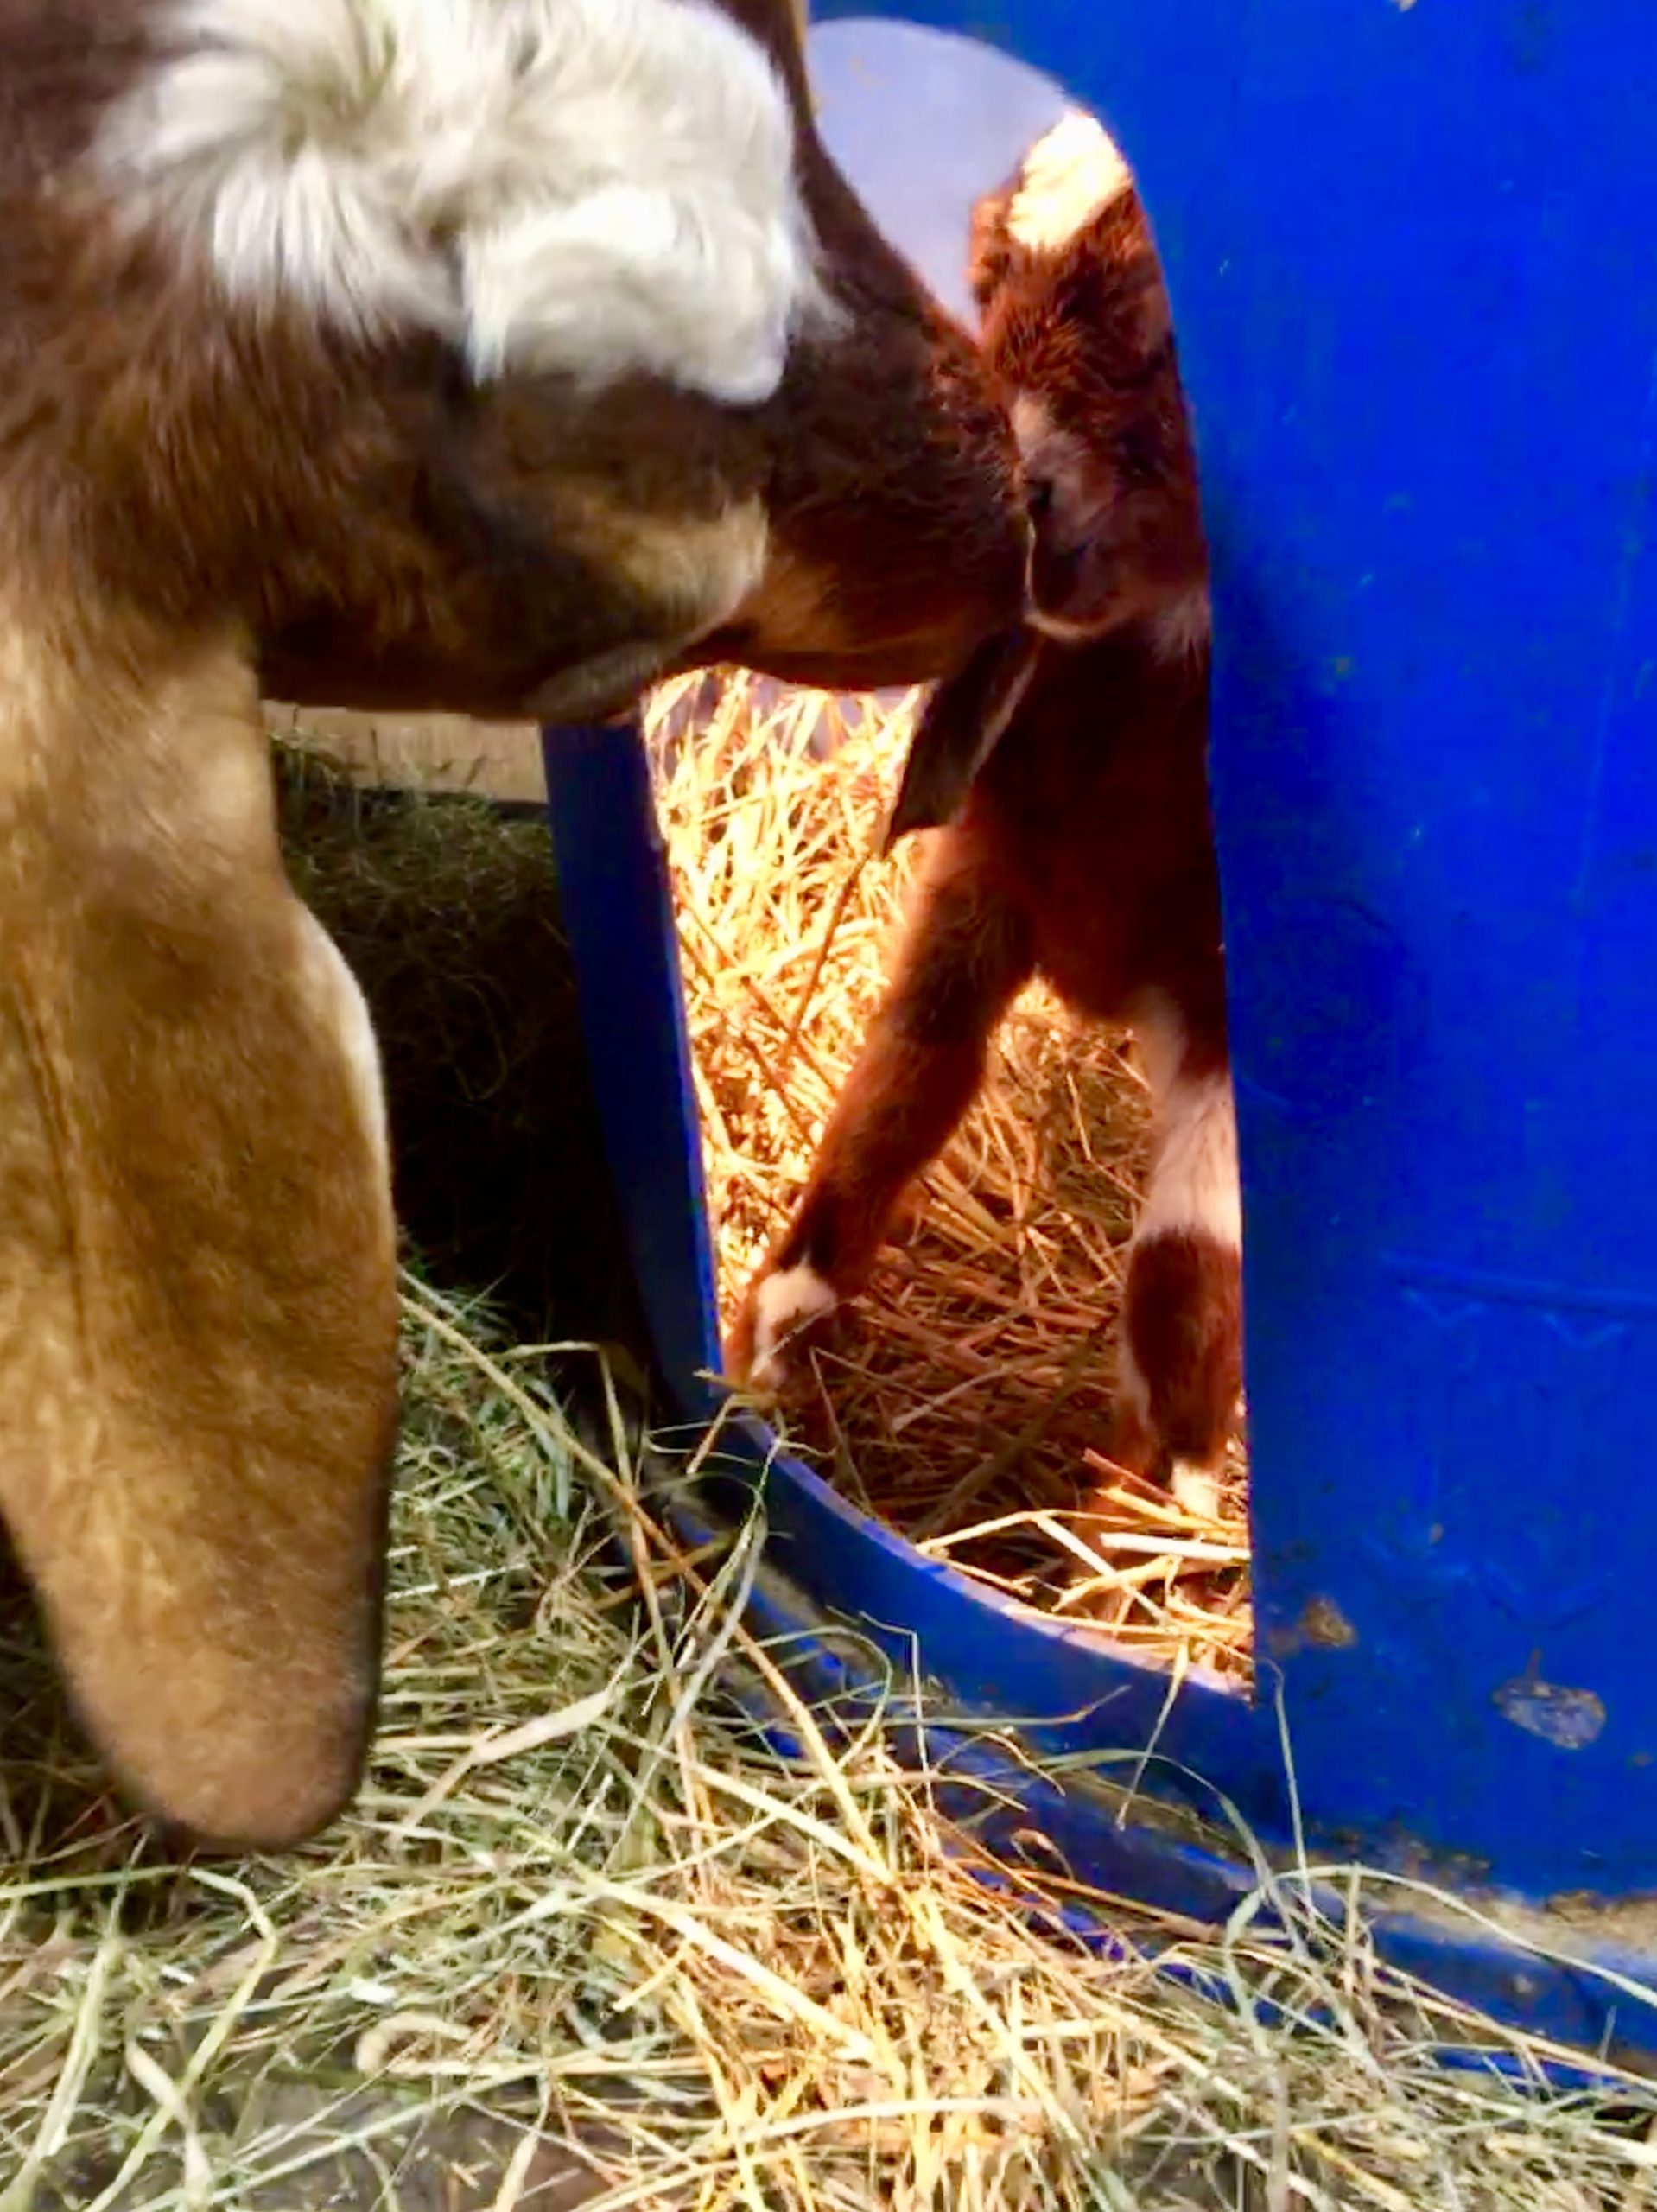
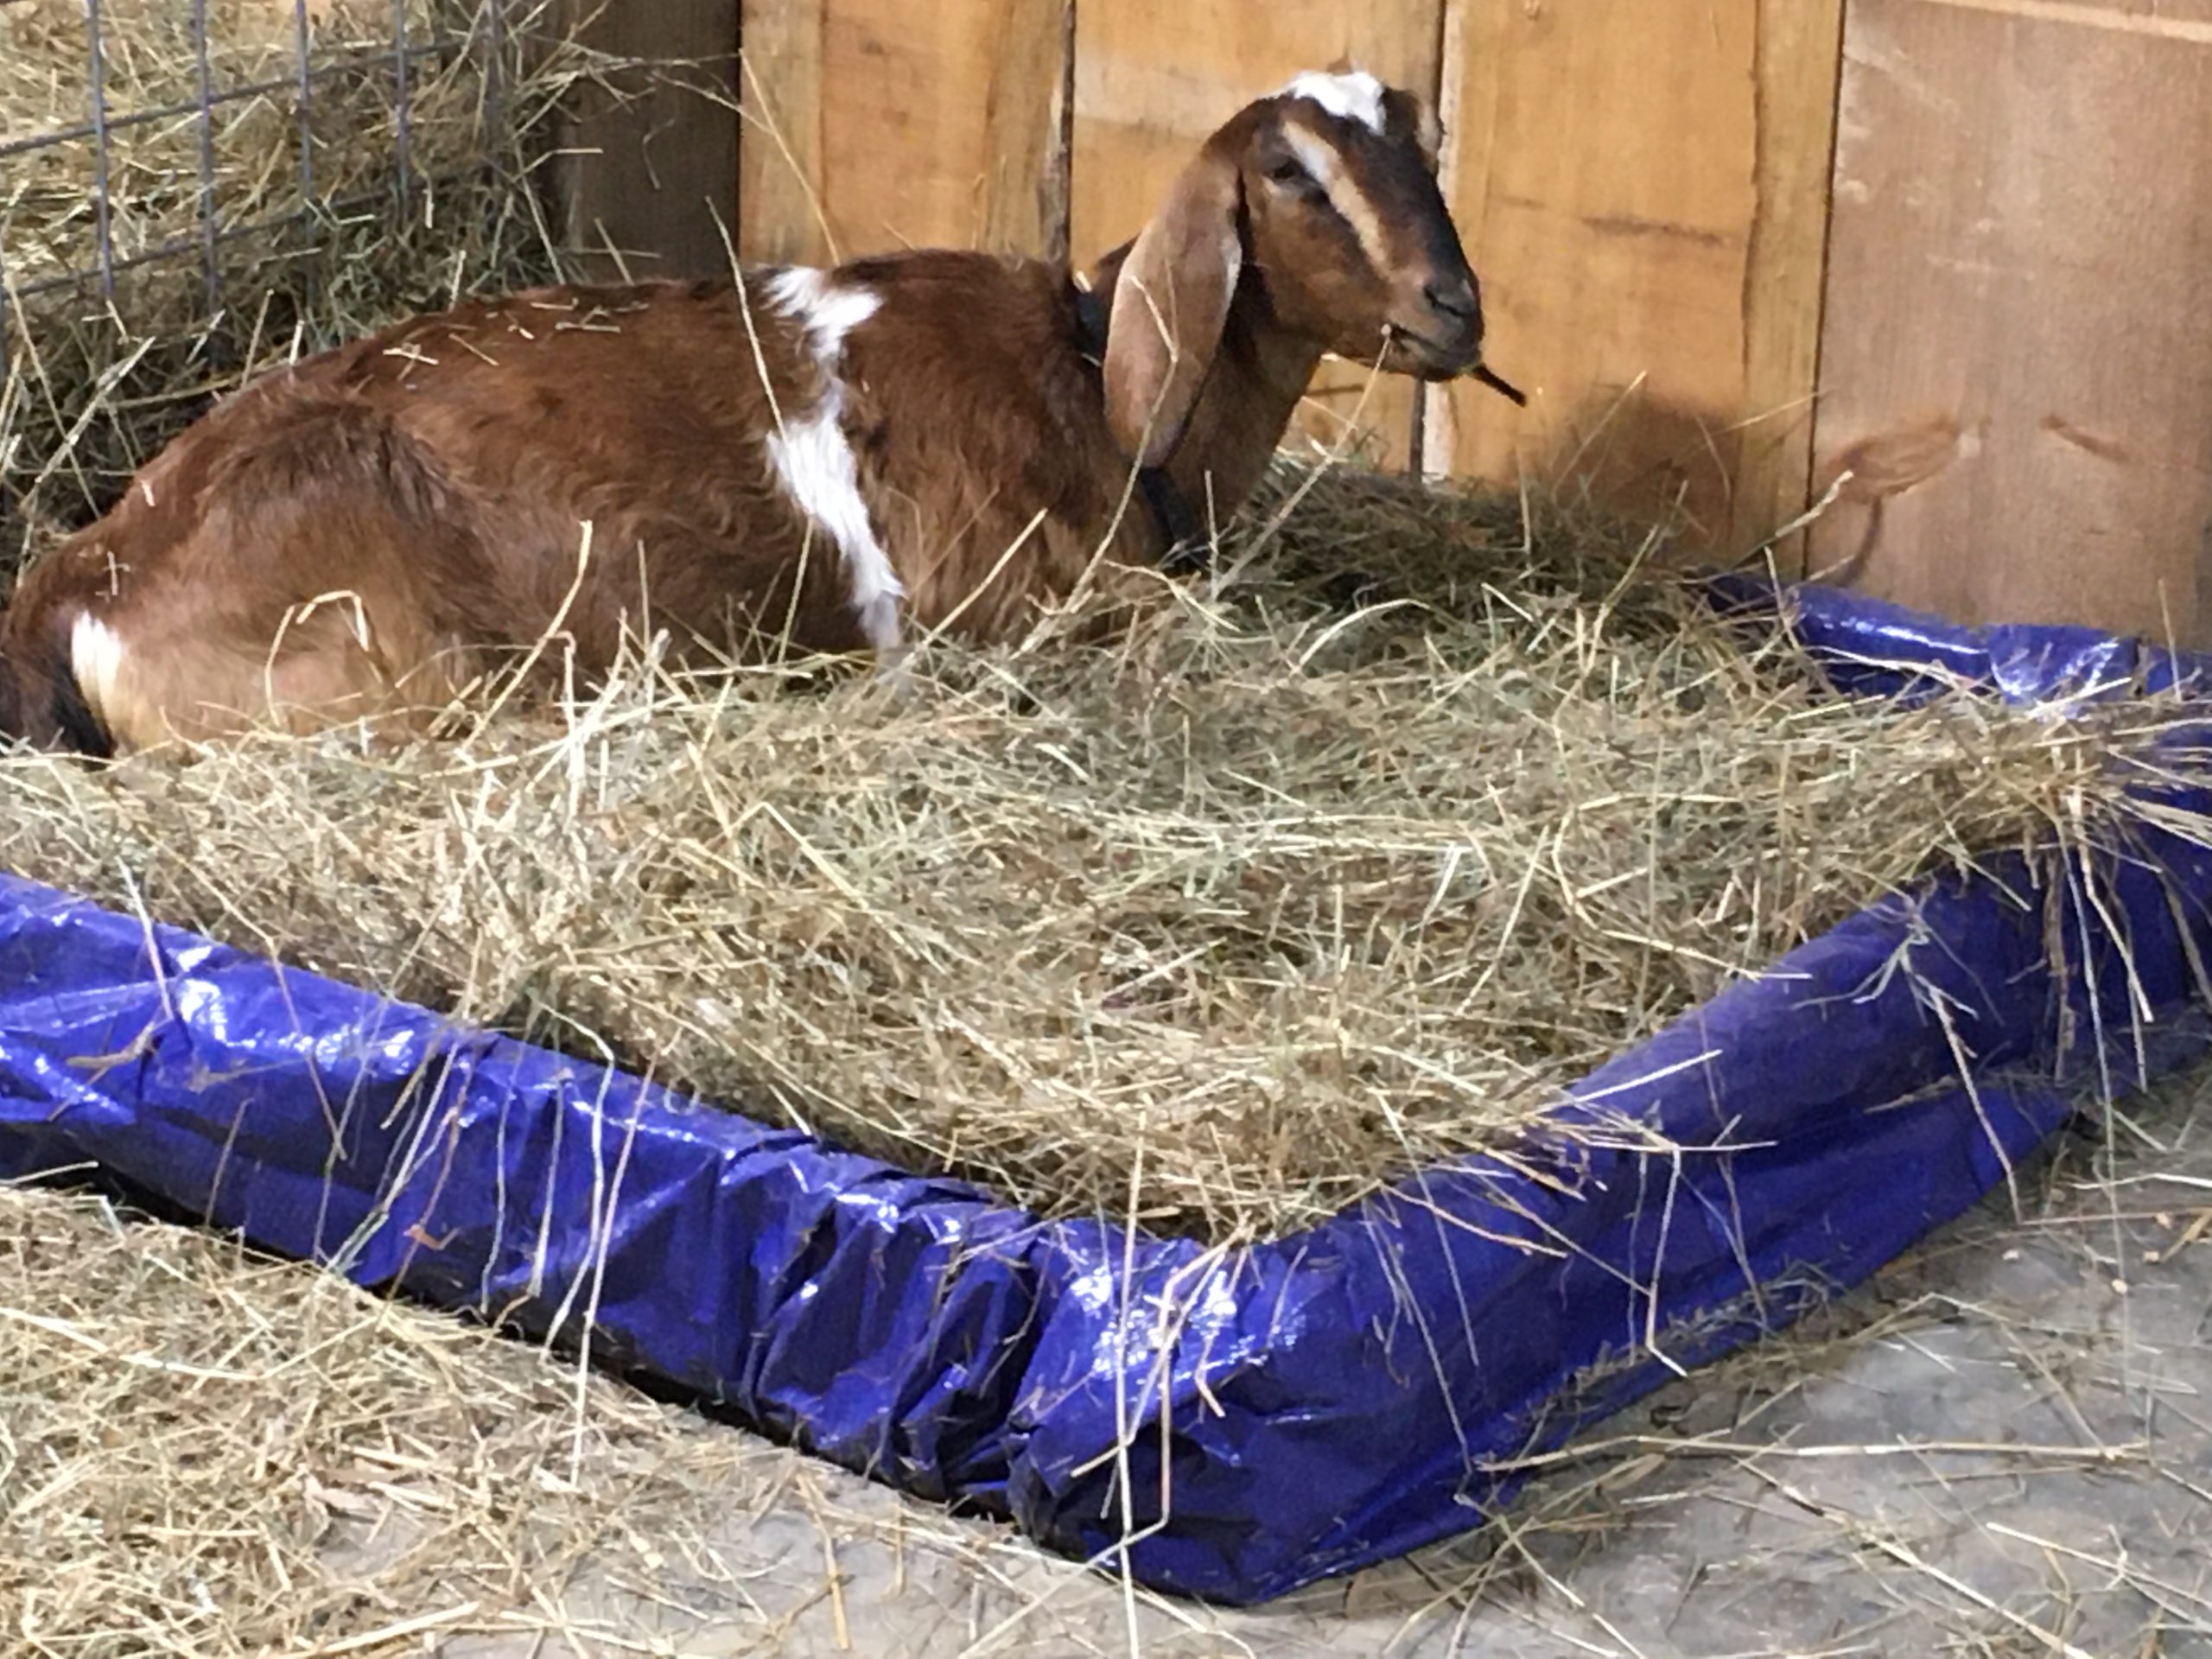
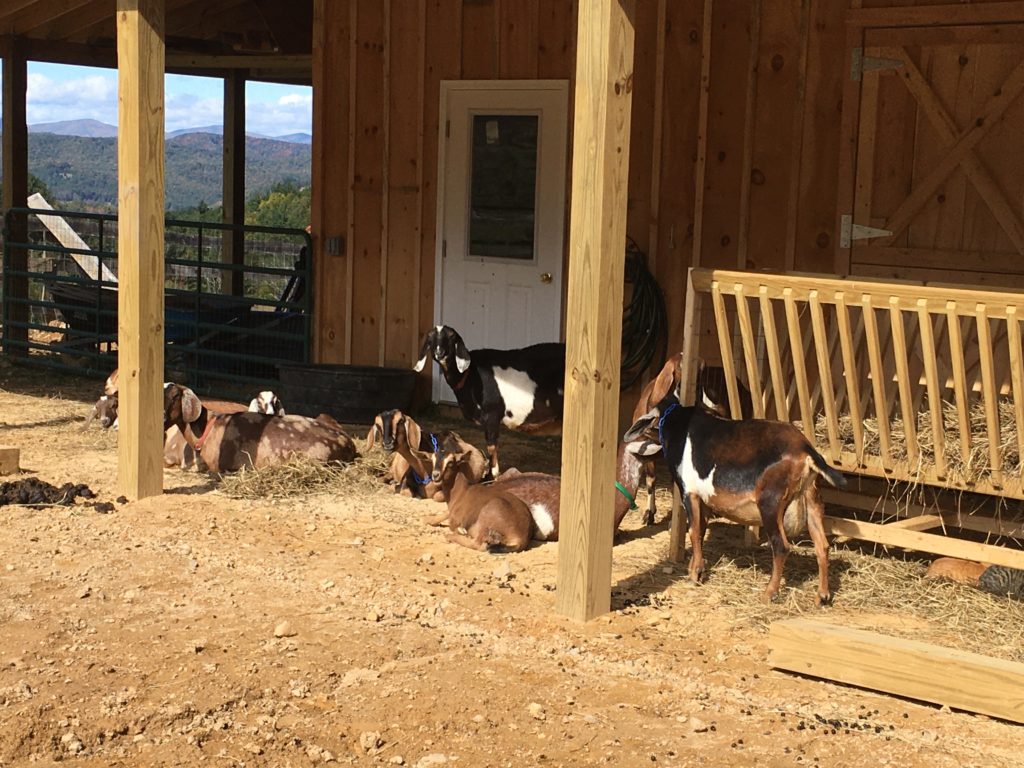
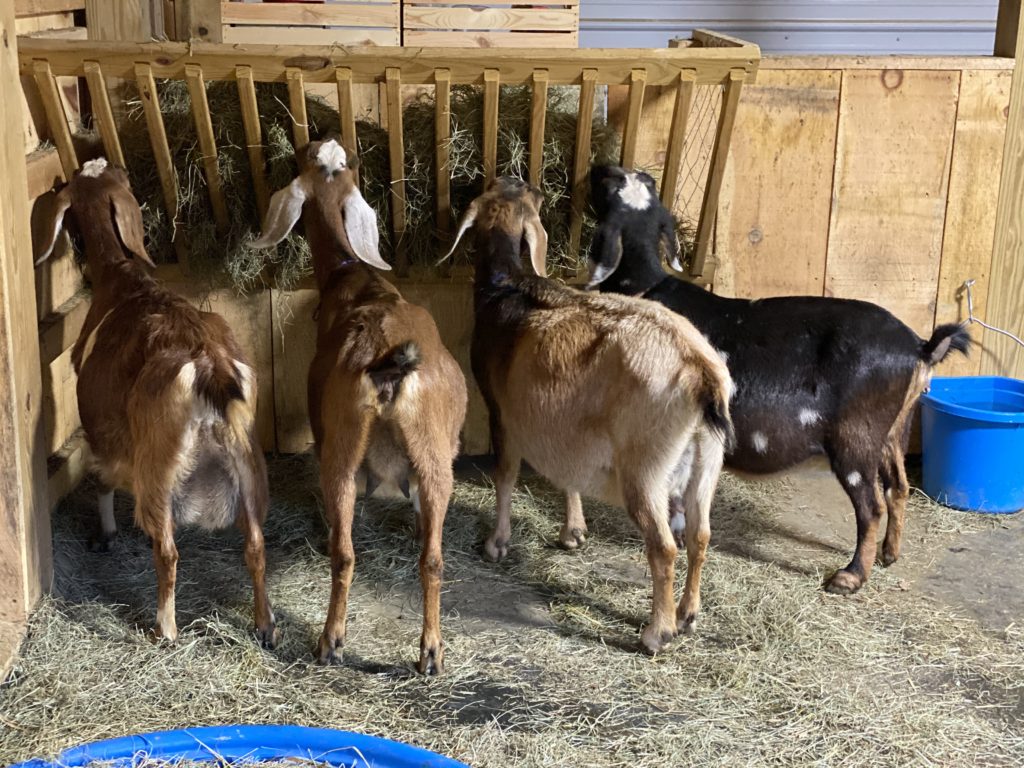
The picture (below right) shows does of three ages using the manger together. The doe at the right is a mid-sized, adult Mini Nubian, and can eat with all four feet on the floor. The doe in the middle is 6 months old, and easily reaches into the feeder. The doe on the right is six years old, quite pregnant, and is chowing down with her lips reaching to the bottom of the trough.
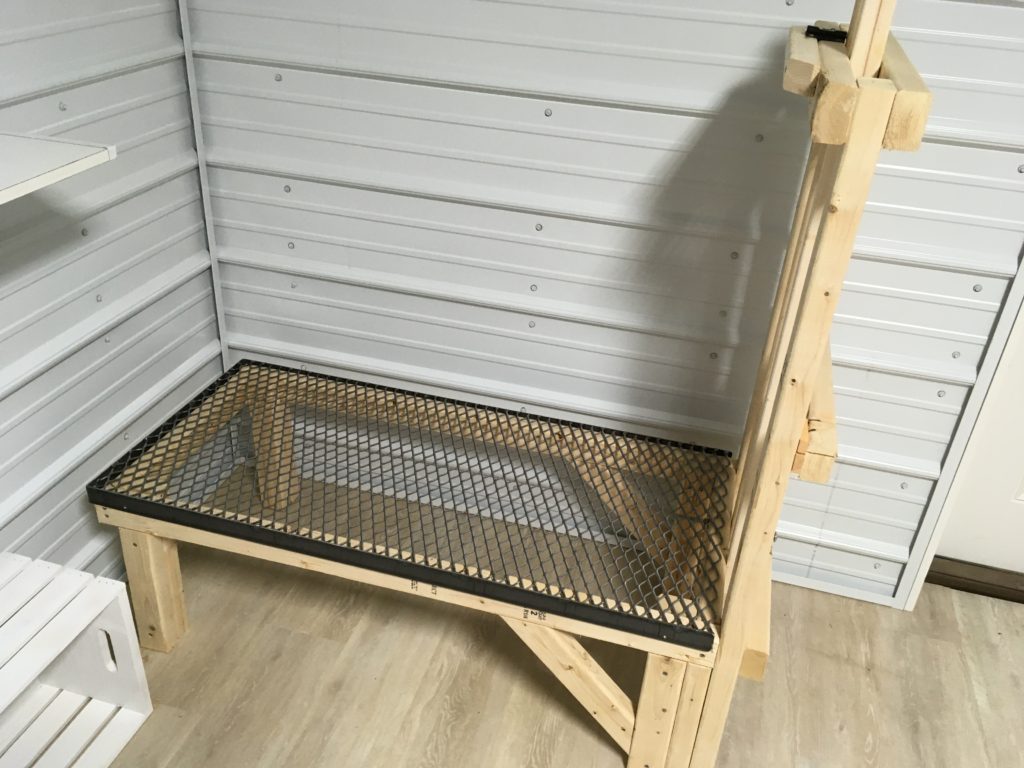
Note that the actual hay section of this manger is only 9” deep, so when feeding, throw in enough batts (flat) to fill only to the level of the lower edge of the opening. DON’T overfill it! If you do, they will “grab and go,” creating spills (also known as waste)!

I’ve been asked about the possibility of goats slipping on the step and hanging themselves. From my observations, this is highly unlikely. Small goats can get their heads out quickly, and larger goats can eat with all four feet on the floor if they are skimming the top layer of hay.
When a goat steps up on the step, she’s standing on four legs and perpendicular to the feeder. If she gets butted, she moves a bit, but has time to get her head out, and usually has one foot on the step even so.
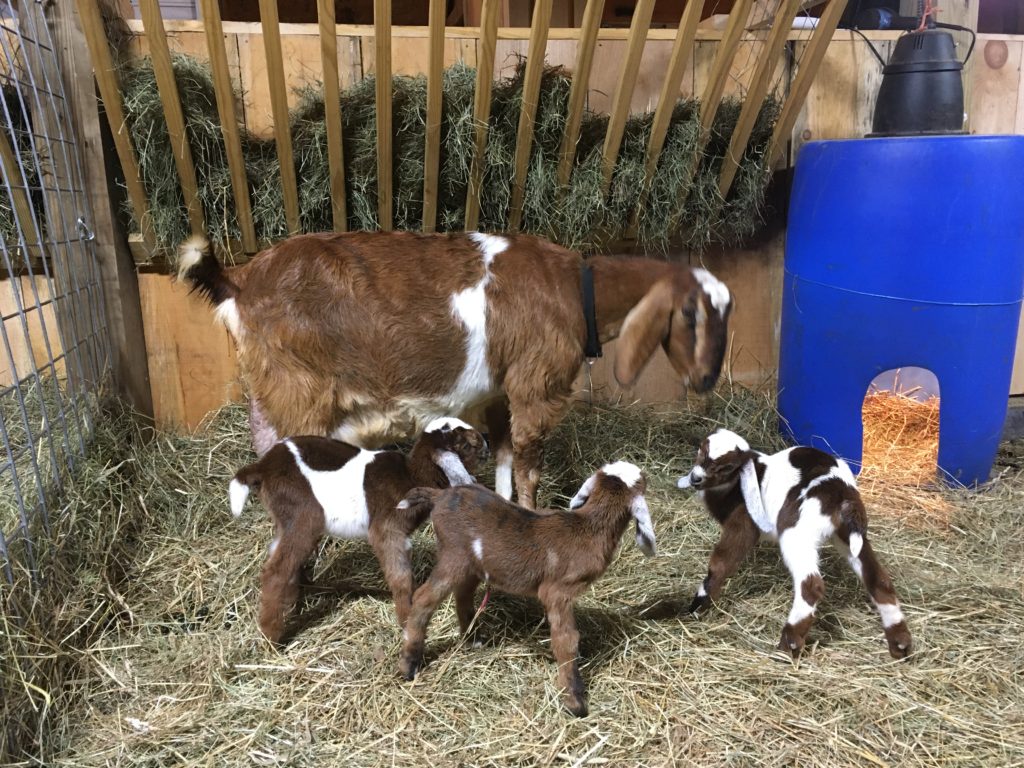
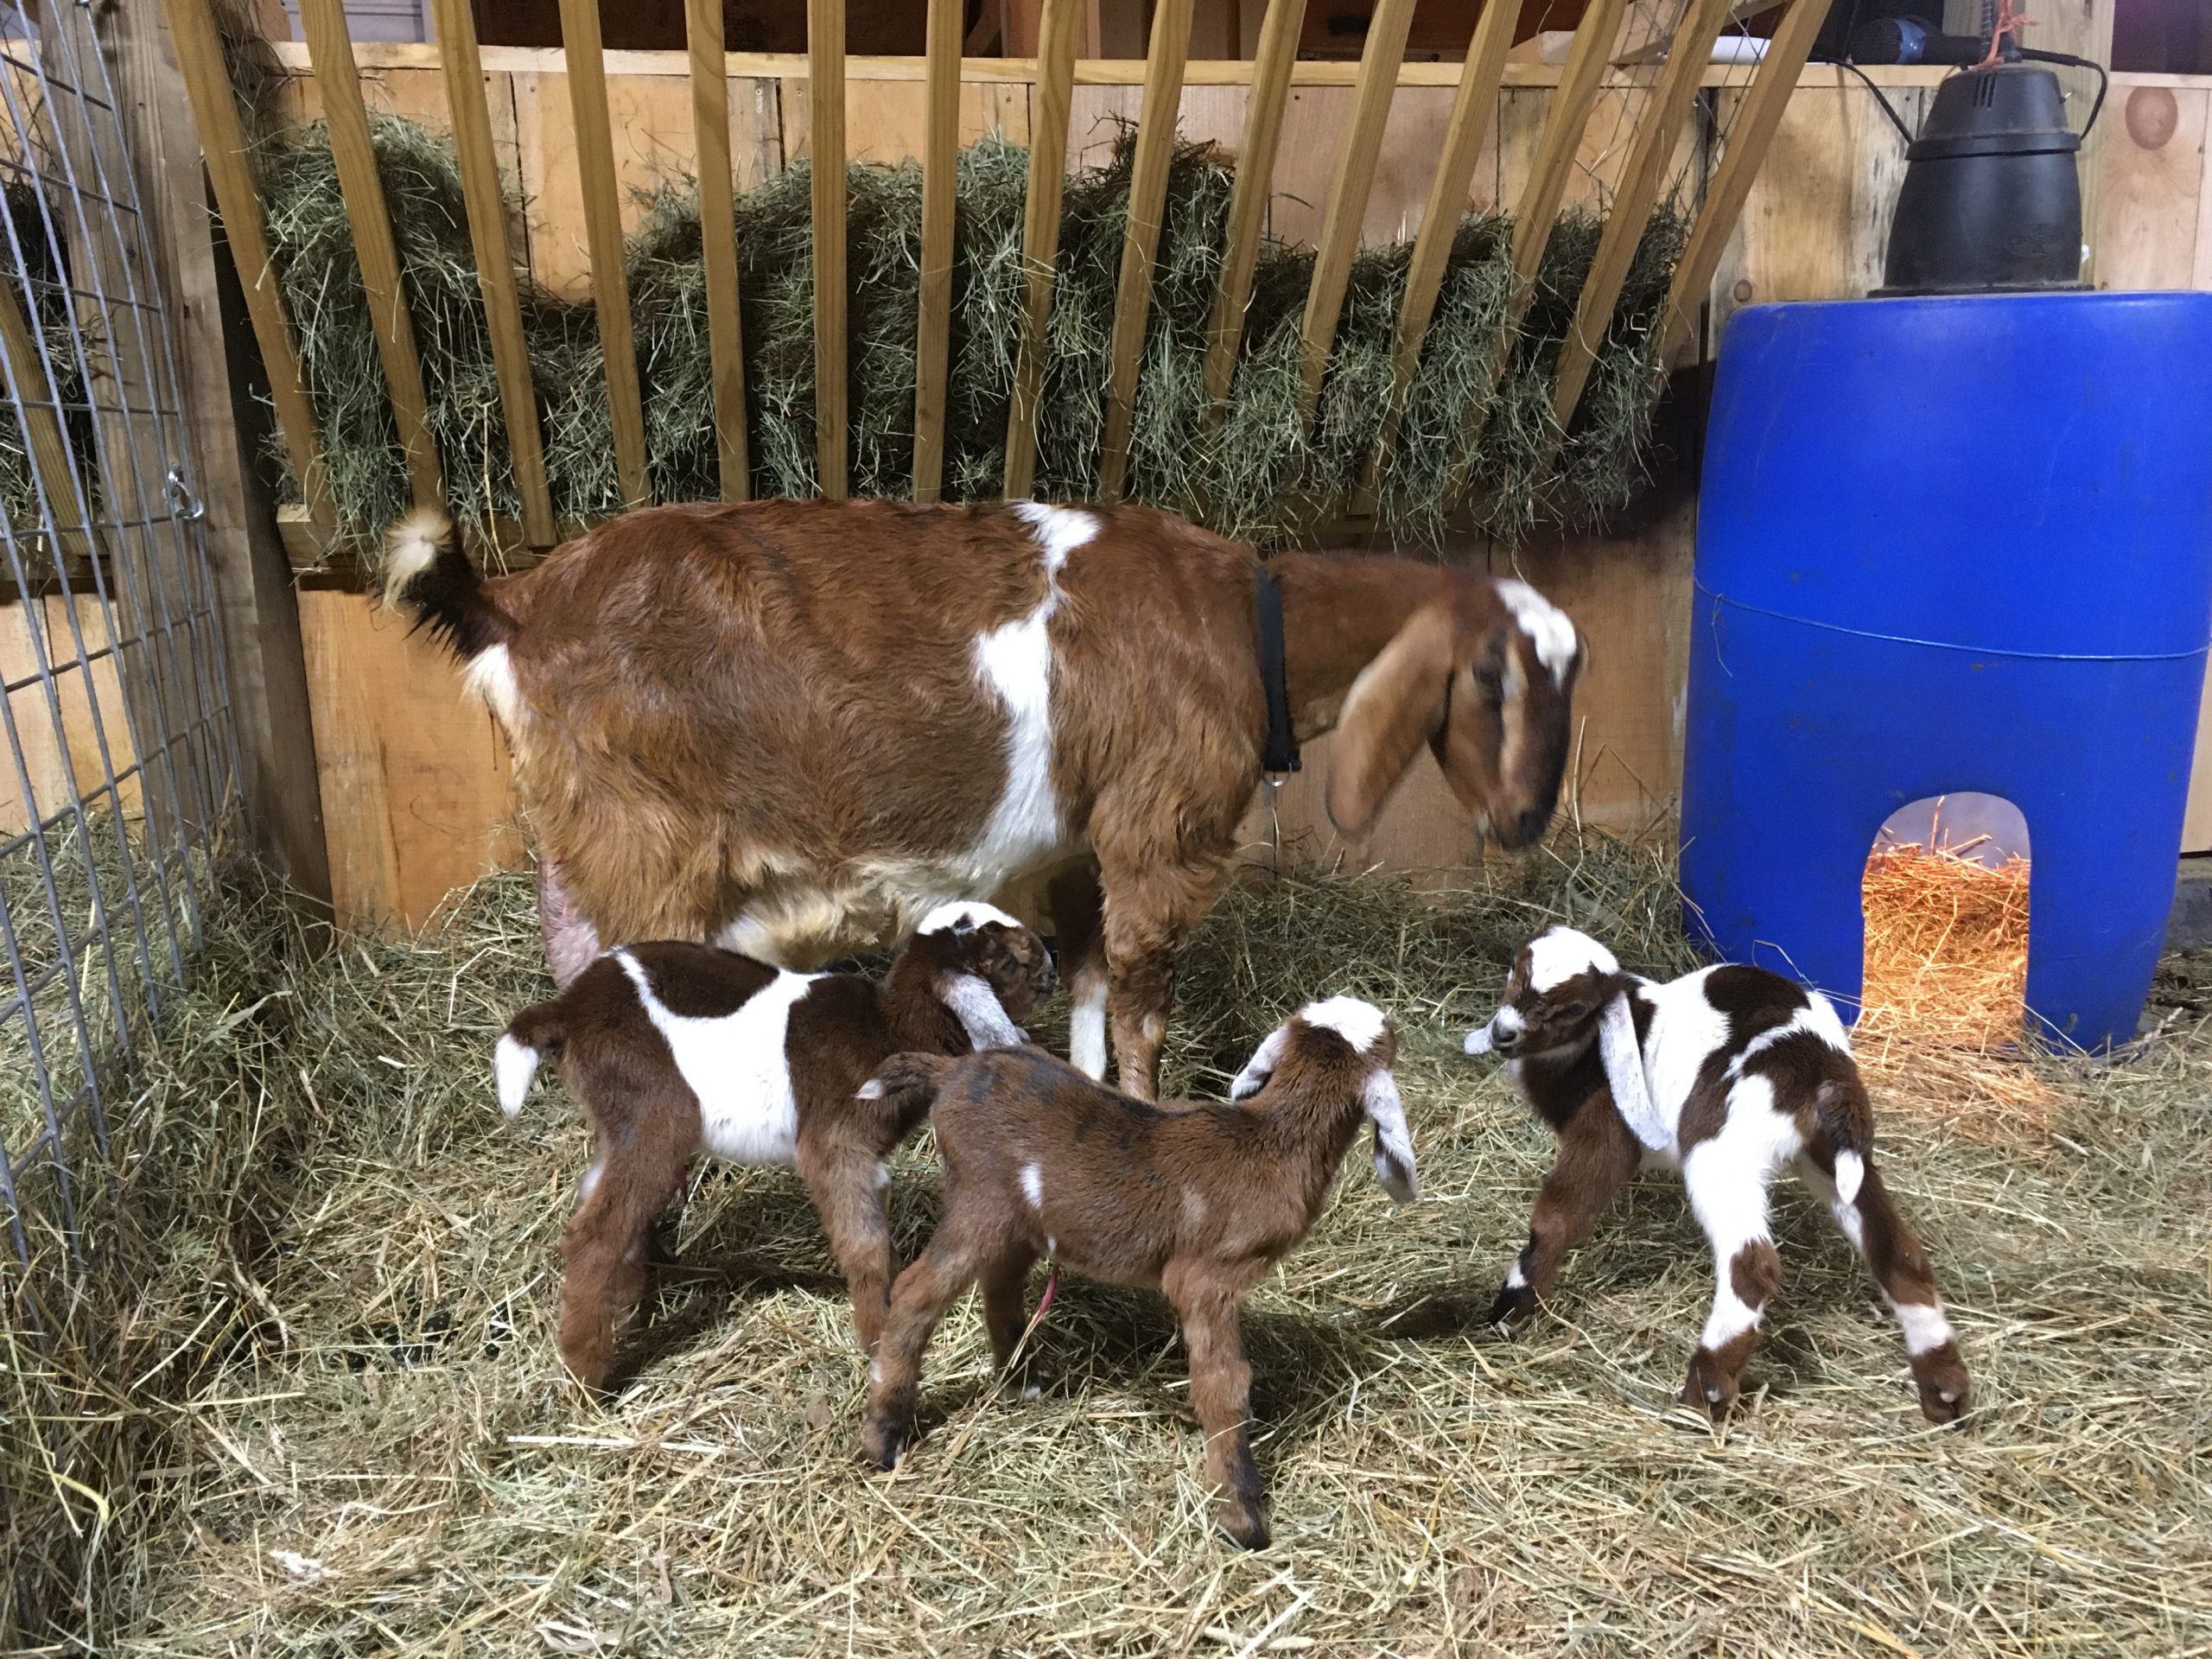
Also someone asked if the does pull their heads out and waste hay that way. My answer is, “it depends.” MOST of the time, they leave their heads in and browse and munch. SOME of the does are nervous, and pull their heads out to look around. But, overall, there is SO MUCH LESS hay waste. I’m thrilled. THIS is the “after shot.” Below is the “before.”
Our plan is to build three more of these feeders for our goat space, replacing the feeders seen in this video. I think it’s clear why by now!
Final picture. Here I show that there’s a great space under this manger for kids to use as an away space. I sweep hay that does drop down to the floor (minimal) under the manger most days, and they can snuggle into it for a nap.
Note the end of the manger: we put a door on ours so that I can clean it out. With any manger, I’ve found, there’s a build up of tiny leaves and sticks that needs to be cleaned out from time to time. This little door makes that simple.
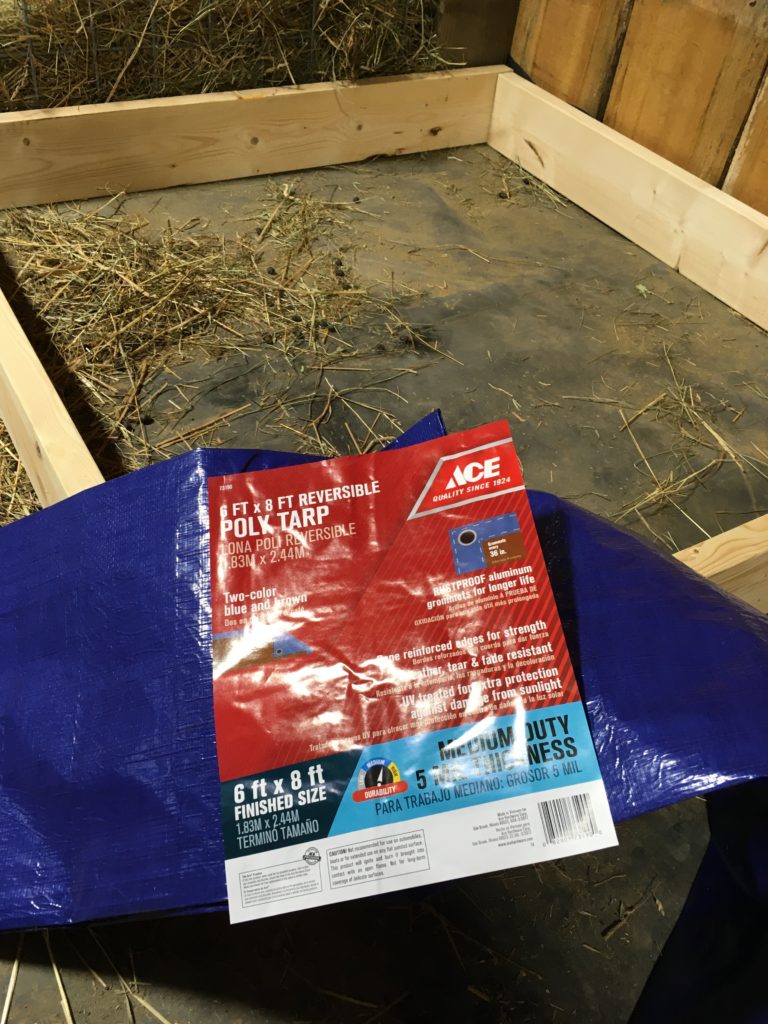
We also built a freestanding (therefore portable) version of this feeder. Details and more pictures are HERE.
And more recently, since we were running out of wall space for mangers, we began to convert our wall mounted ones to freestanding two sided ones, still with all the same great features. All we had to do was duplicate the side construction, and then put end boards on to stabilize it. We kept the cleanout door. It’s such a great feature.
This change now doubles the number of goats that can eat at one manger. Interior width is 32″: enough to lay two bats side by side down the length of the manger (which is six feet). To get an idea of how many goats this can serve, I include a picture from last week of them all crowding around to get at the hay we had just fed. This gives you an idea of why we needed to convert these mangers to give more linear feet.
Gallery of pictures below. it is the manger on the right in the first picture that was converted.
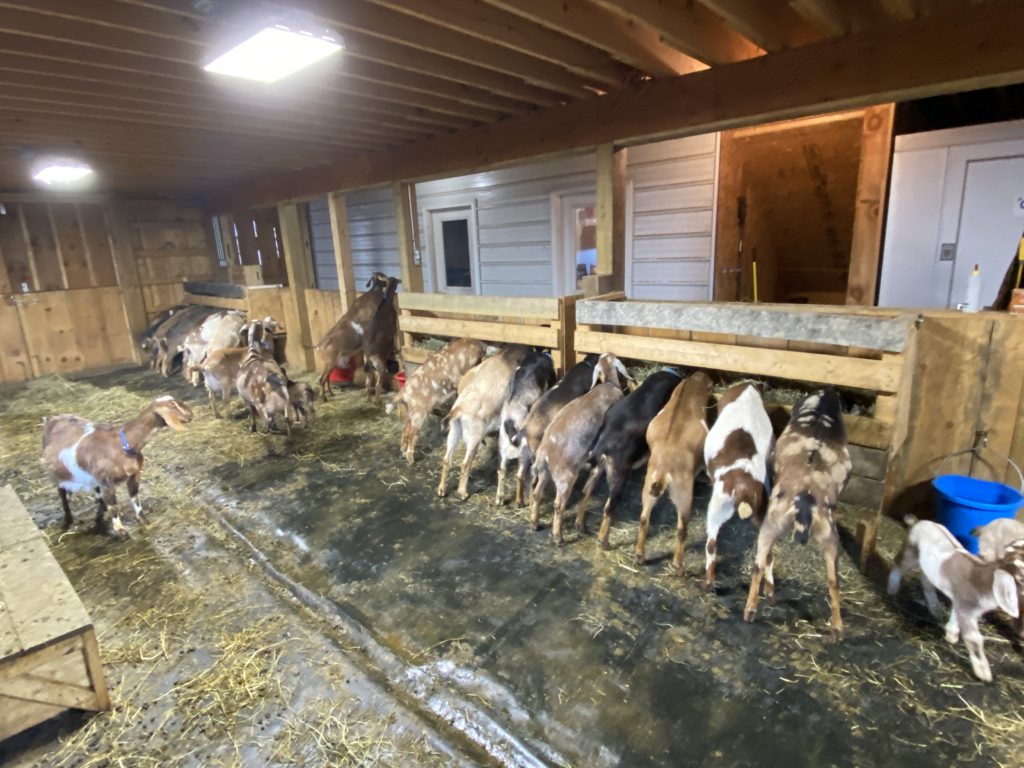
Overcrowding… but very little hay waste! 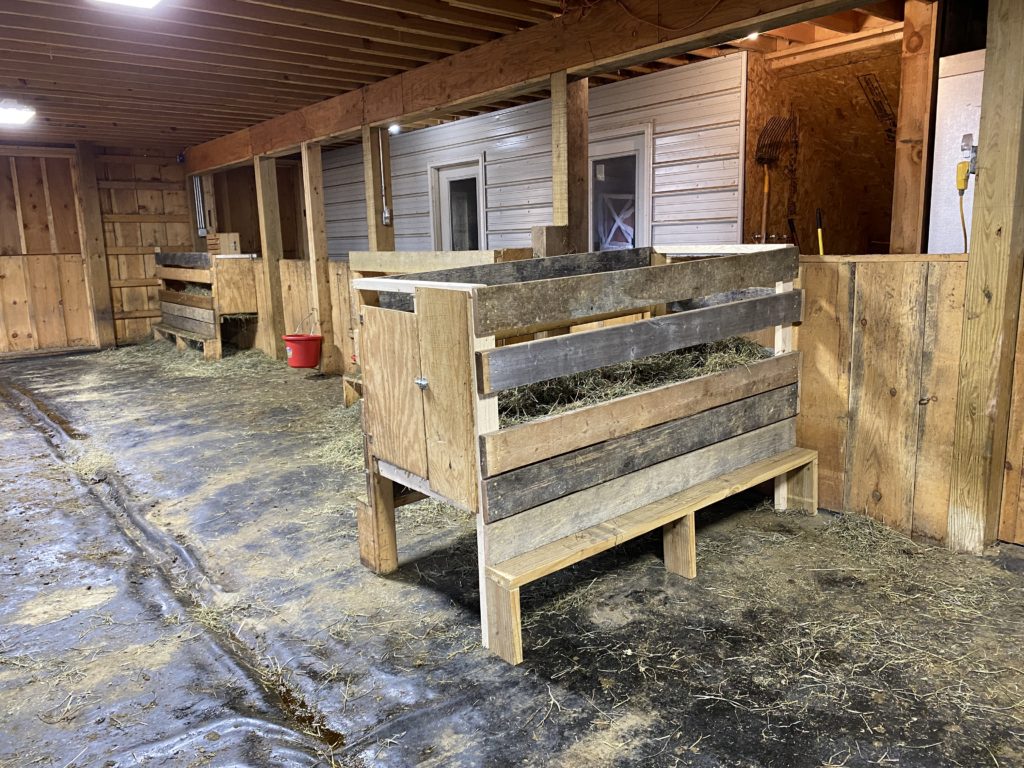
First manger converted. Double the space! 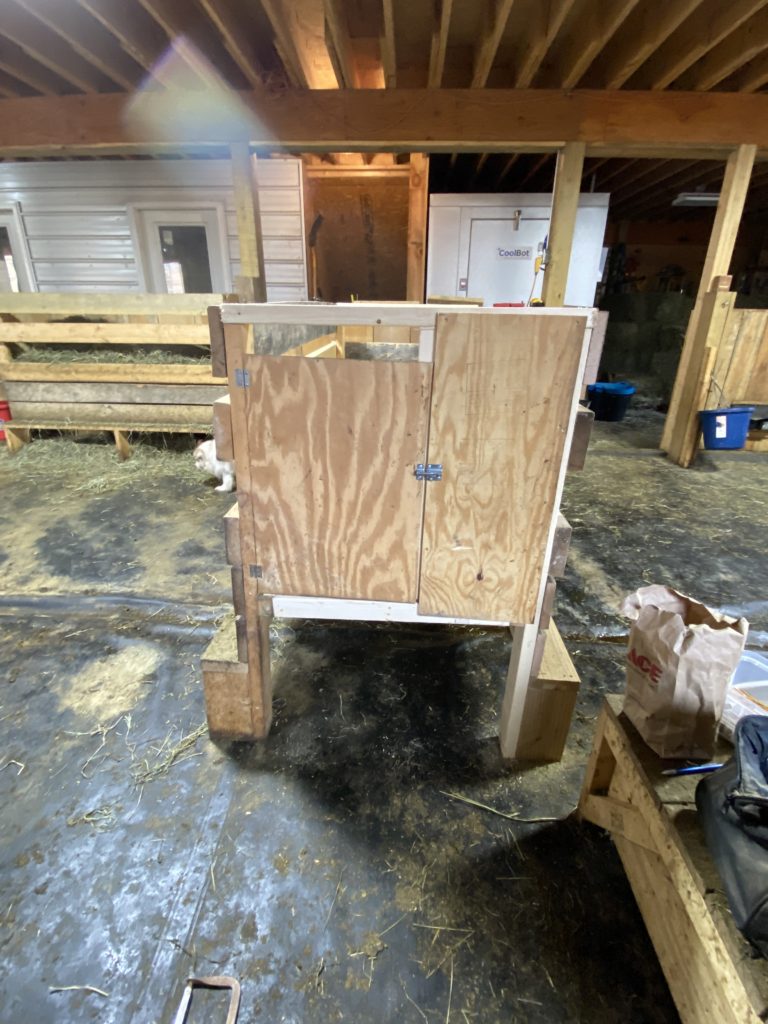
End view: door for cleanout