Posted on

Bragging Rights and Changes Coming

Selling a Prize Winner to a Deserving Junior
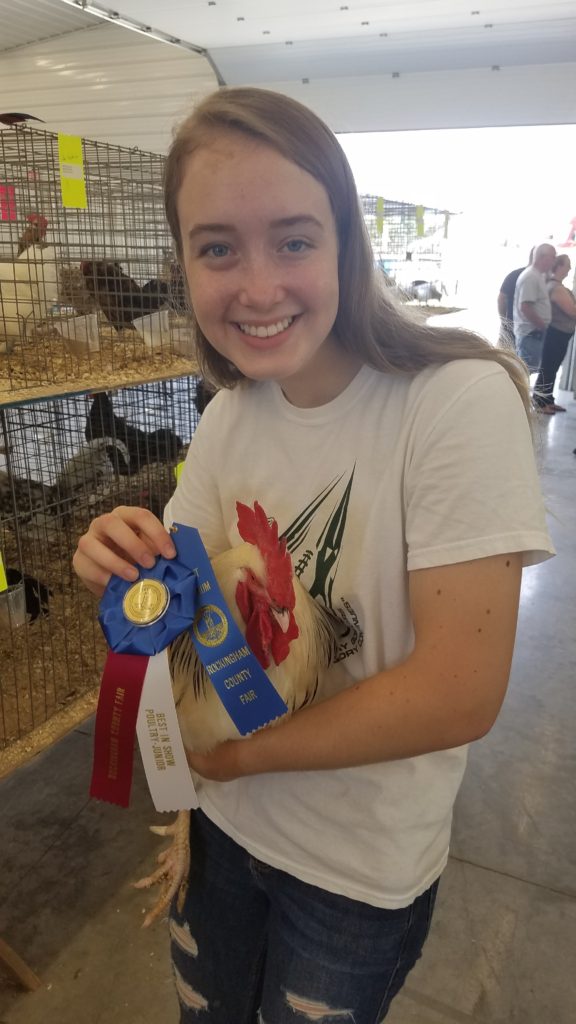
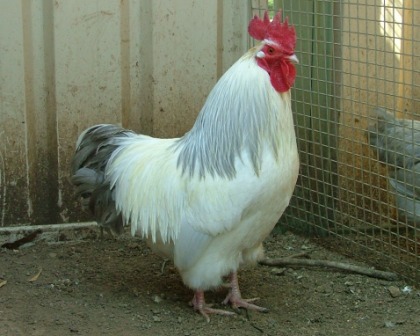
This past spring, a woman named Pirjo contacted me. Her daughter was in her last year in the junior division and wanted to purchase some chickens for show purposes. She wanted Ameraucanas, which I did sell to her, but she also bought my big, beautiful Light Sussex cock, whom we called “Buddy-son,” since he was the son of an older cock we had called “Buddy.”

She wrote me recently to say that her daughter won the Grand Champion award of the junior division in her show with Buddy-son! Pirjo wrote, “Best in show, judge said it wasn’t even a close contest! He was also the most admired and photographed bird in the barn. He really did great. And I must say, he is happy to be back home! Thanks for the great birds. They all did well.”

For me, her daughter’s happy face made saying goodbye to this beautiful cock worth it. But why did I sell him? Buddy and Buddy-son are gorgeous: big, robust, and fertile. There’s just one little issue with them: they are “split to Coronation.” What does that mean?

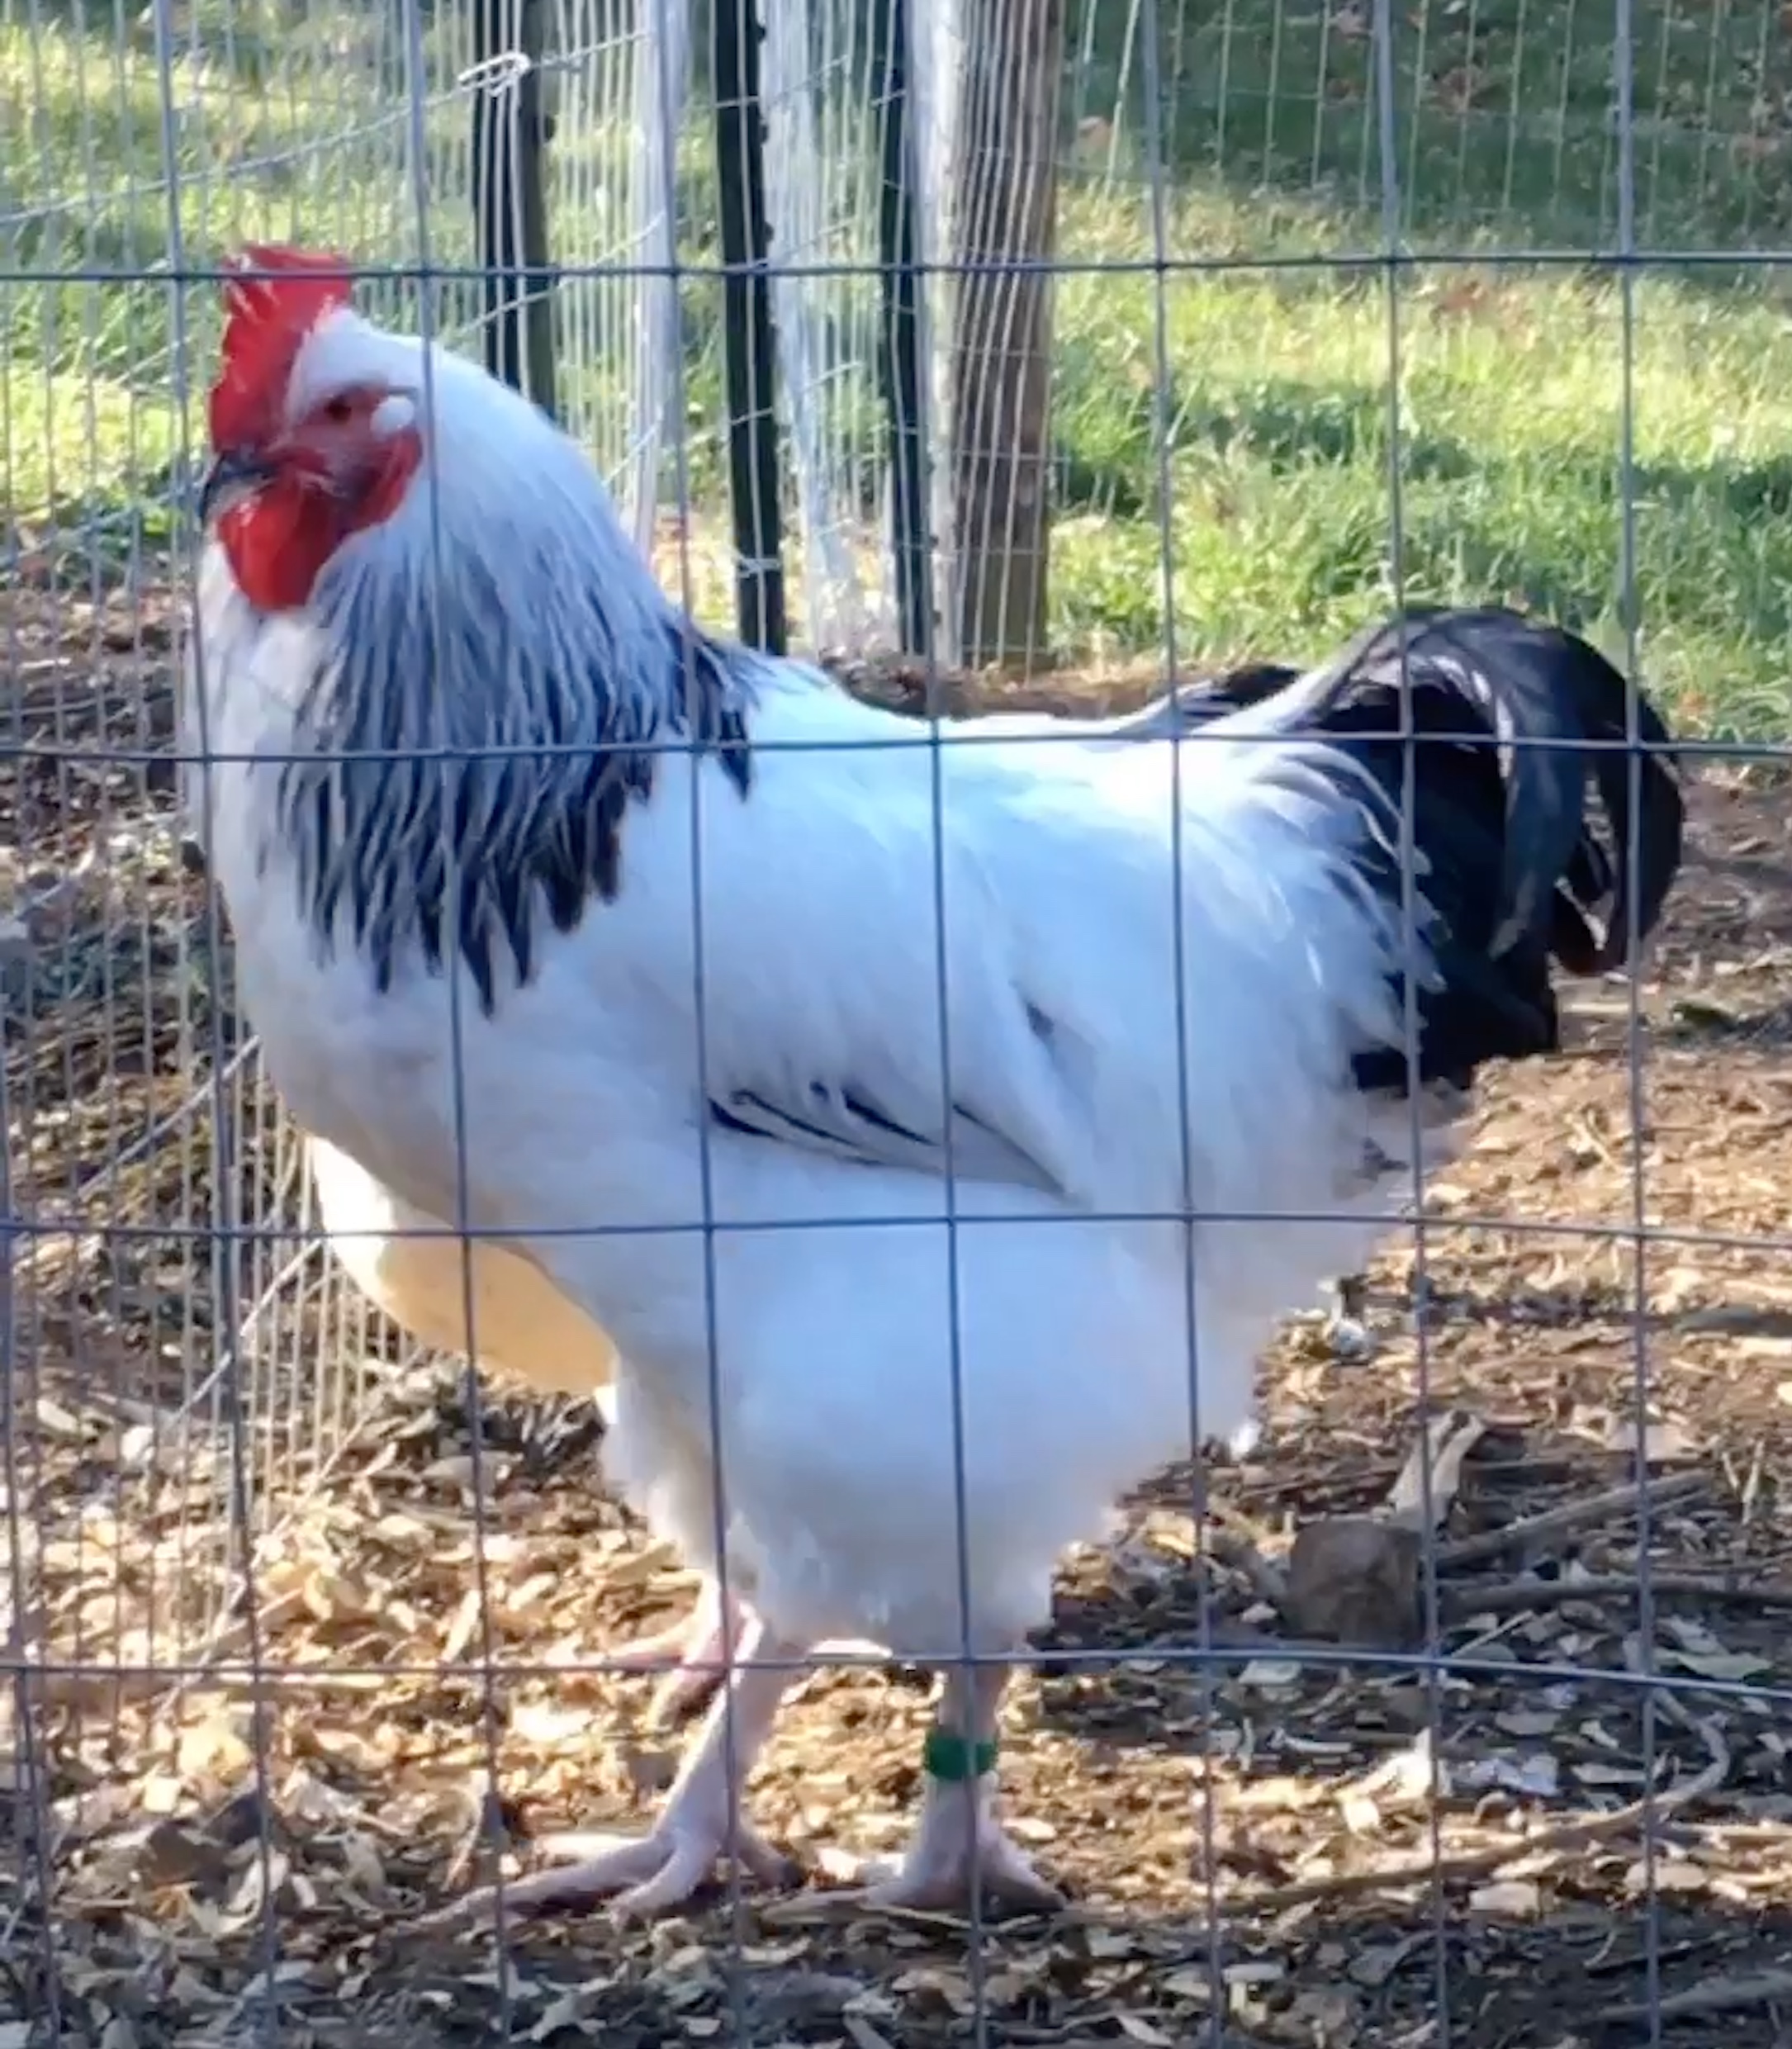
Light Sussex and Coronation Sussex
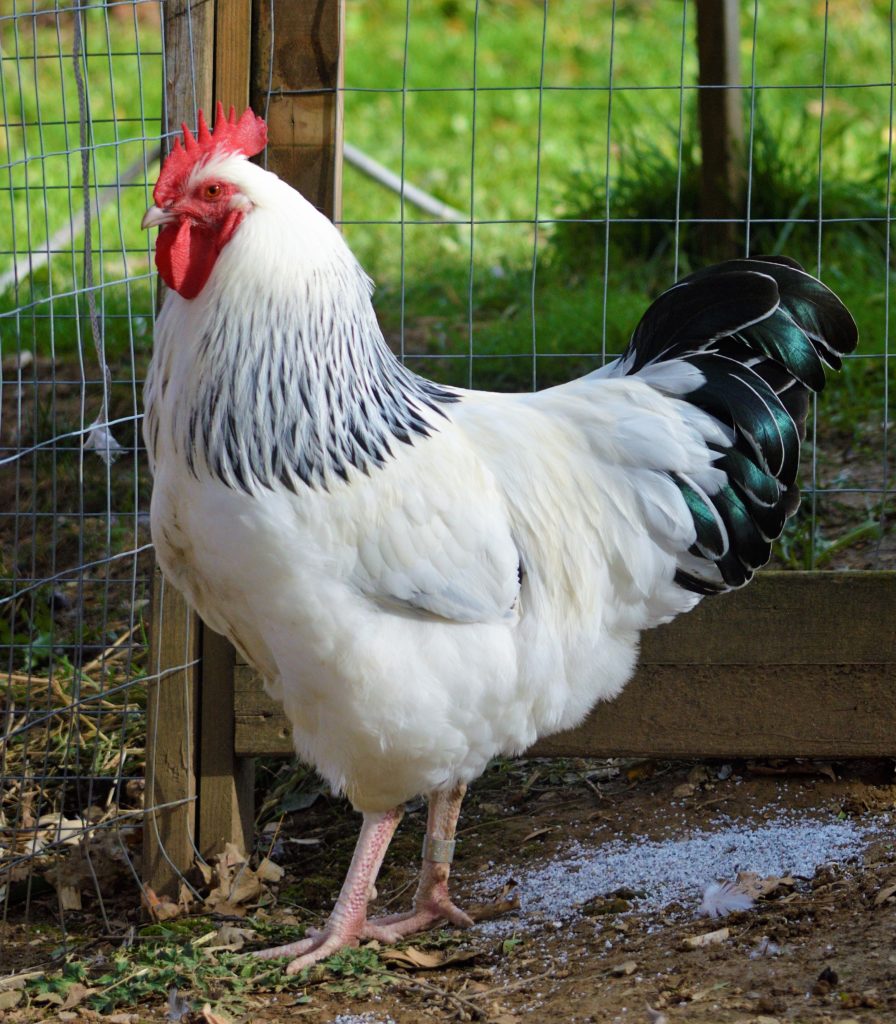
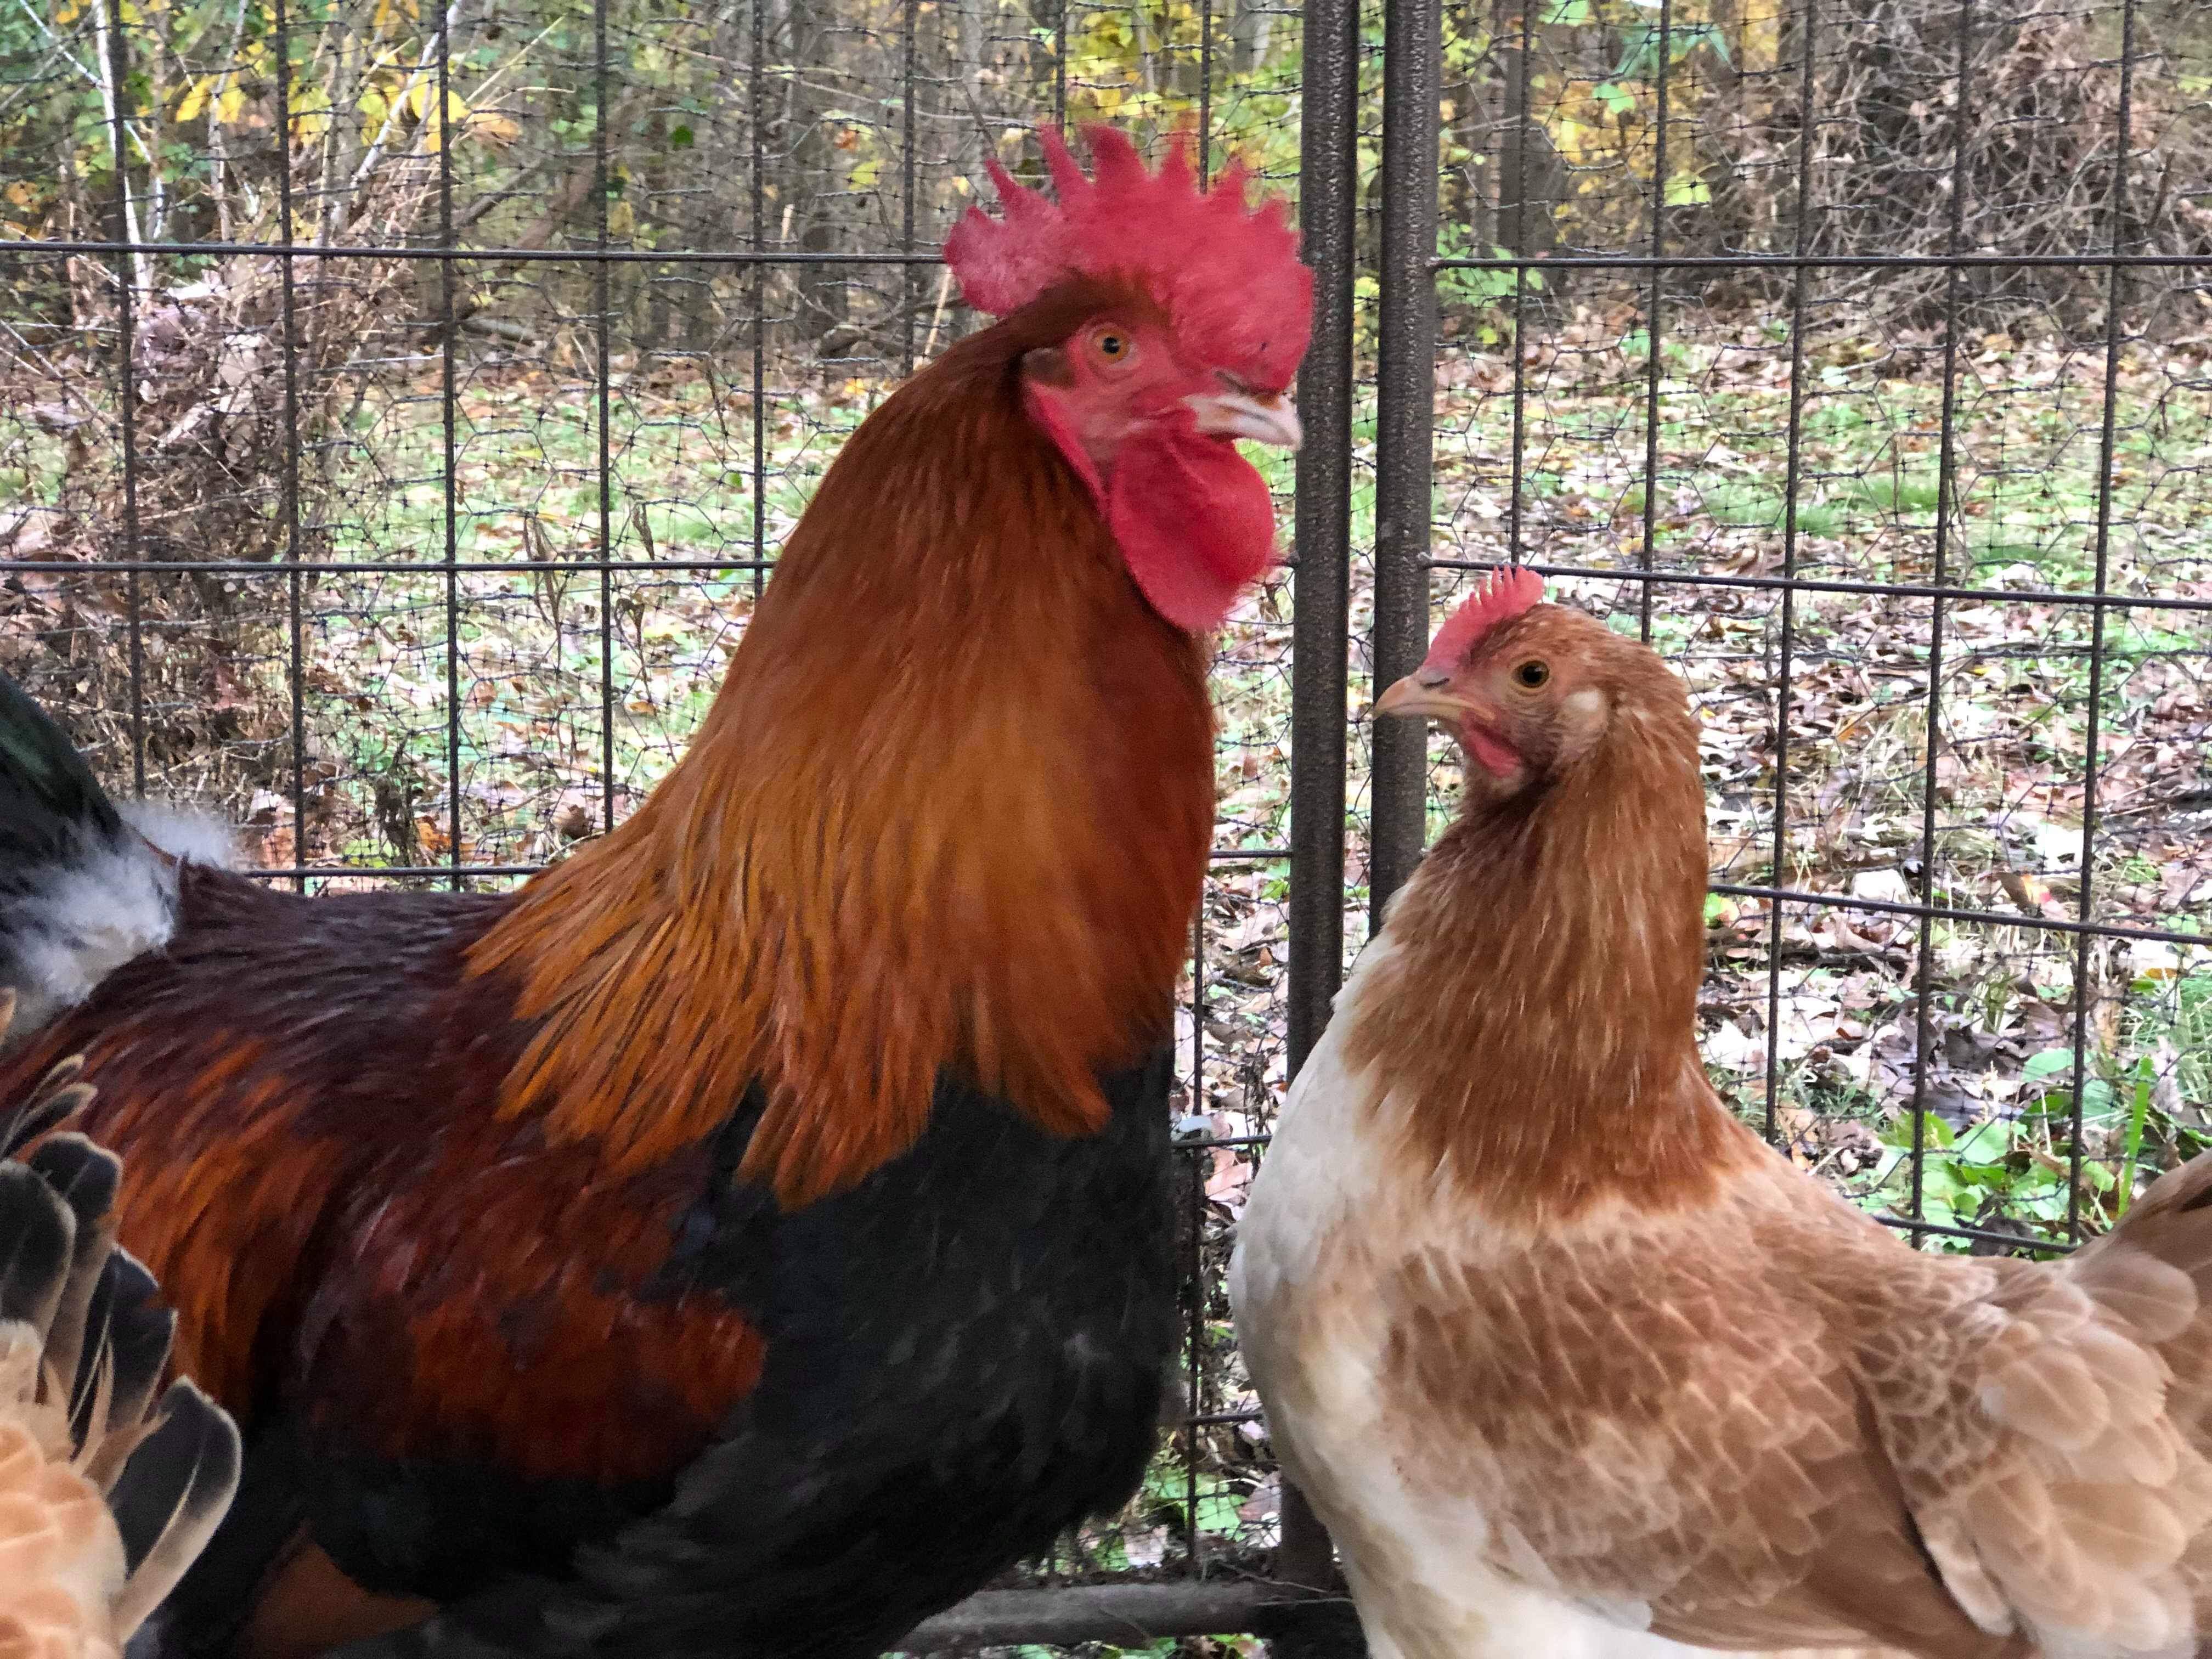
The Coronation Sussex (pictured on the right above) has the same color pattern and egg color as the Light Sussex, but with lavender in place of the Light Sussex’s black. This color pattern was created for the coronation of King Edward VIII of Great Britain in 1936 – an event which never took place because Edward abdicated in order to marry a divorcee before he was officially crowned.

Coronation Sussex are a rare and beautiful variety of the Sussex breed: they are docile, large, and lay very large to jumbo pinkish, brown, or tan eggs (depending on the hen). The Coronation pattern is recessive; to oversimplify, like blue eyes in humans, a bird must carry two recessive Coronation pattern genes to look like a Coronation Sussex. A bird that appears to be a Light Sussex (with black markings on hackles and tail feathers) can mask Coronation genes. The only way to find out if a bird is “split to Coronation” is to breed him with either a bird known to be split, or with a full Coronation bird. In the first instance, 1/4 of the offspring should show the Coro pattern; in the second, half (statistically) will be Light Sussex and half Coro.

To return to my story, Buddy and his son were both drop-dead gorgeous Light Sussex males, but as we bred this past year, we hatched about 80 Light Sussex eggs from these boys and another cock from a different line that we thought was a pure Light Sussex (with no Coronation genes hiding underneath). About 1/2 of these chicks feathered out to be Coronation Sussex. This means that all their siblings and cousins that appear to be Light Sussex are either split (they carry the Coronation gene, but we can’t see it) or they are “pure”— they carry two of the genes that yield the dominant Light Sussex pattern.
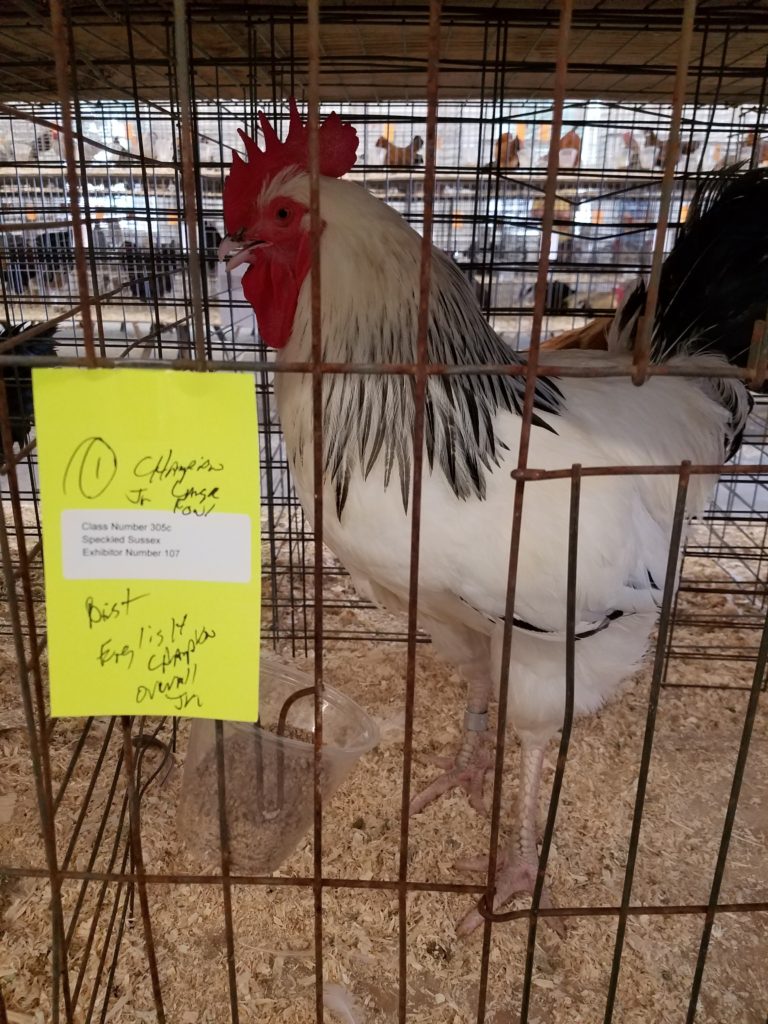
We were both surprised and a bit downhearted to realize that, aside from pair mating and hatching LOTS of chicks next year, there is no way for us to tell if we are selling pure Light Sussex chicks ongoing. So, when Pirjo came this spring looking for show quality birds, I gladly sold Buddy-son to her! He won best in show, proving that he has what it takes to be a winner! He has a good home, and we have his wonderful genes in our Coronation lines moving forwards.

What this means for us going forwards…

As we look to hatching in 2020, we plan to move all of this year’s Light Sussex birds out and concentrate on our Coronation Sussex and our Marans (wheaten, blue wheaten, and black copper varieties). We will also not be continuing with Ameraucanas in 2020. We are, in general, downsizing our chicken operation because of our new involvement with our Mini Nubian goats.
Posted on

Spring on the Farm

It has been an exciting spring at Storybook Farm in 2019. Life has been bustin’ out all over. Now that it’s officially summer, I have time to post some highlights from our busy, busy spring!

Cats

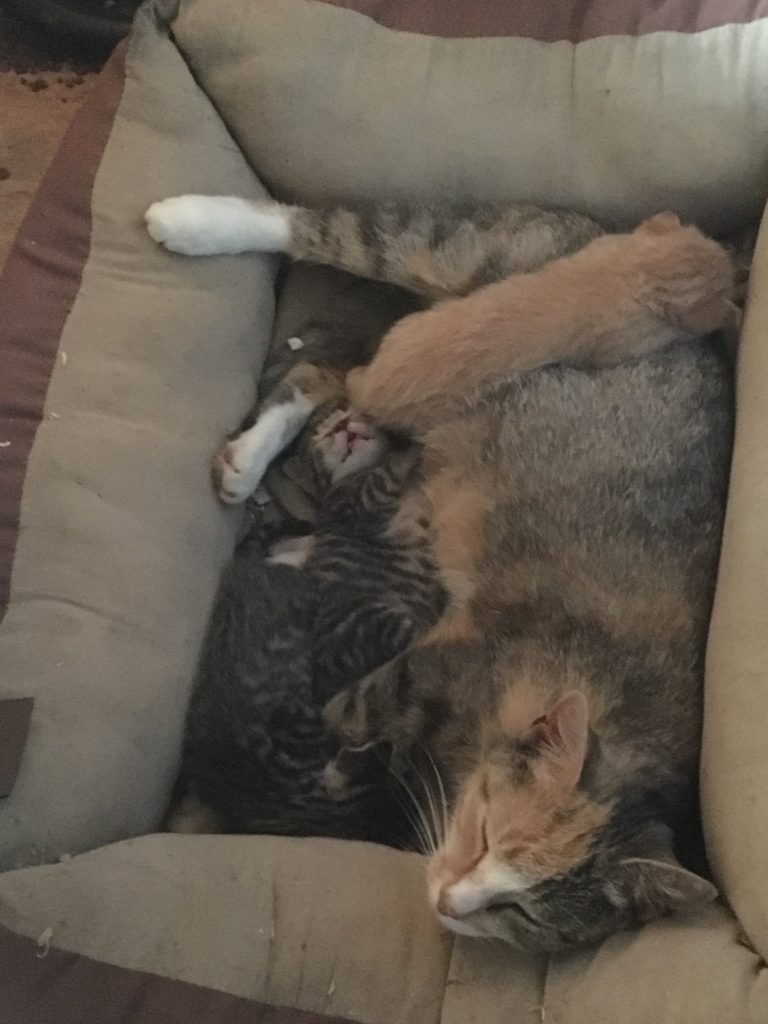
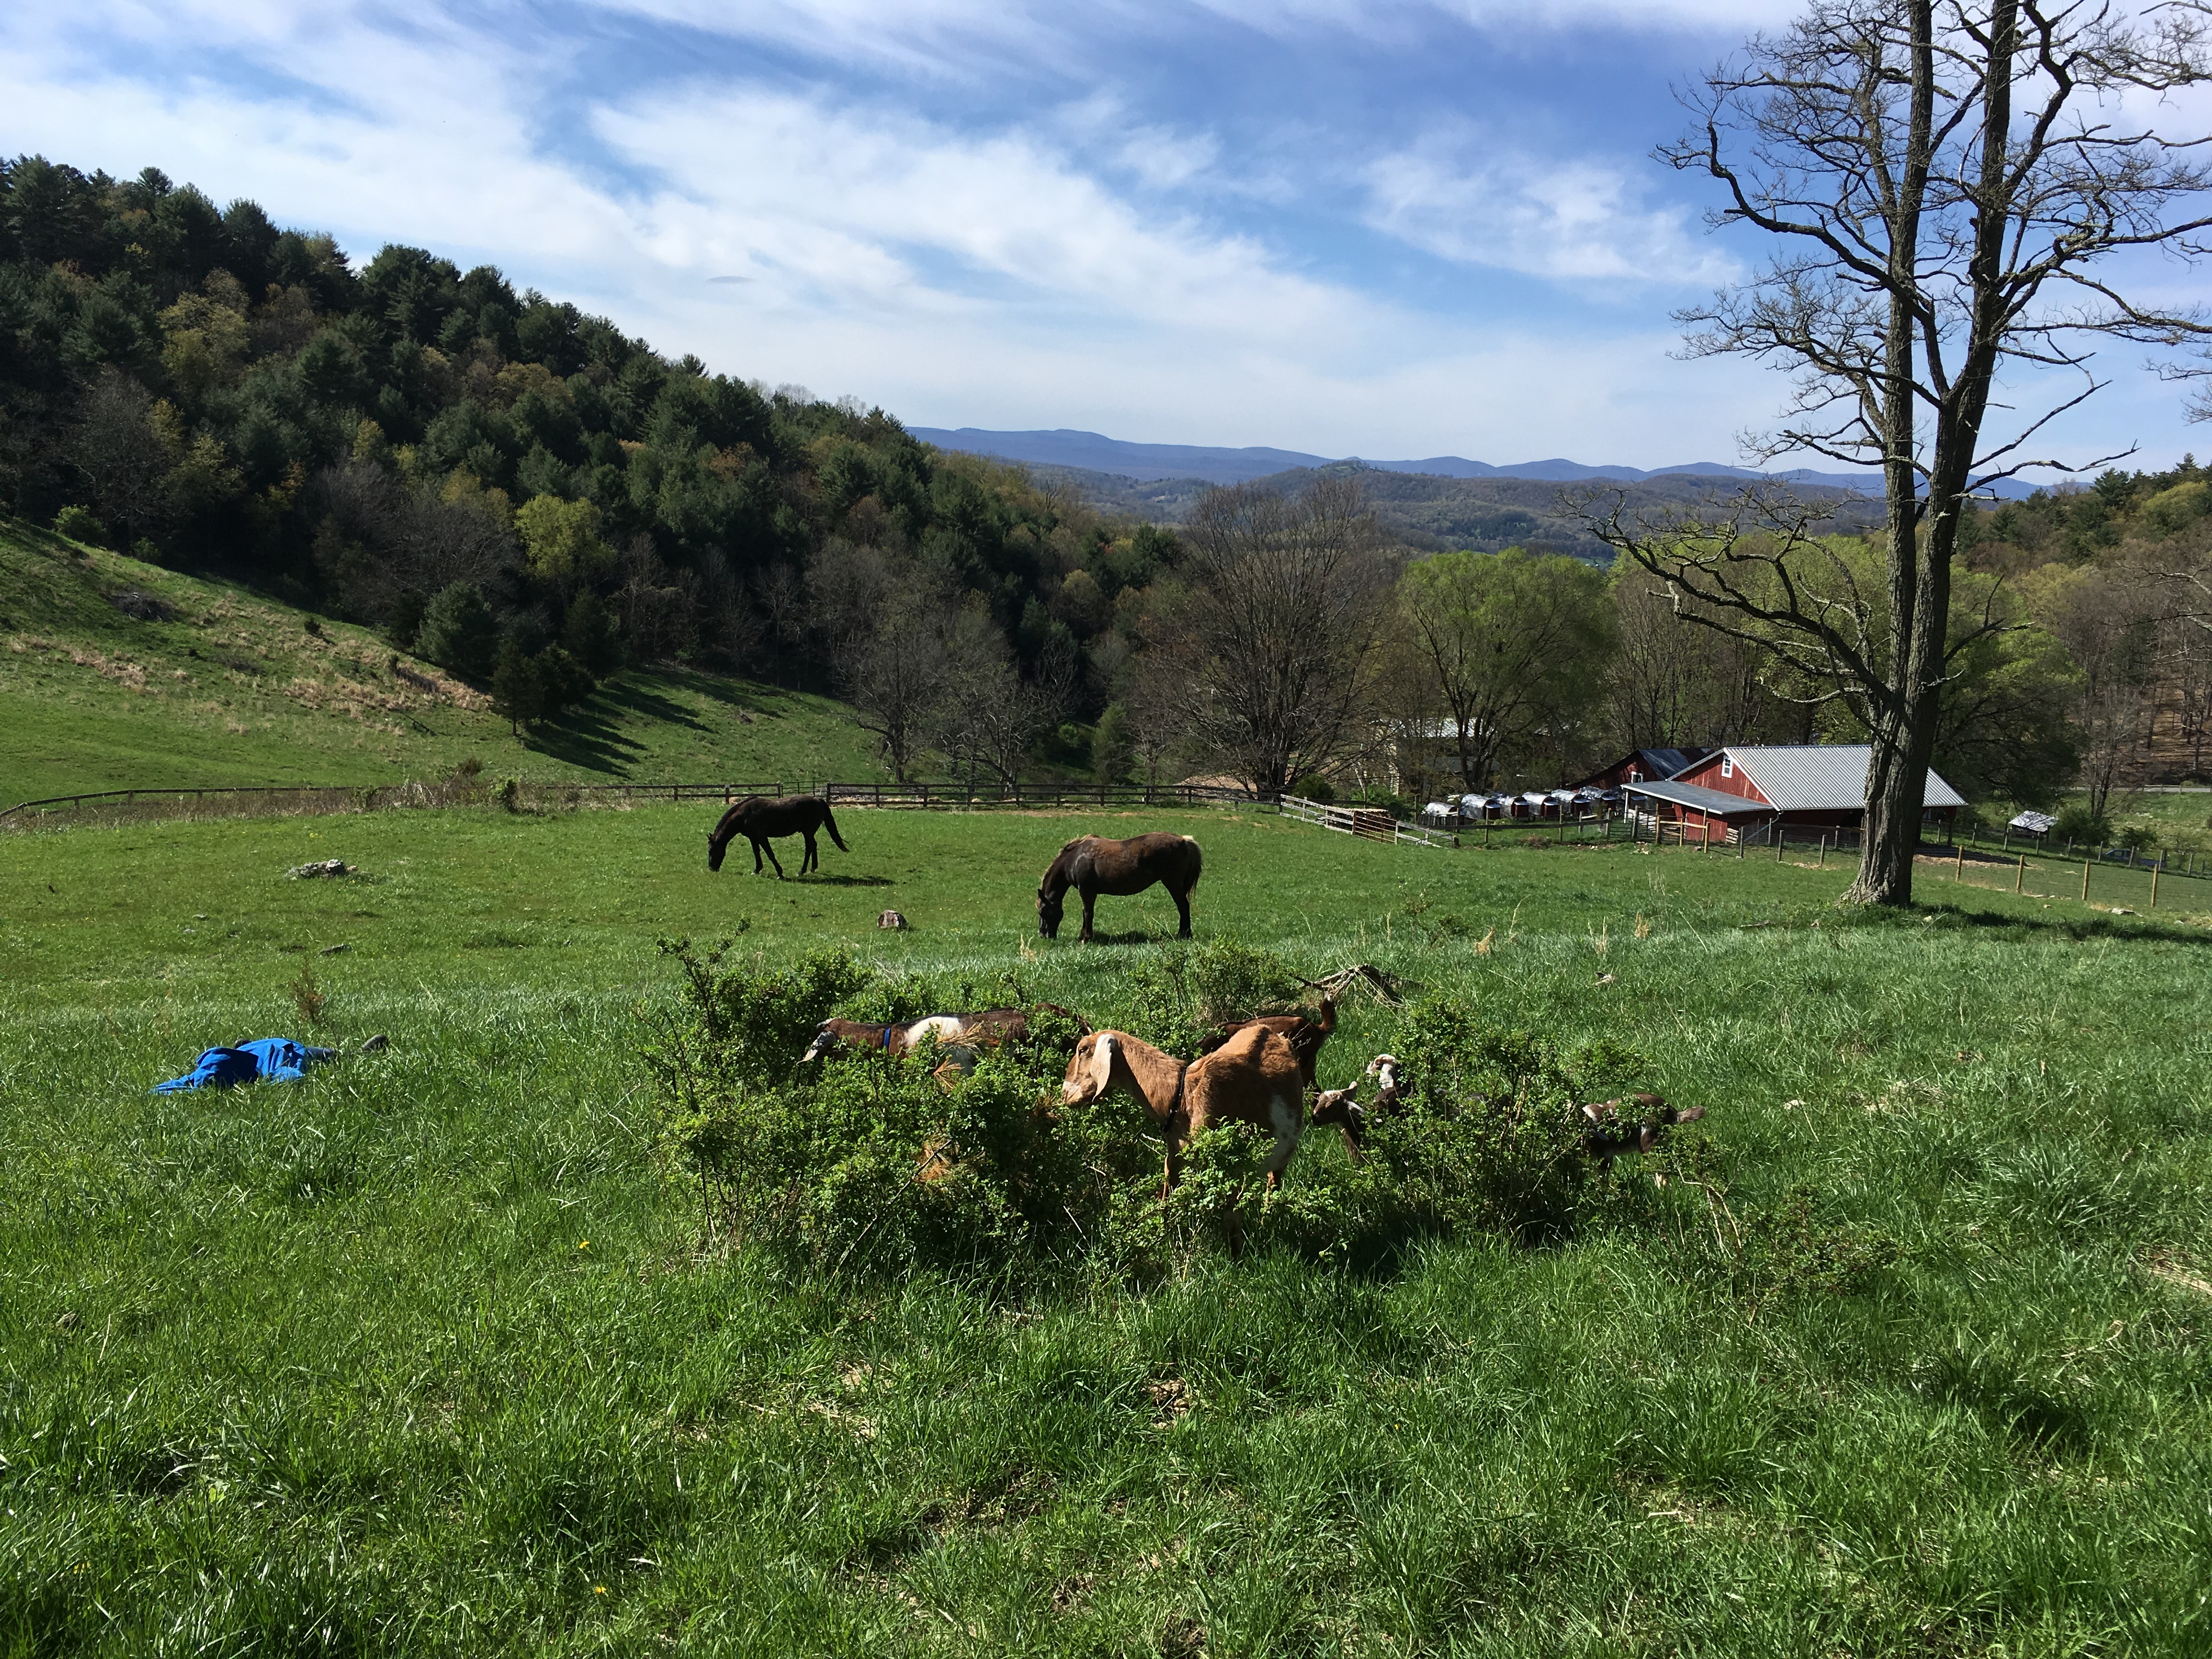
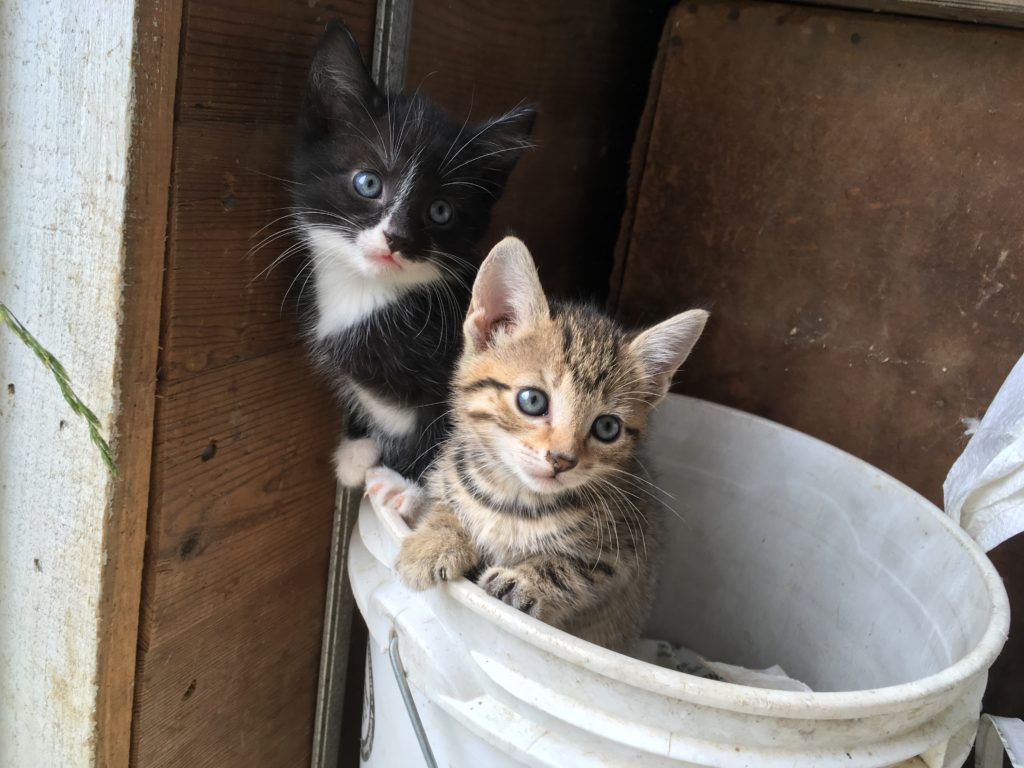
I’ll start with the cats: we had two cats give birth to kittens this year. Each had three kittens. The first had two girls and a boy; the second had two boys and a girl. These are two from the first litter, named Phantom and Tiger Tigress. (Sadly, their eyes have since turned green.)

The first mom, Katnis, had her babies under the house in and inaccessible spot. When they were about six weeks old, she moved them to the barn. She was a first-time mother, so we wondered how she would do, but she proved excellent and produced two black male/female kittens and a female mini-me: tiger striped with green eyes, pictured above.

The second litter was born about six weeks later, to Patches. She chose to deliver in our most remote shed where we store boxes to be burned. From Day 1, I knew where they were, but we didn’t move them for about four weeks. They are pictured right about a week after moving. Patches had one ginger boy and a tiger striped boy/girl pair.

Chickens

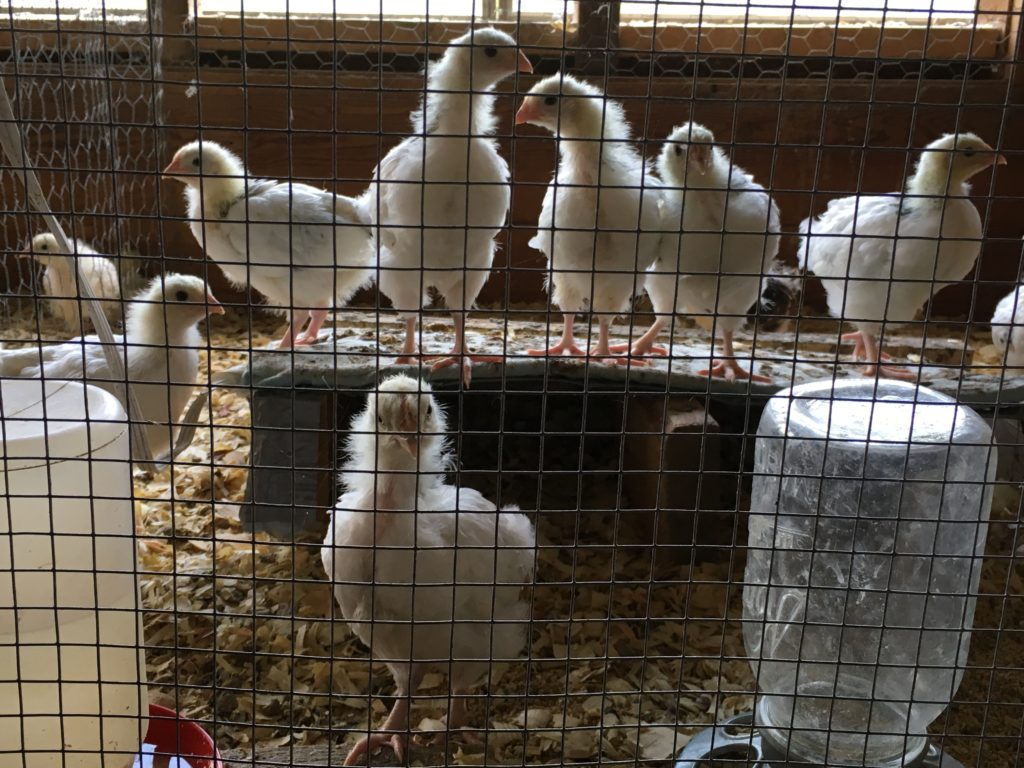
Next, chicks. We hatched about 100 chicks this year, mailed out many, and saved ourselves about 70 replacement birds. We hatched wheaten Marans, Light and Coronation Sussex, and black and blue Ameraucanas.

It’s taken us four years to get our infrastructure right, but we had it working very well this spring, and are happy with the results!

Goats

Next I should list the most challenging animals of the spring: goats. The learning curve for gathering a herd was straight up, but God gave me great mentors from around the country via the Internet, and one nearby neighbor.
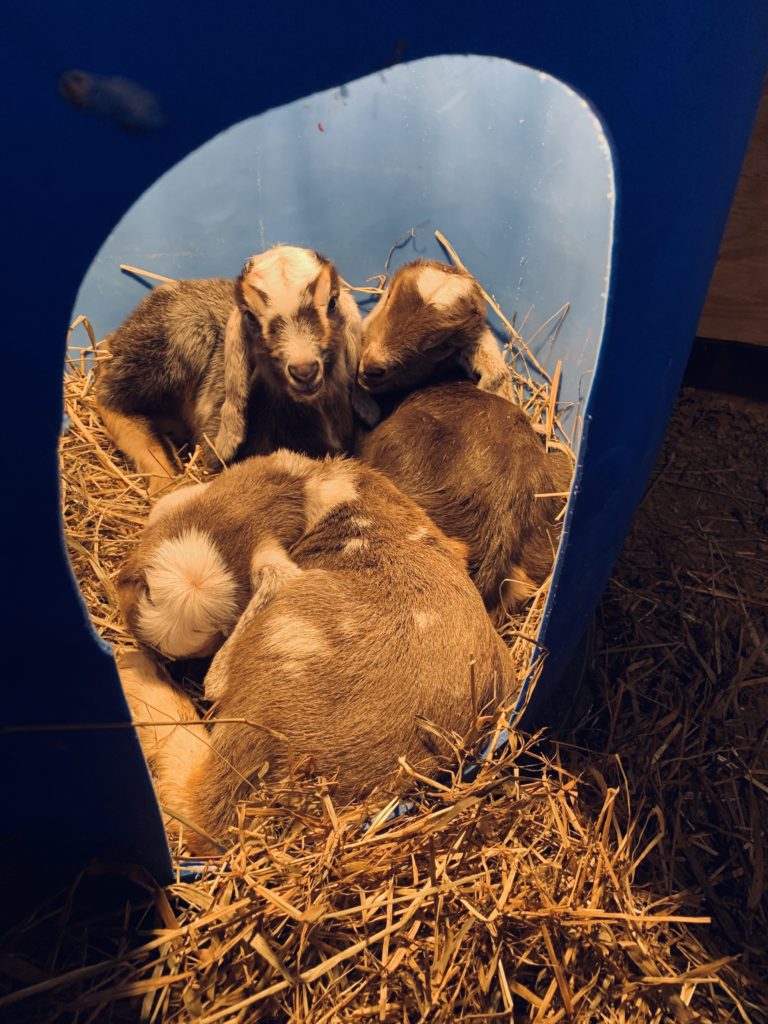
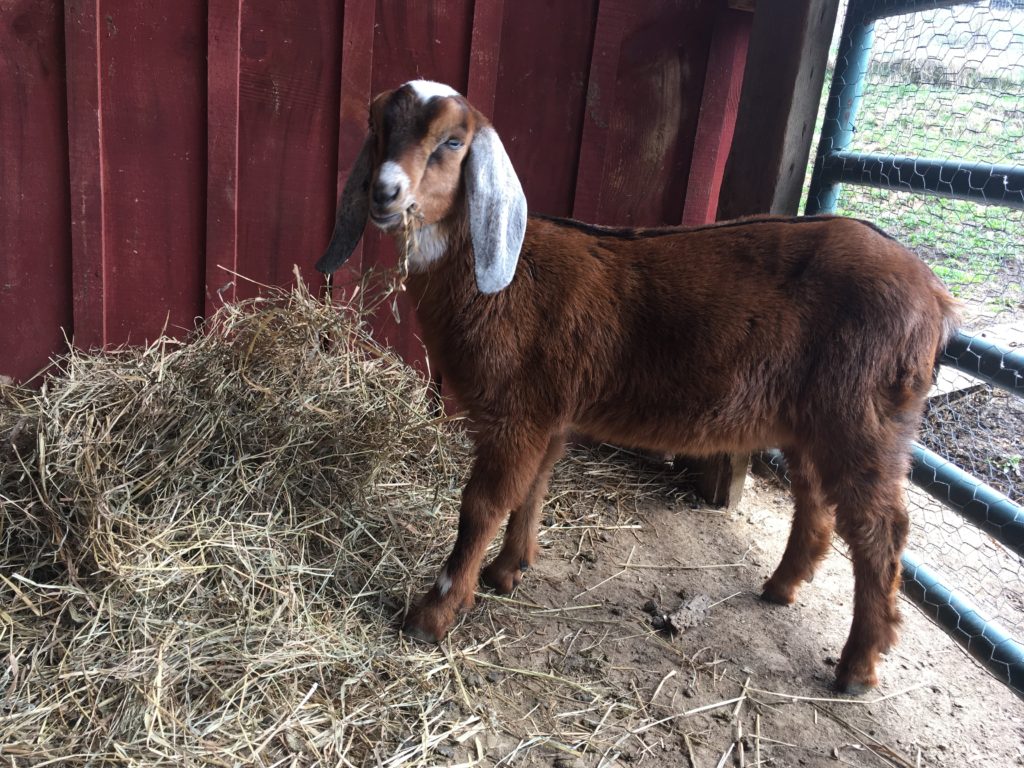
We started by purchasing a three-year-old pregnant doe, Buttercup, who kidded on April 2, blessing us with three doelings.

One almost didn’t make it (and you can read that story here), but they have all grown into lovely, strong animals who are affectionate and beautiful.

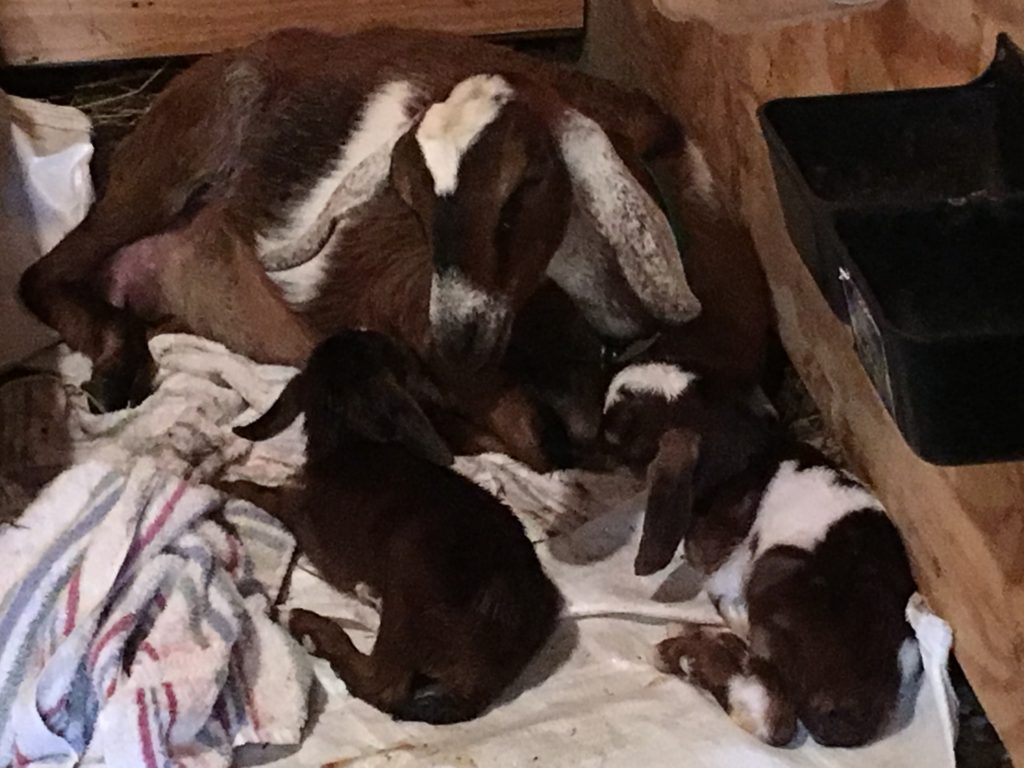
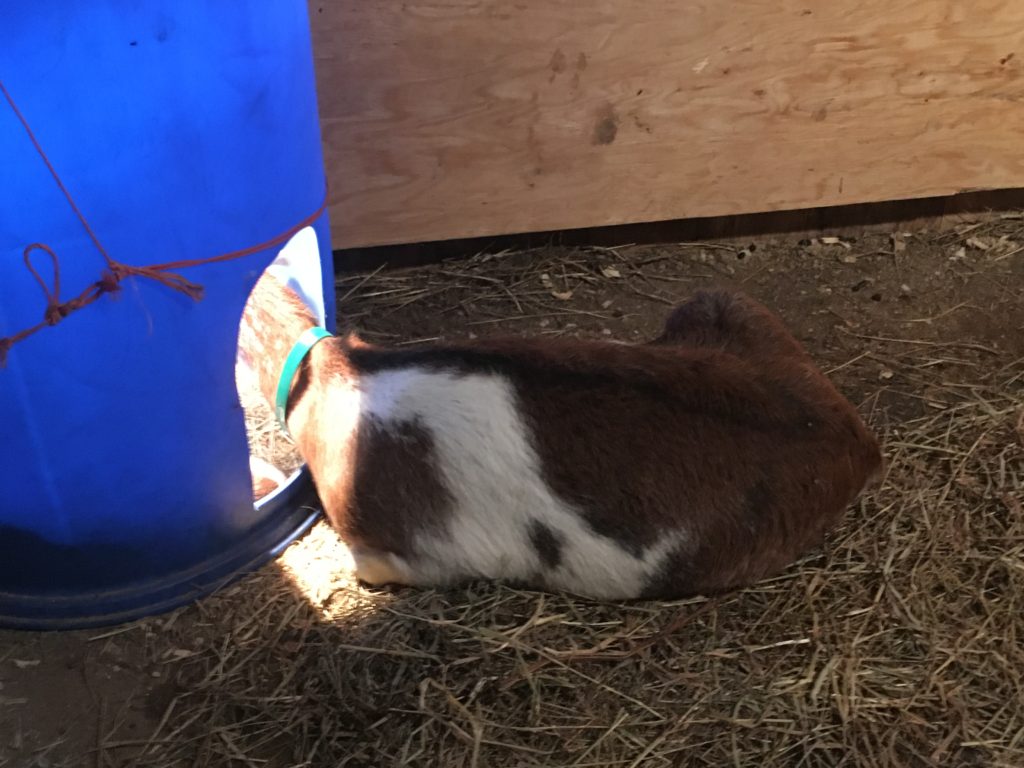
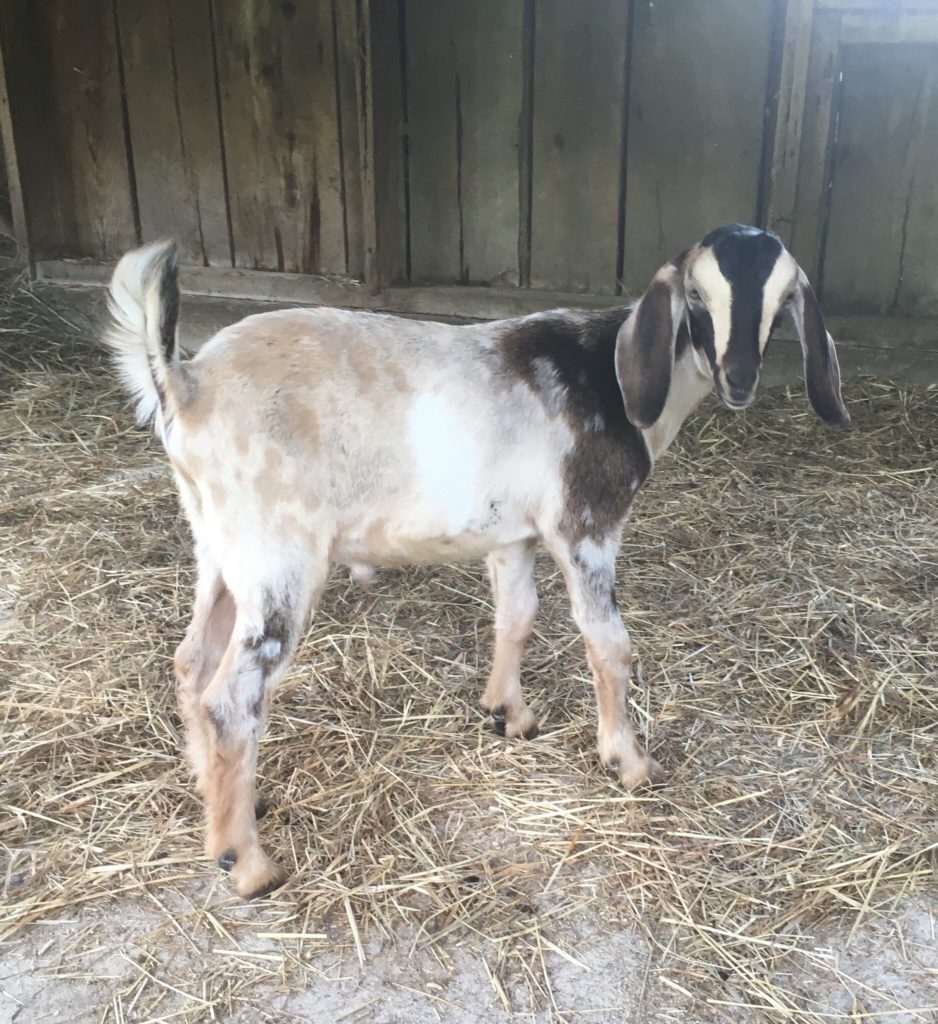
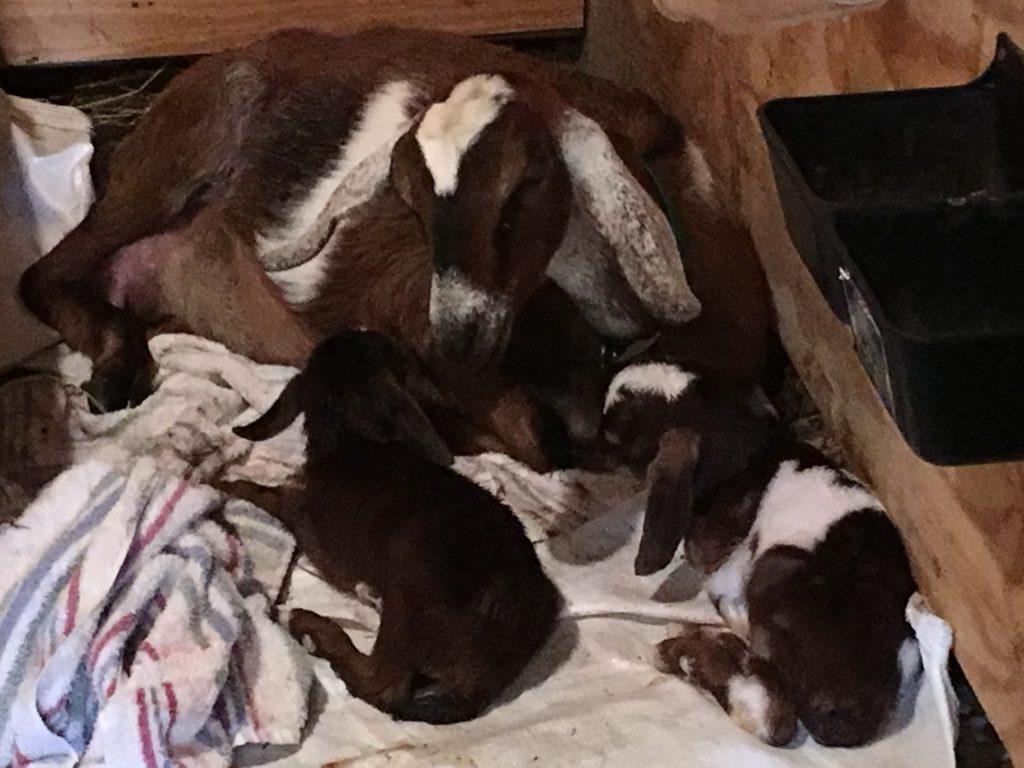
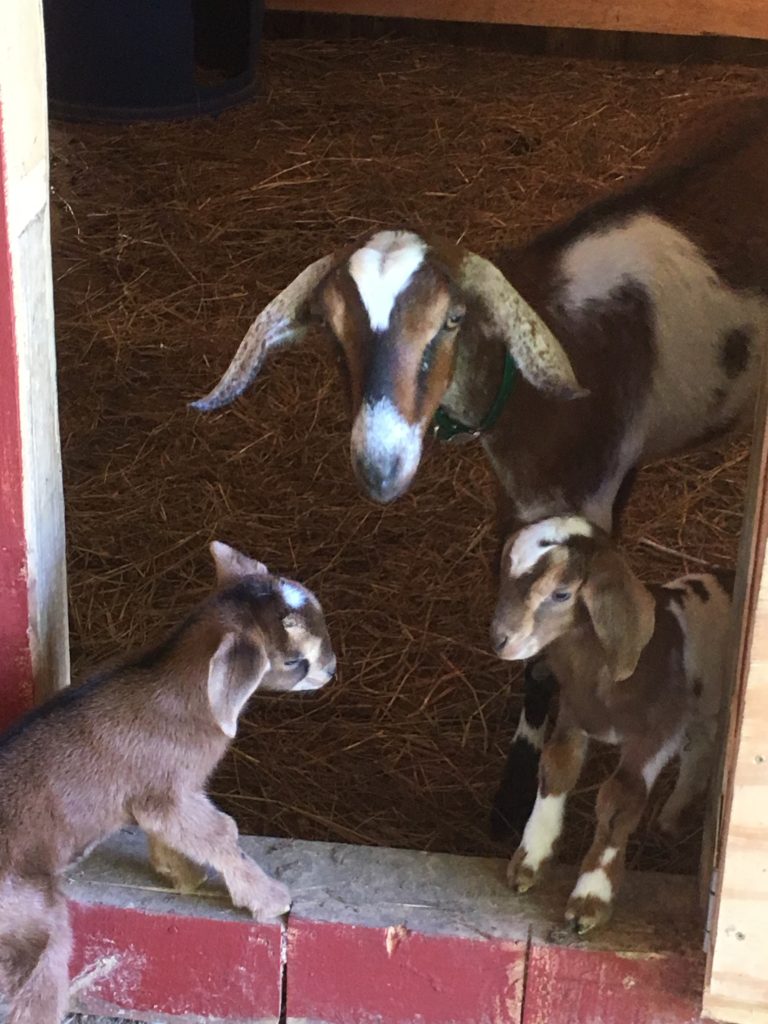
Our second goat, Milky Way (or Milcah) also came to us pregnant. She was only nine months old, however, and she was caught late in heat, so she did not deliver until June 8, 2019. The delivery of boy/girl twins was easy enough, but we were concerned for a bit that she wouldn’t accept them. However, she proved a very attentive first time mom! Pictures of Milcah and her kids are below.

We also acquired two young bucklings, who will be our herd sires in 2019.

Green Gables E Asher *B
Bellhouse’s Rigel *B

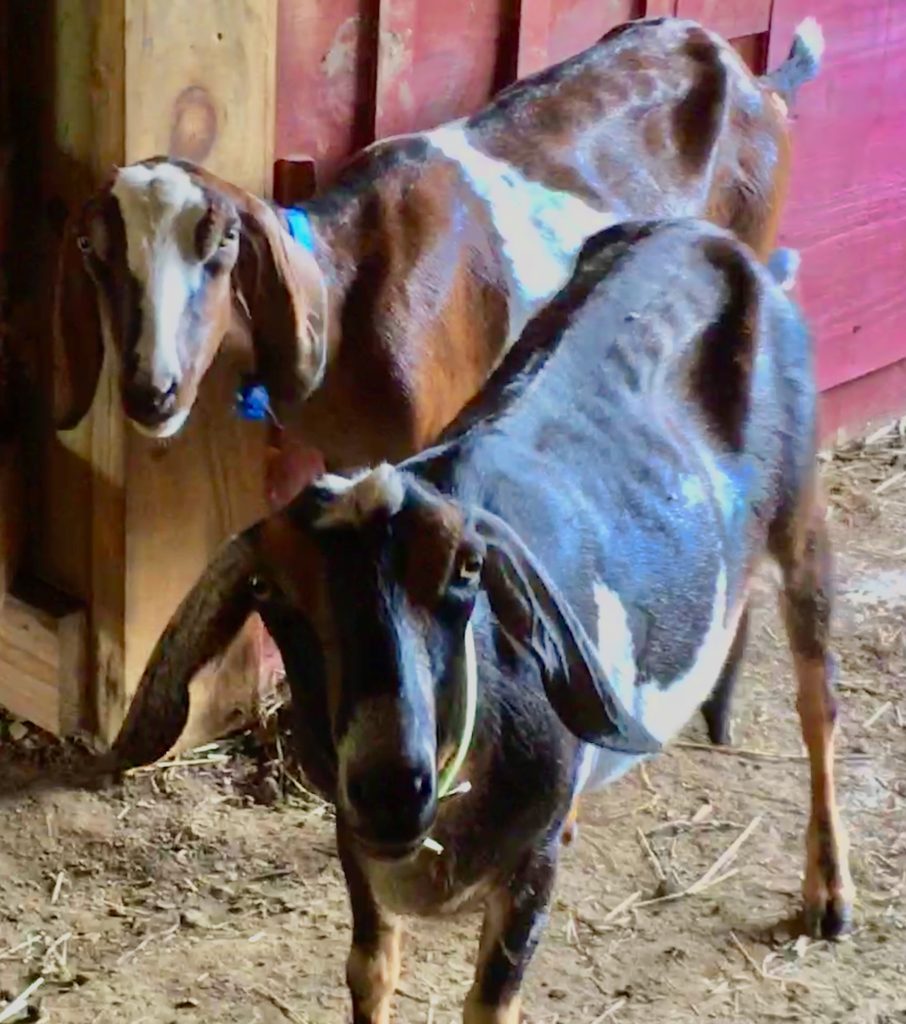
Last May, we traveled to Michigan to pick up these two does in milk: Mimzie (in front) and Twyla. They are sweet girls and great producers! Twyla freshened for the second time this year, and Mimzie for the third.

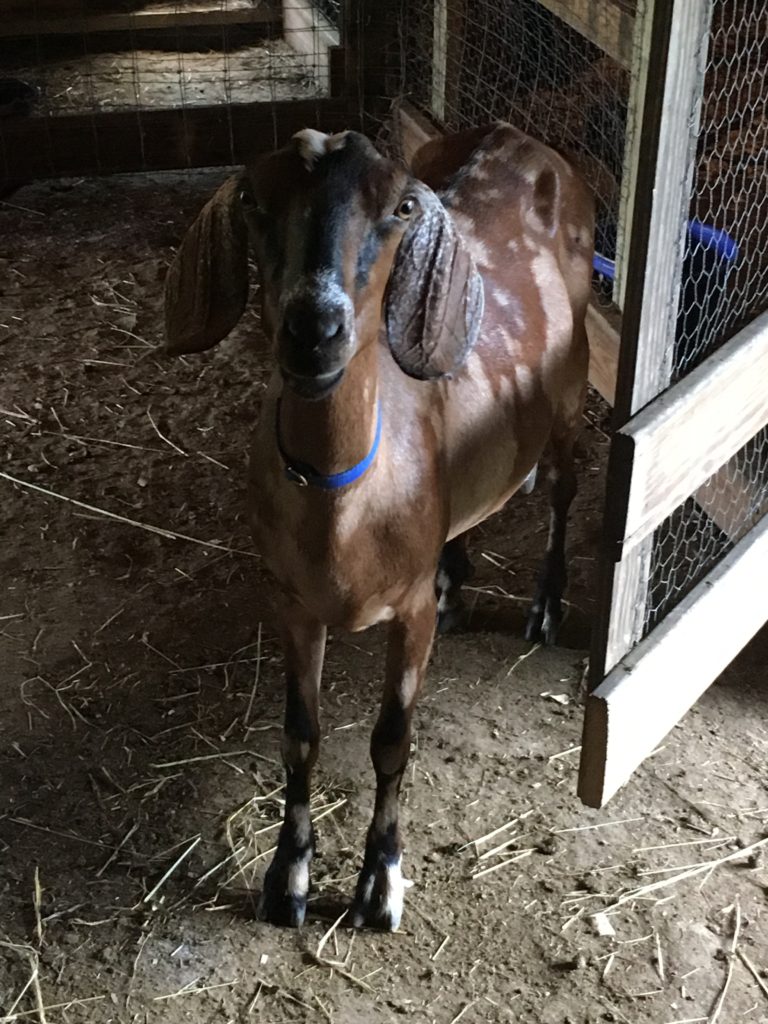
Last of all, we imported a favorite of mine: Skillman’s Star. She is three years old and the grandmother of Milcah’s twins. She is also Milcah’s half sister, since Irine Skillman has been doing serious line breeding for a number of years.

Star is a gentle, tall, and graceful doe who brings milk stars and maturity to our little herd. If the babies get lost from their mother, Star is there to call to her and remind her to wait for those babies, or come back to get them!

Guardian Dog

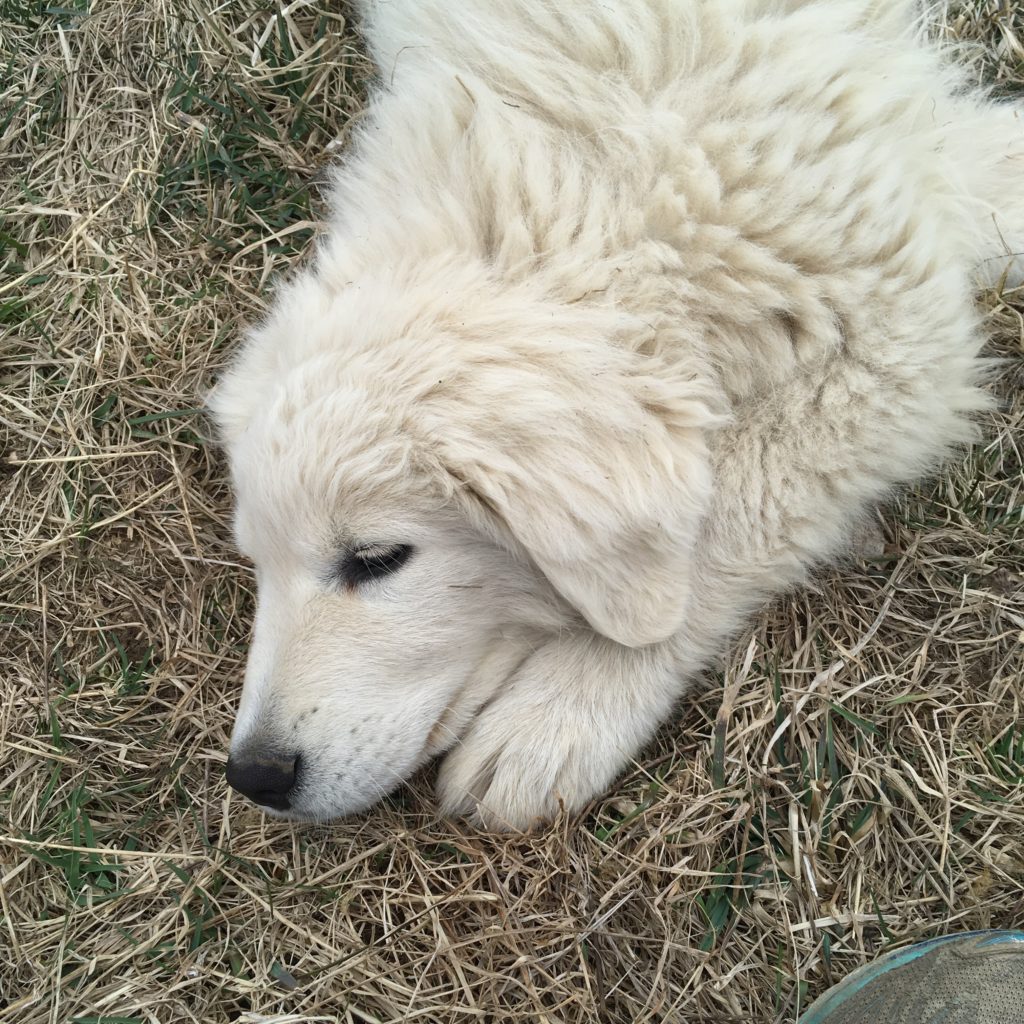
Few goat herds are complete without a Livestock Guardian Dog to keep them safe from predators. Though it will take Heidi two full years to grow up enough to be fully trusted alone with them, she currently lives among them in a pen and run. We brought her home in March as a 12-week-old puppy, and she is growing more beautiful (and gentle) every day!

Posted on

New Barn Comin’

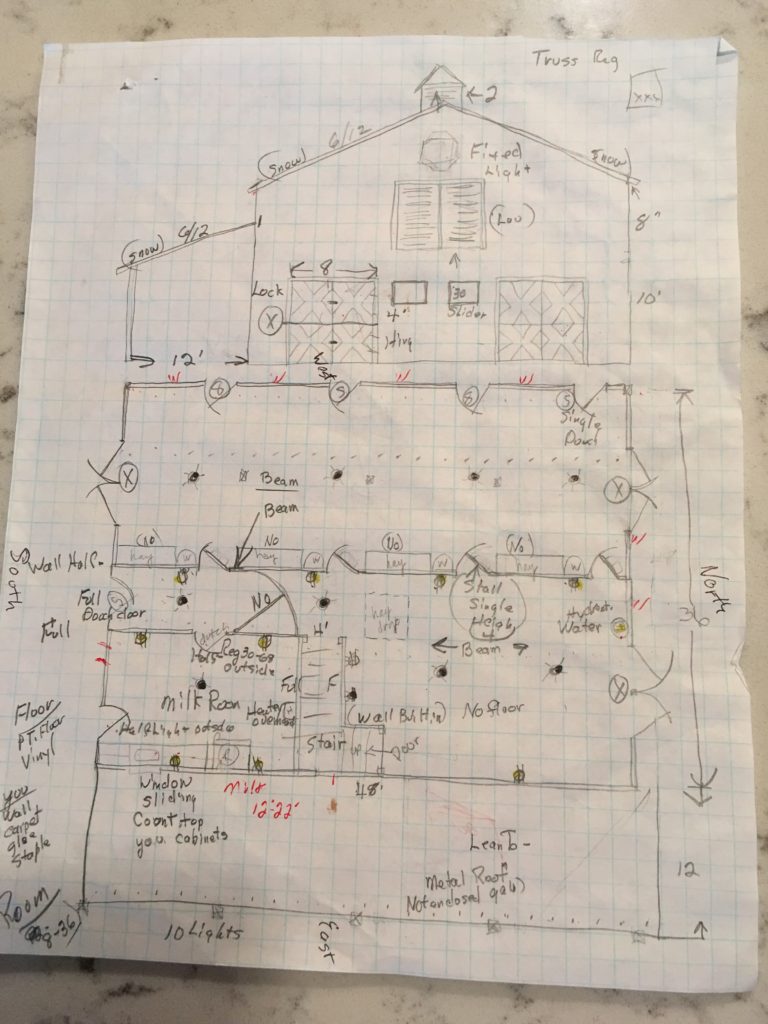
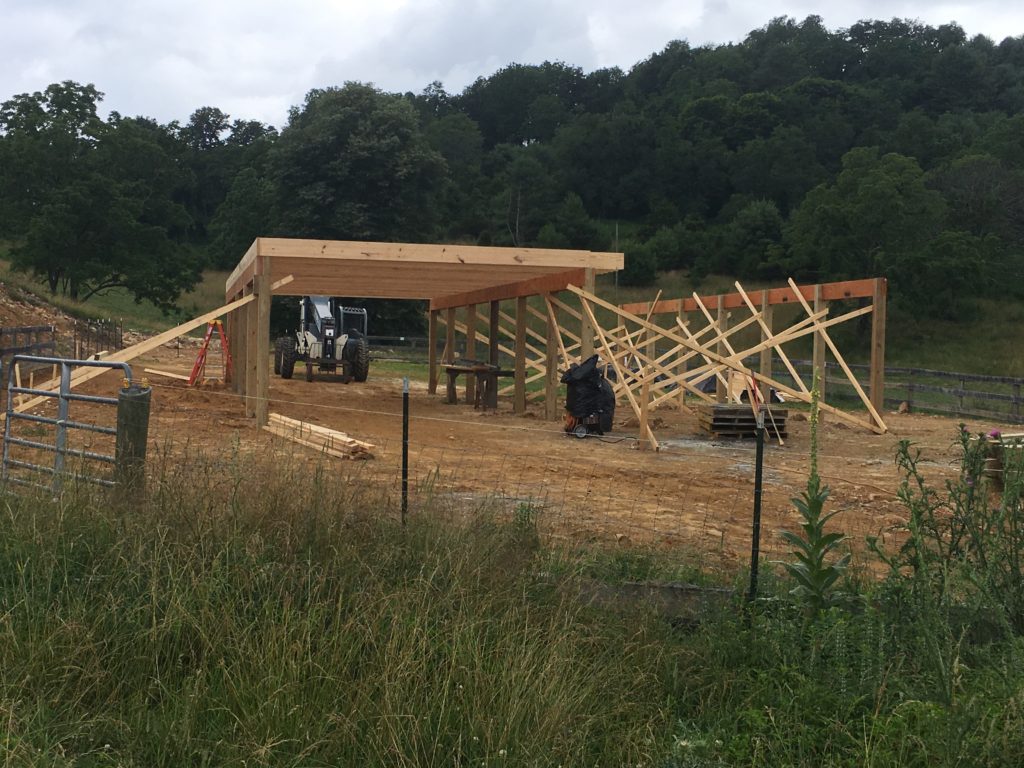
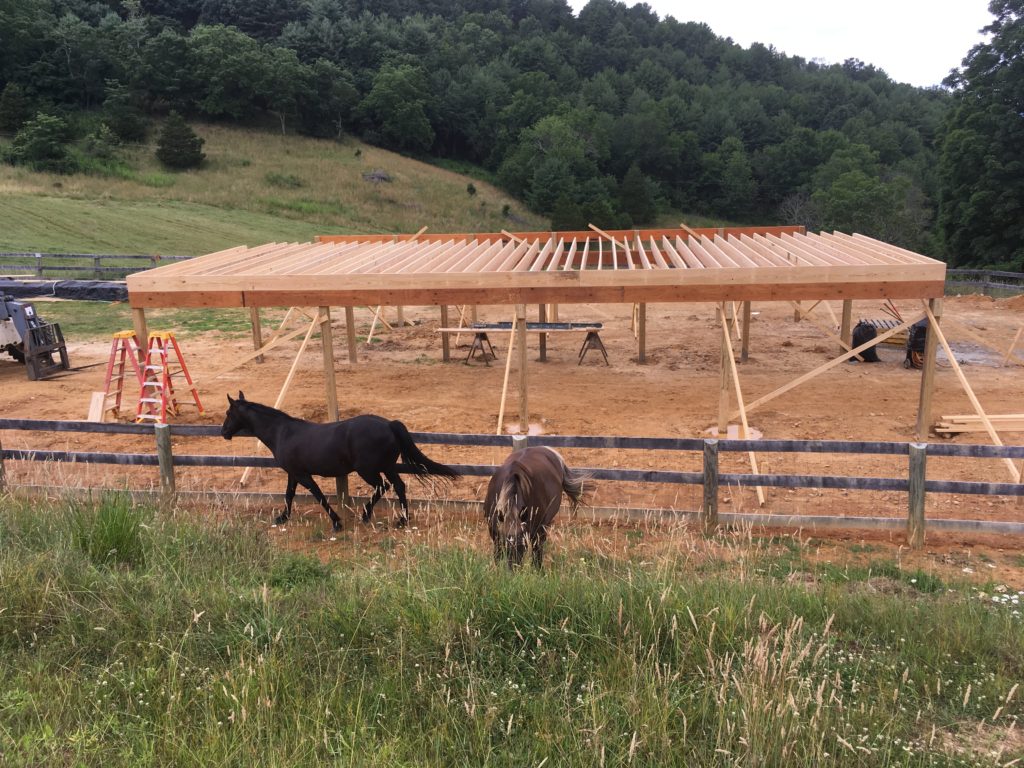
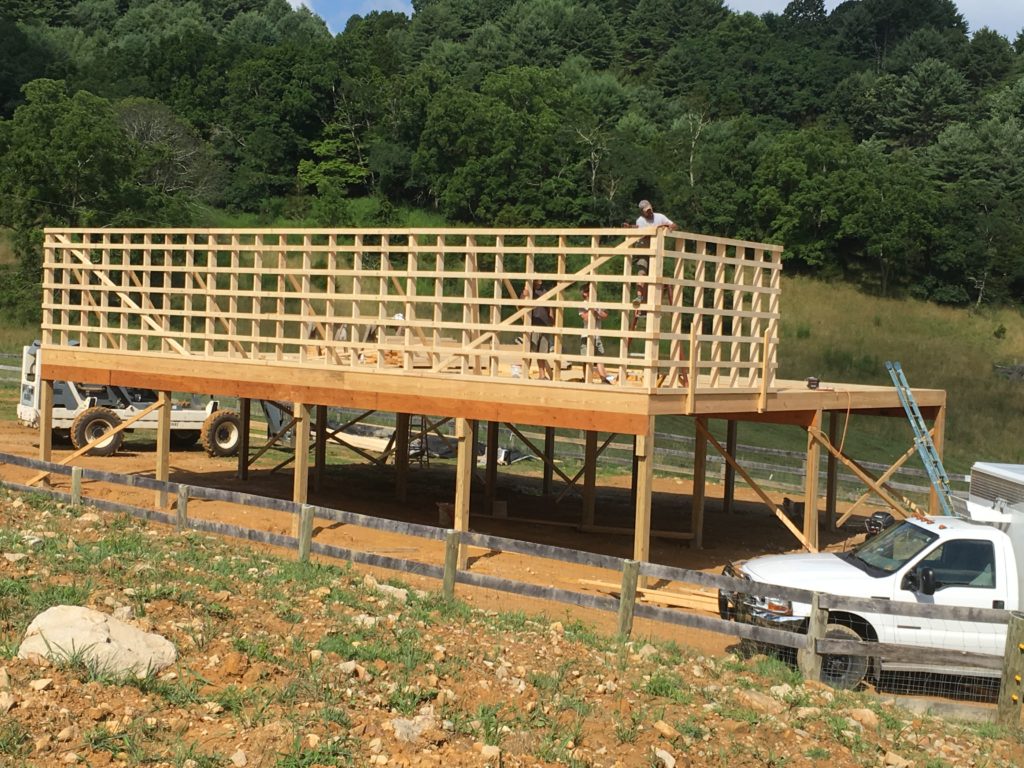
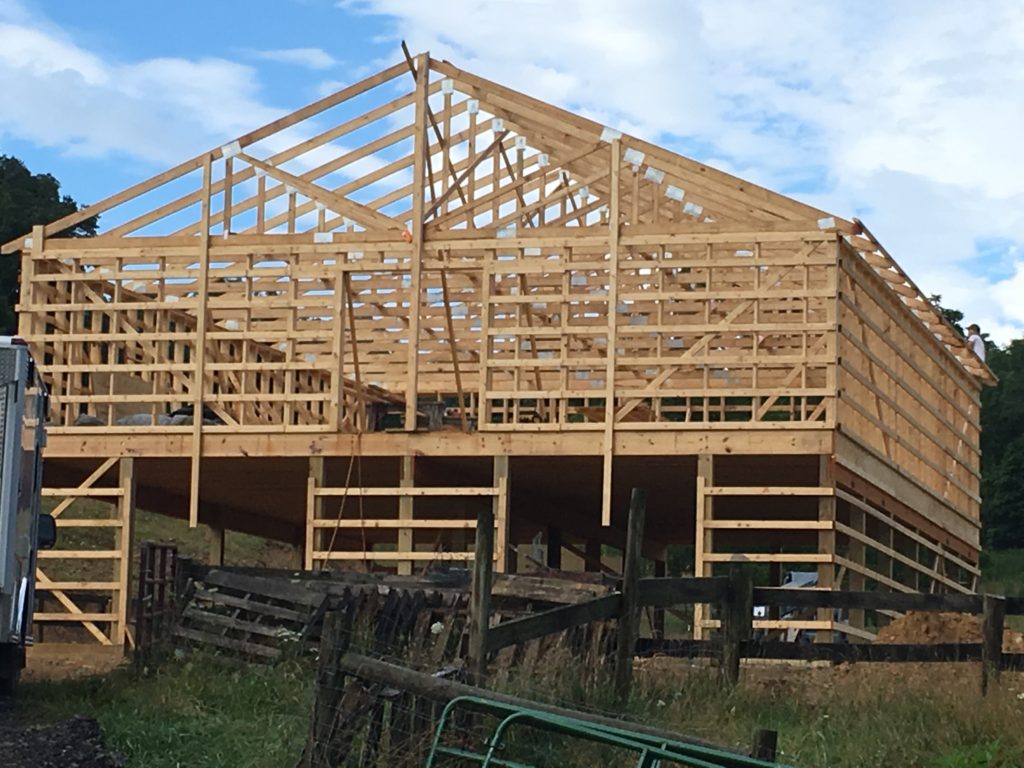
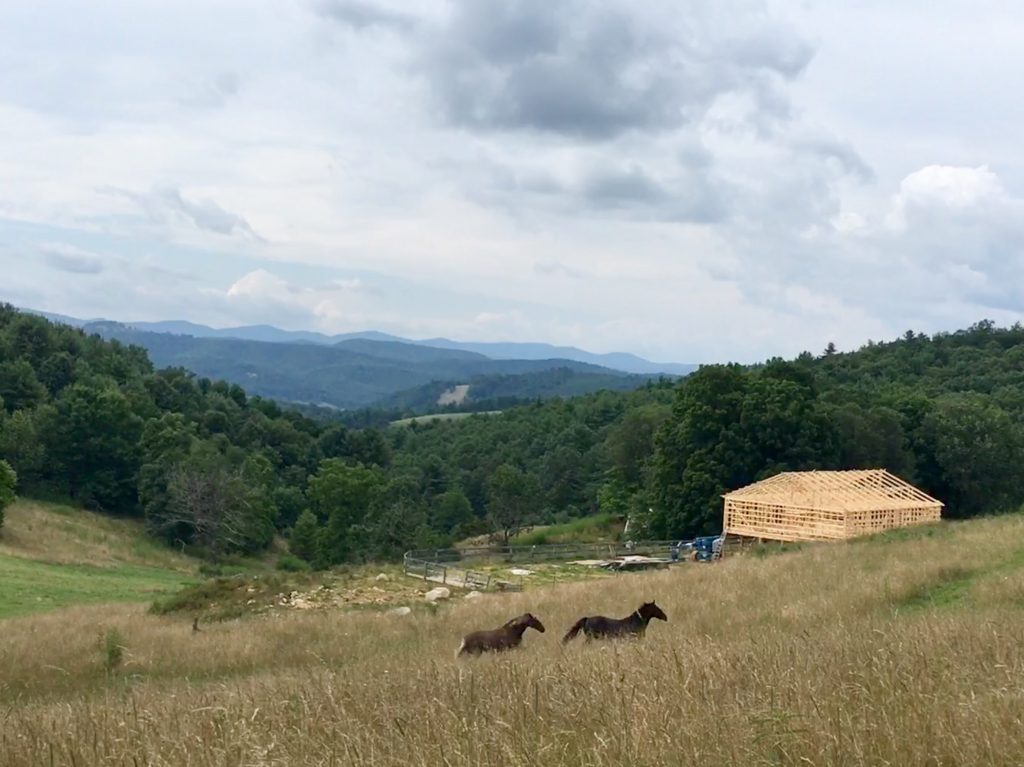
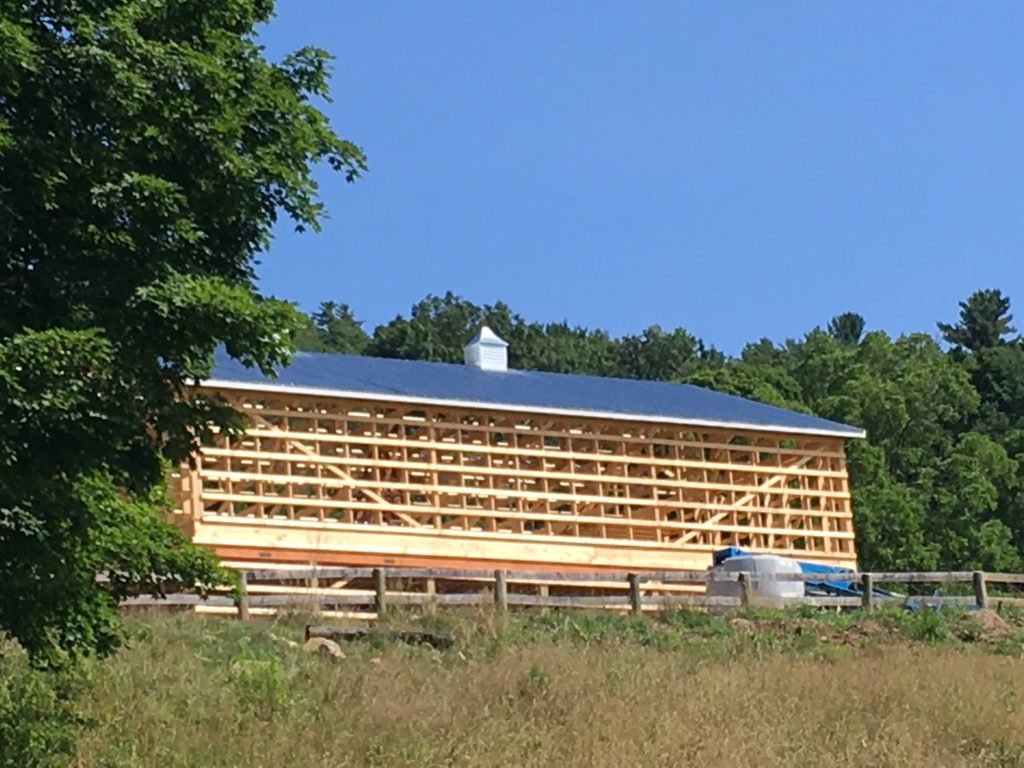
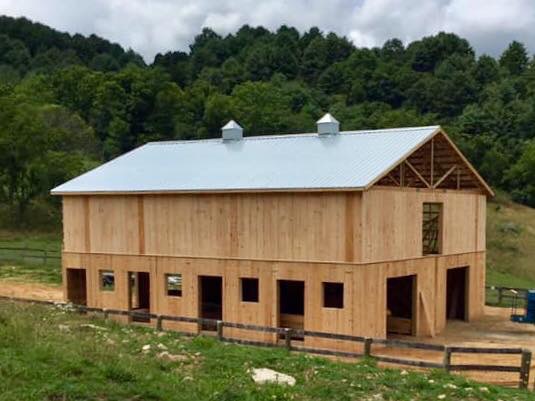
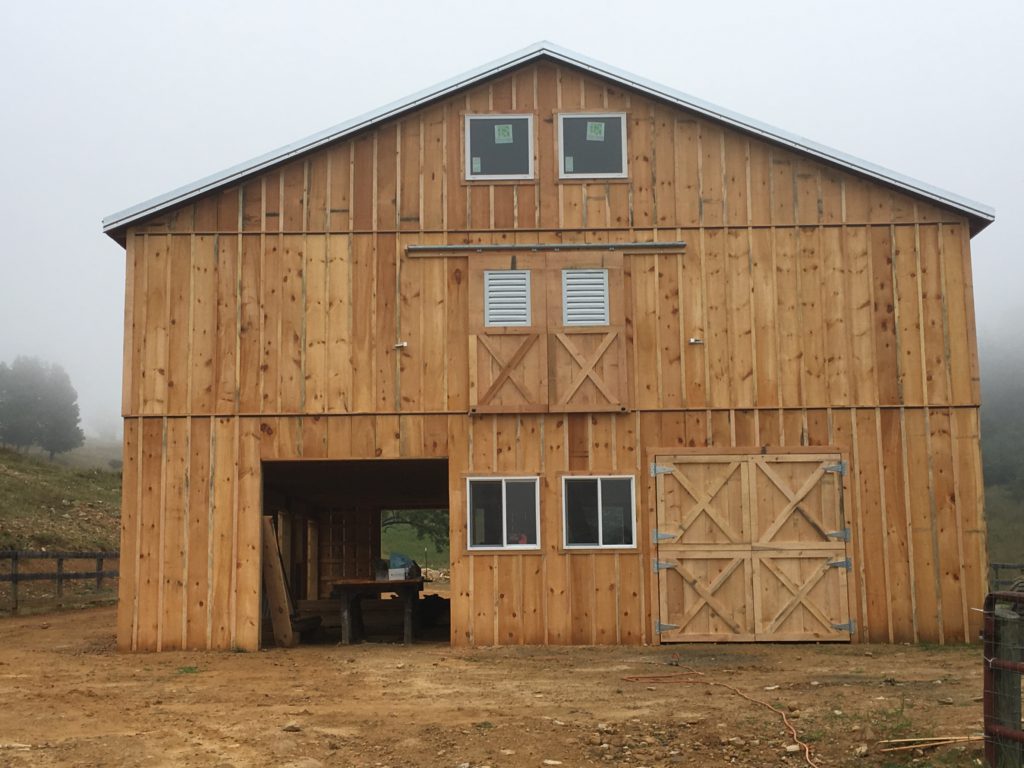
We are breaking ground on our new barn starting Monday. I am beyond excited. It’s going to be a two-story pole barn: 48’ x 36’, with a 48’ x 12’ shed on one side where we plan to park our tractor and truck.

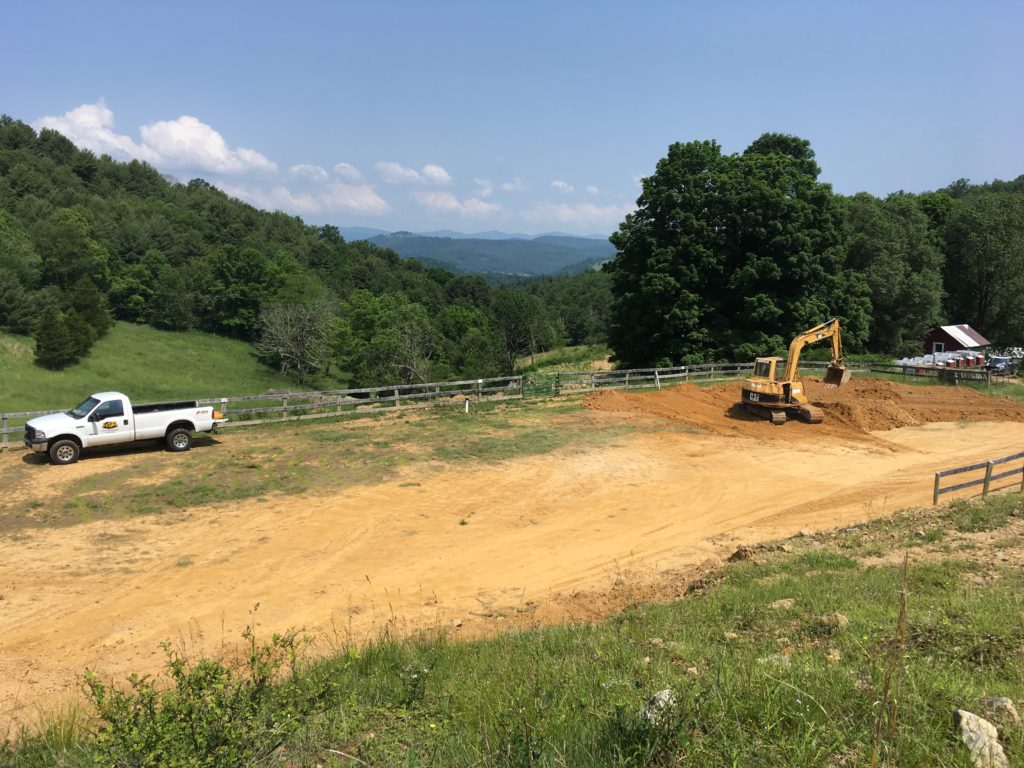
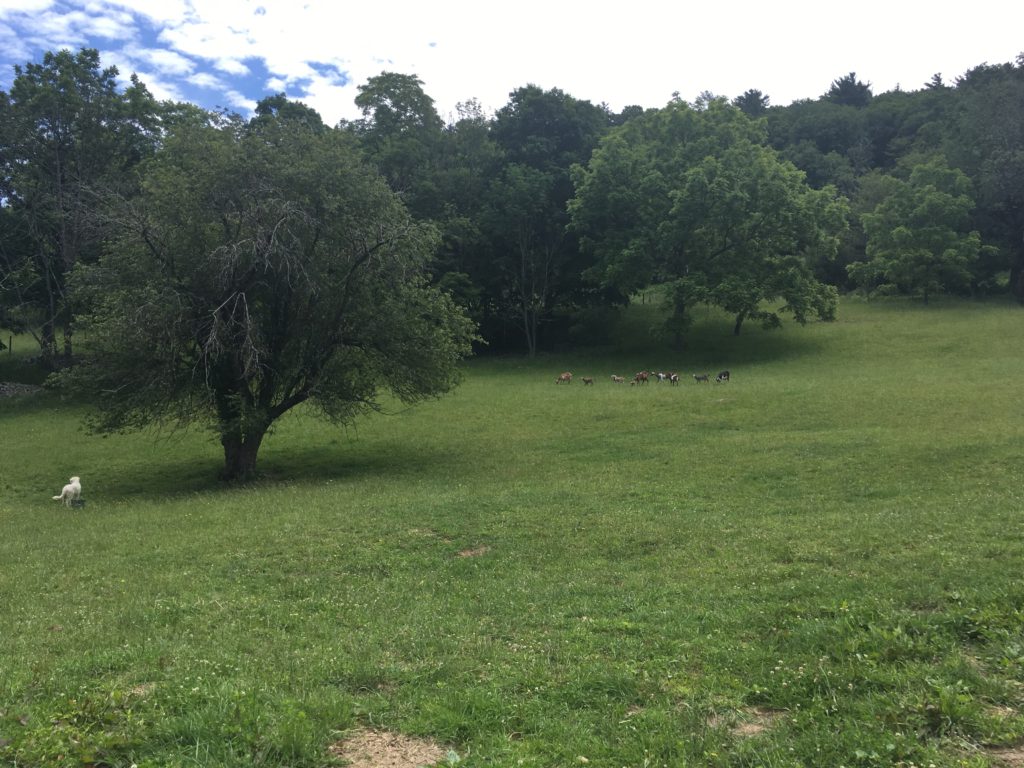
We are building it inside our existing riding ring, that we excavated years ago for horseback riding. With my age and osteoporosis, I don’t ride much any more. But, if the notion takes me, I can ride around this new barn. Meanwhile, the goats will enjoy a large indoor space, a larger outdoor flat space, an incredible view of the mountains, and 30 acres of fields, brush, woods, and terrain. What’s not to love?

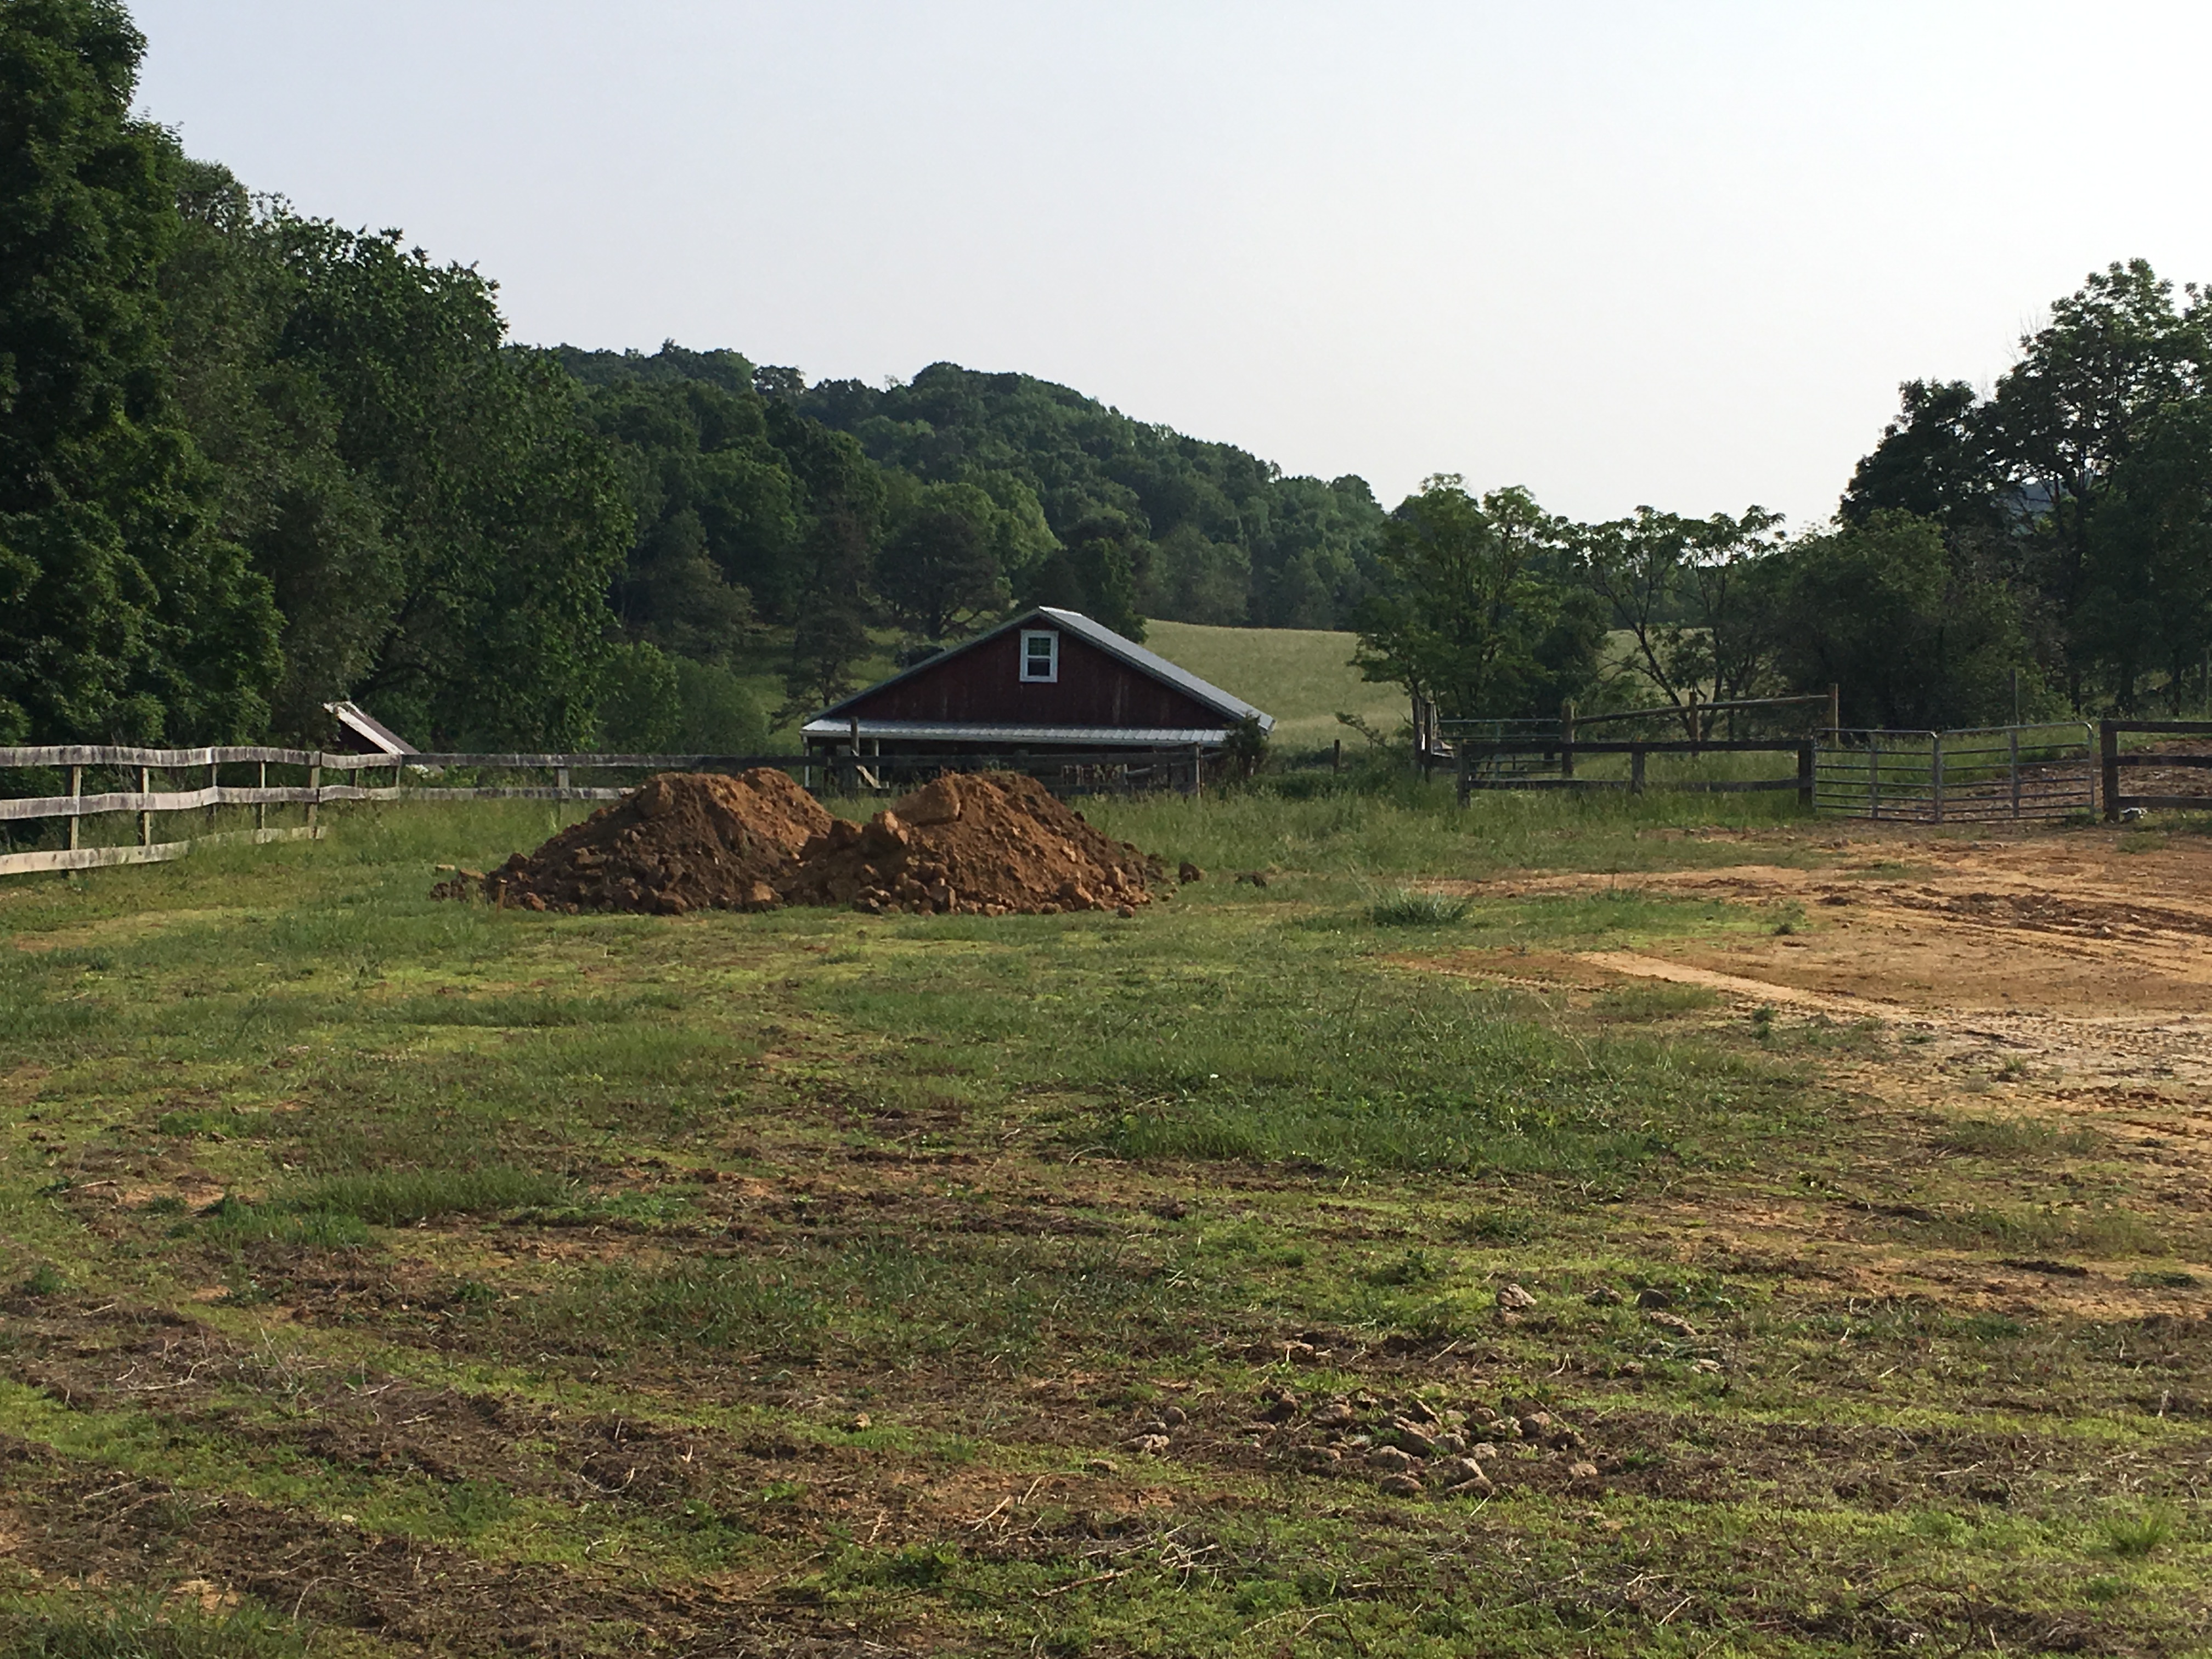
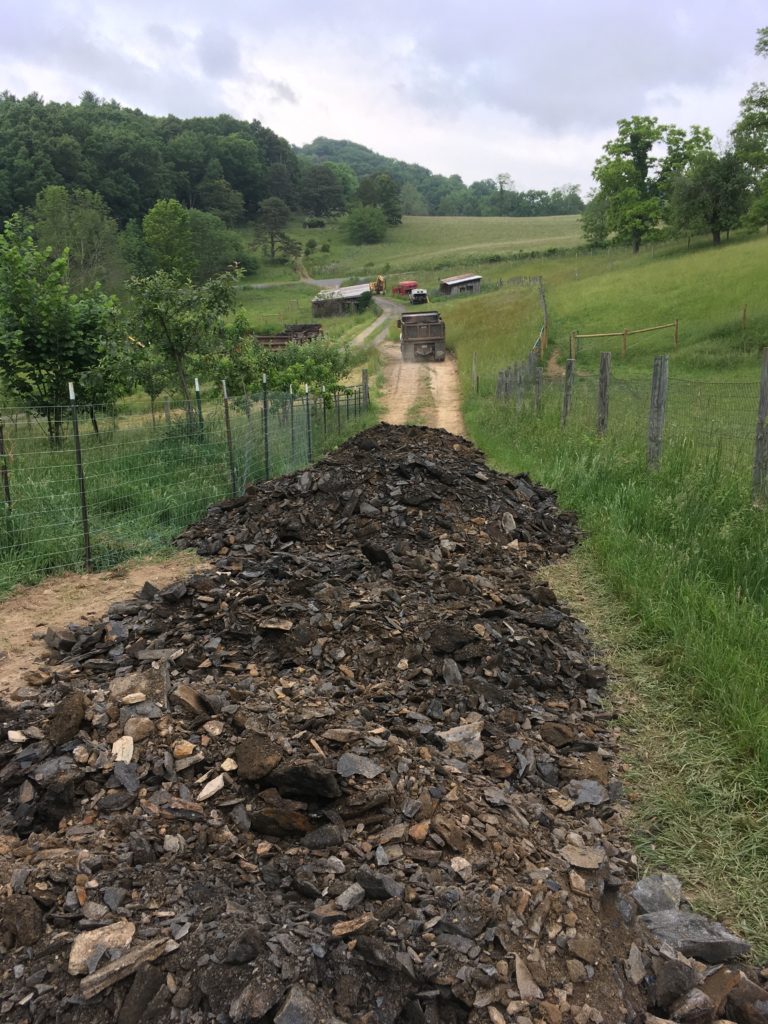
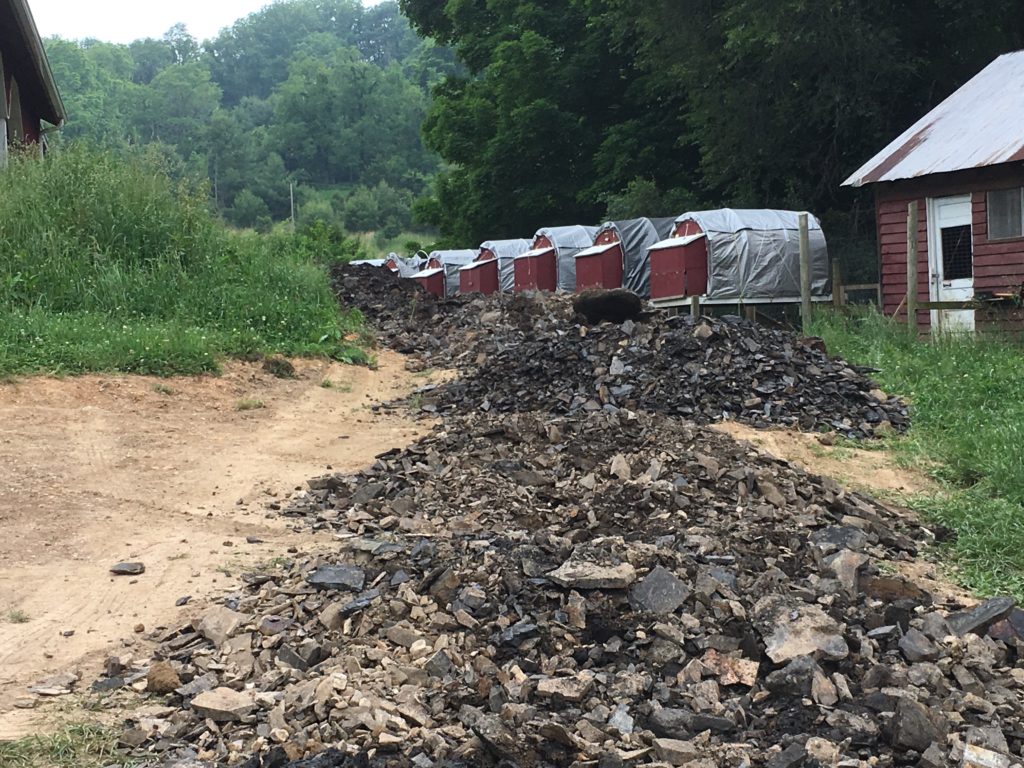
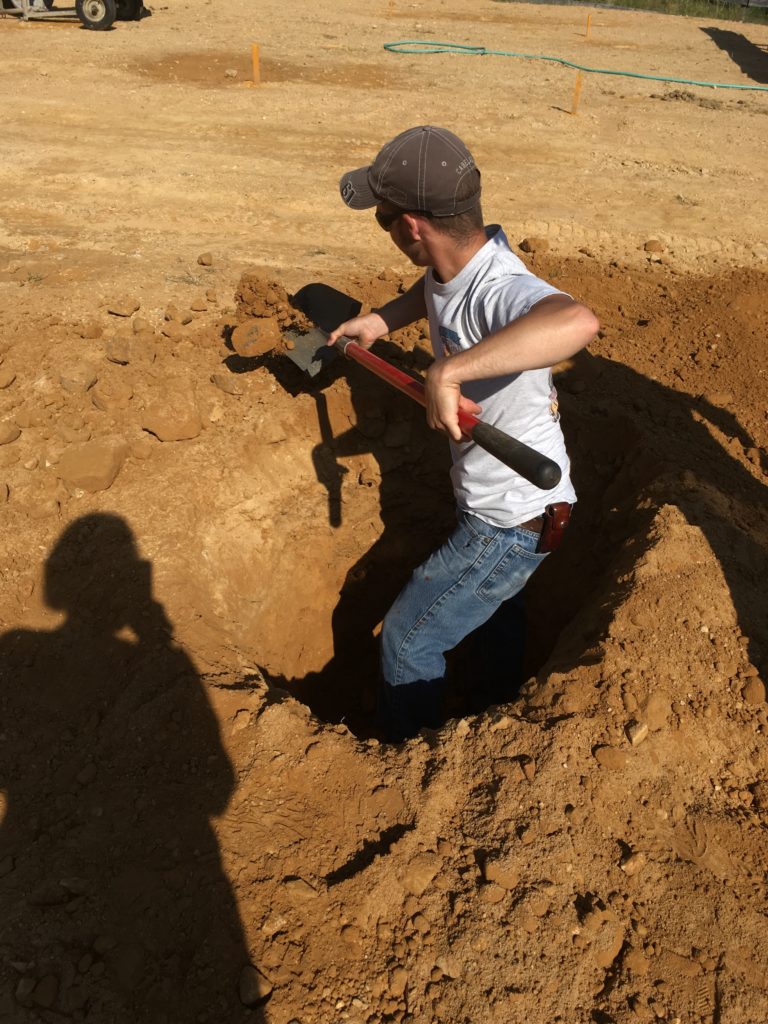
In these first pictures in this post are mostly of stuff you’ll never notice when the building is done: my contractor’s copy of our floor plan above, the excavating that we did to make the site level for building (also above), the improvements to the road up to the ring that we had to make so delivery trucks can make it to the site (that’s what all the slate is for), below.

Shale: 10 dump truck loads
MORE shale, heading up past our chicken coops to the building site above.

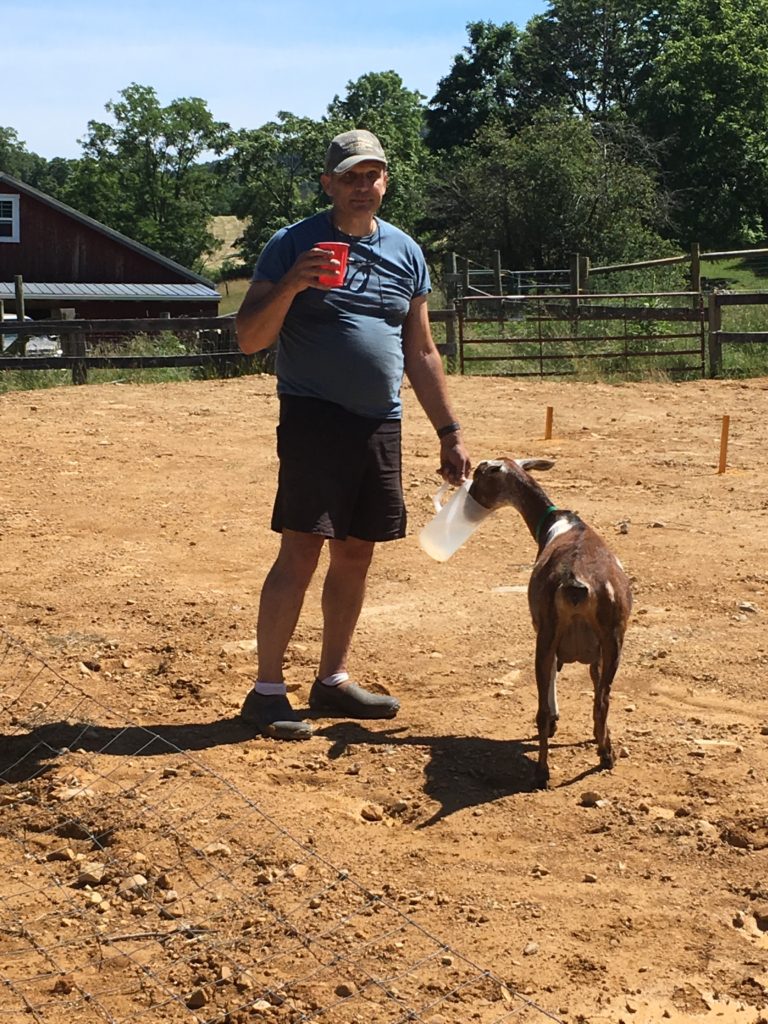
And last (but not least) a picture of a very hot husband who was trying to get a cool drink on a break from putting up temporary fencing to keep the animals out of the construction zone for the summer… but somebody got to his pitcher of water as he was telling me about his progress!

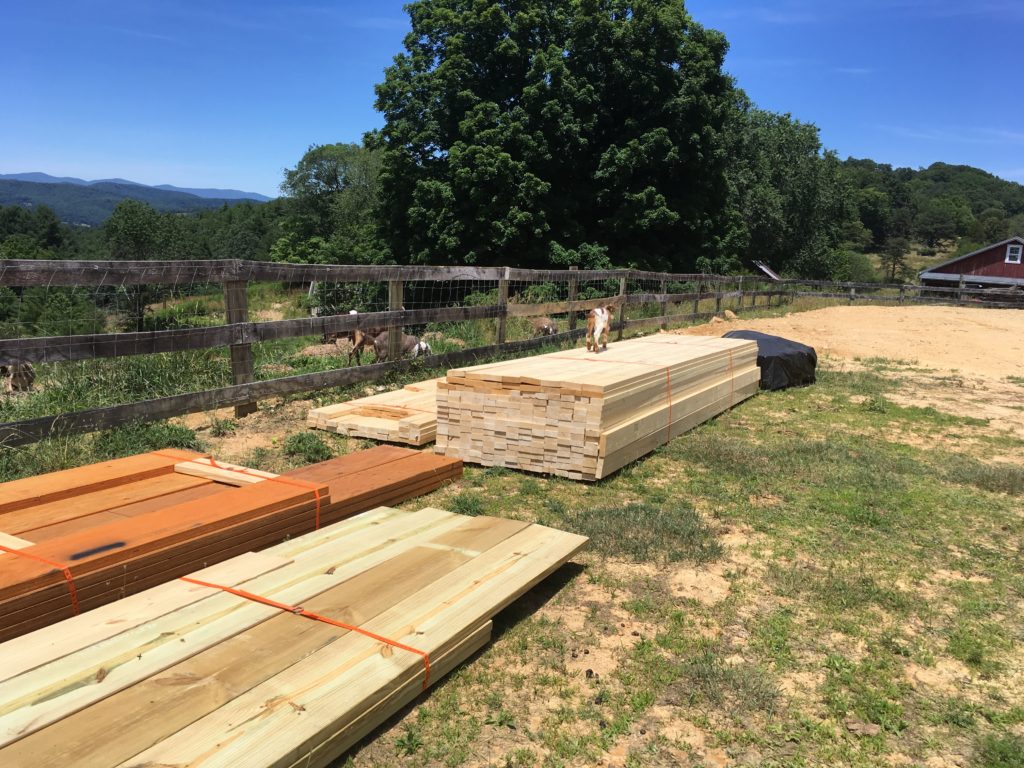
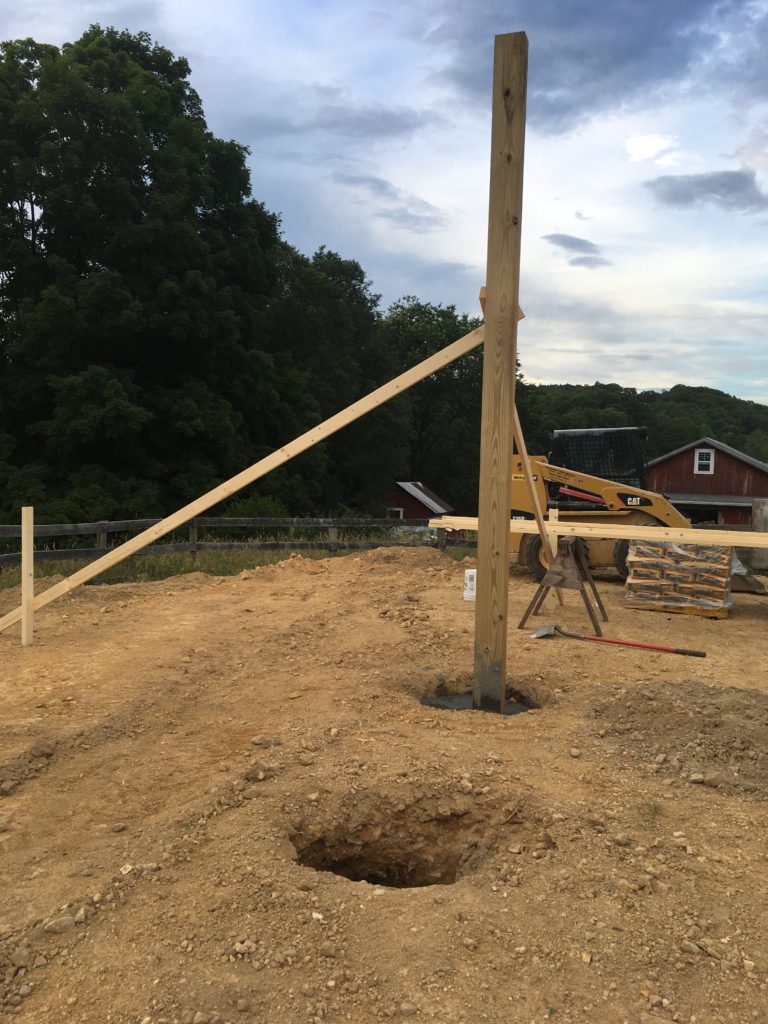
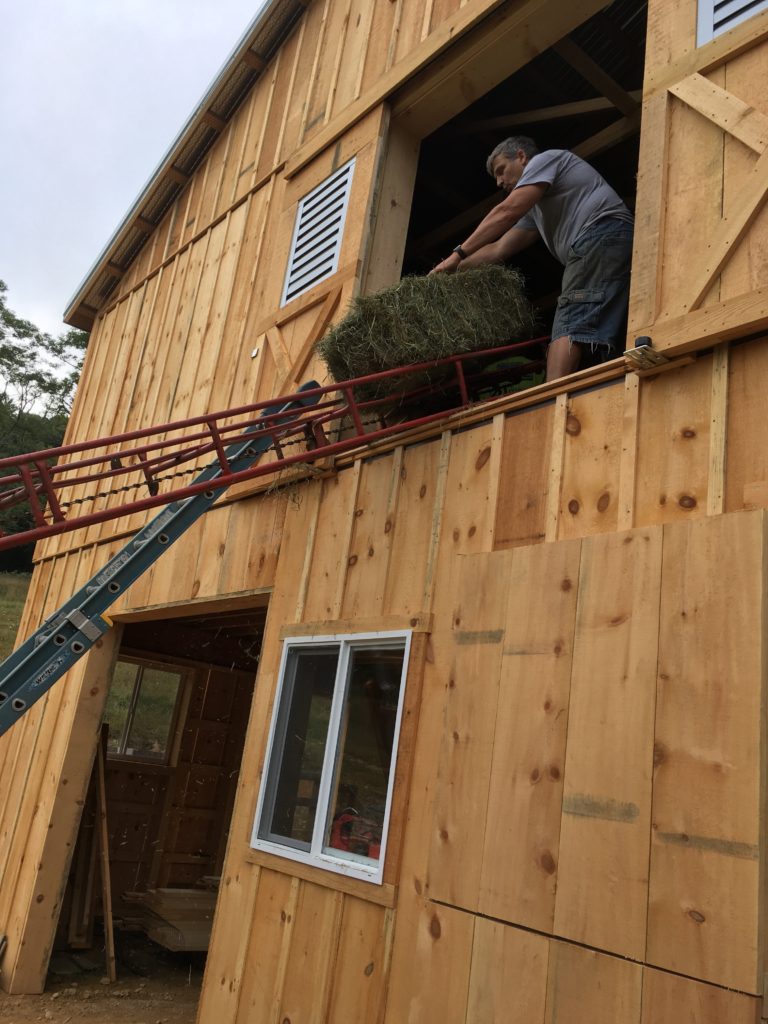
After all the prep work, it was early July when the lumber arrived and things starting looking like there really was a new barn coming! The following pictures summarize the construction, but don’t capture our gratitude for all the skill, craftsmanship, and sweat put in by Chris Lambert.

Posted on

Lost in the Woods!

We had a wonderful blessing on Saturday, June 8. Twins—a doeling and a buckling—were delivered safely to our doe named Milky Way, or Milcah to us in the barn. It was Milcah’s “first freshening” — meaning that she was a first time mom, and a young, small one at that. So, we were praying for twins, since each of them would be smaller than a single kid, especially a buckling.

All went well for this birth, and we were thrilled. Milcah was, at first, a bit clueless, but after a few hours became strongly bonded to her twins, and was everything we could wish for in a mother. After two days of “bonding” (read, being cooped up) with her twins, though, Milcah was braying to be out with the herd and eating grass! So, I began to keep time for her. I would see her nurse her twins, let her out, and then call her in to nurse again after two hours.

This went well for another two days, until the twins stopped sleeping after feeding and wanted to play outside. Cautiously, I let them meet the rest of the herd. All the does were very kind to the new kids, and I felt comfortable letting them into the three-acre field that is the most visible from our house of all our fields. Again, this worked well for a day, so I got comfortable with it.

Mid-day, I decided to take a quick trip into town with my daughter to run an important errand. We were gone about an hour and a half, but on the way home, the heavens opened and it started to pour rain. I was figuring that Milcah would have gotten her kids safely in, but knowing that she’s a first time mom, it crossed my mind to be sure to check first thing when I got home. So, I went right to the barn in the tapering rain, and looked.

They were not in their kid hut. They were not anywhere in the barn, but there was Milcah—alone. My heart sank. “Milcah!” I demanded, “Where are your kids!!?” She just looked at me.

So, into the rain I went. The field is about three acres… and then there’s a gate that opens onto a smaller field, about one and a half acres. I didn’t think they’d gone into the farther field, but there was that chance. I started going around the edges, and especially into the woods, where the herd often chooses to graze. The grass is tall in places, and there are brambles and there are sparse woods. My jeans got soaked by the tall grass and wet rose bushes as I searched. After about ten minutes, I called in reinforcements. My adult daughter, Marjorie, came out to search with me.

As we looked, the sky cleared, and the sun shone for about ten minutes. Then it darkened again, and rained gently. I was thinking about the little tiny kids being wet and cold… there was a decent breeze along with the rain and sunshine. 😕 They were SO small~ I knew they would be so easy to miss. I prayed that God would open our eyes as we searched!

After we had searched separately for about ten more minutes wandering wherever we went in the field, I called to Marjorie, and we began a systematic sweep, as you would if you were mowing. We started around the perimeter, near the fence line, going side by side, about ten feet apart. We got up into the woods at the crown of the field and slowed and searched. Marjorie started to call, imitating Milcah’s timbre.

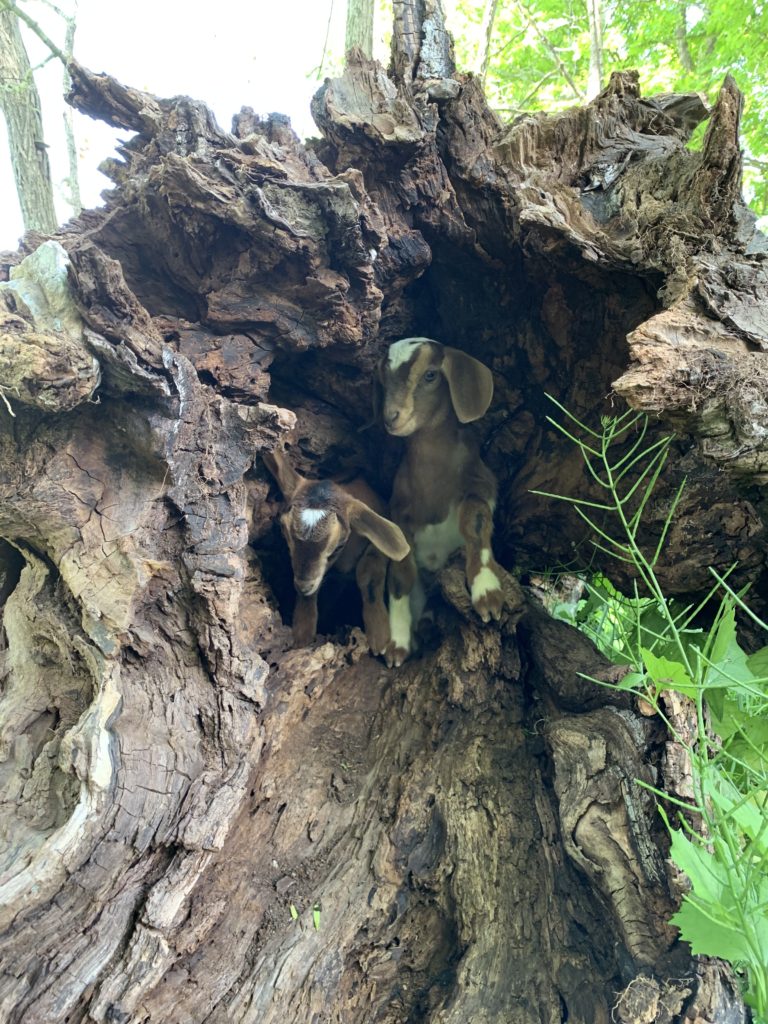
Then, to our relief, we heard them! A small, high-pitched bleating came from nearby, but we couldn’t see them. Then Marjorie heard it again. Then she saw them. They were warm, dry, and sleepy, just emerging from a hollow tree that had fallen down long ago. With great rejoicing and many grateful thanks to a good God, we took them up and brought them back to Milcah in the barn. Believe me, we’ve been keeping close tabs on them ever since!

Posted on

Mangers: Trial and Error

We are new to goats in 2019, and whenever I (Marcia) am new to anything, my first step is to research a topic up, down, and sideways. In researching the best way to build a manger, I ran across several references to Harvey Considine, and his book that detailed a hay-conserving manger design. Sounded good to me! So, I looked it up online, watched YouTube movies of contented goats eating peacefully from them, and set out to build one.

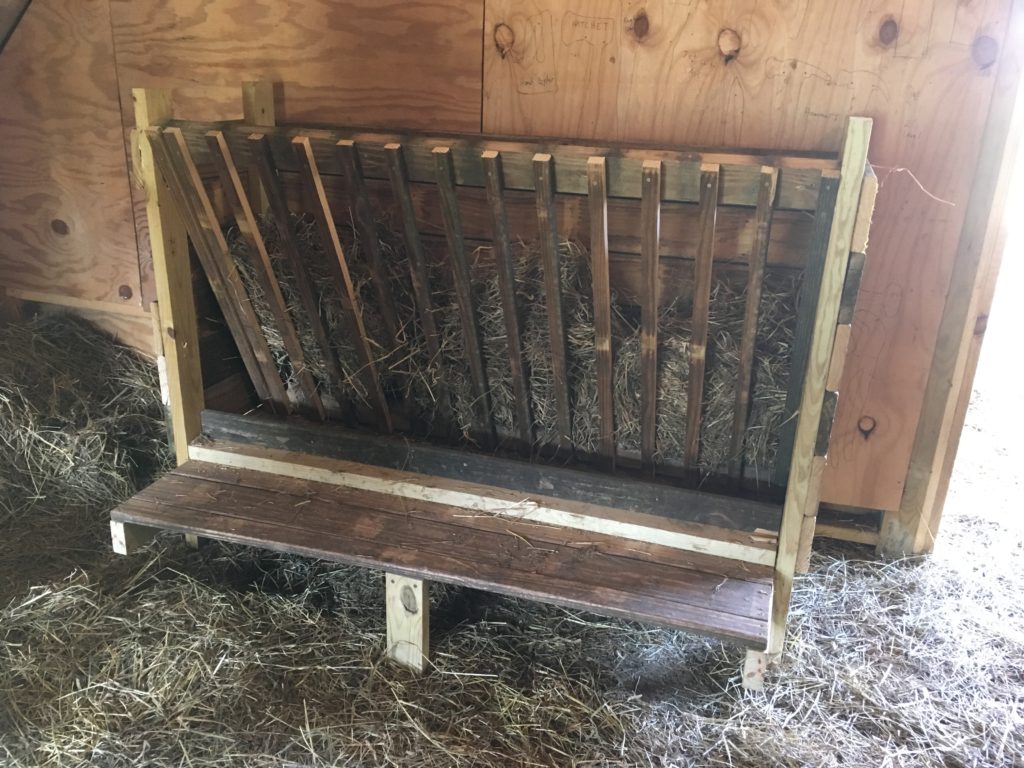
The idea with this design is that the slats are far enough apart to enable the goat to step onto the step and reach her head into the manger and pick her favorite portions, letting the extra fall back into the manger instead of onto the floor, as with many other designs, where the goats pull out more than they can chew and thus waste hay falls to the floor.

This is what mine looked like when I got done… sort of.

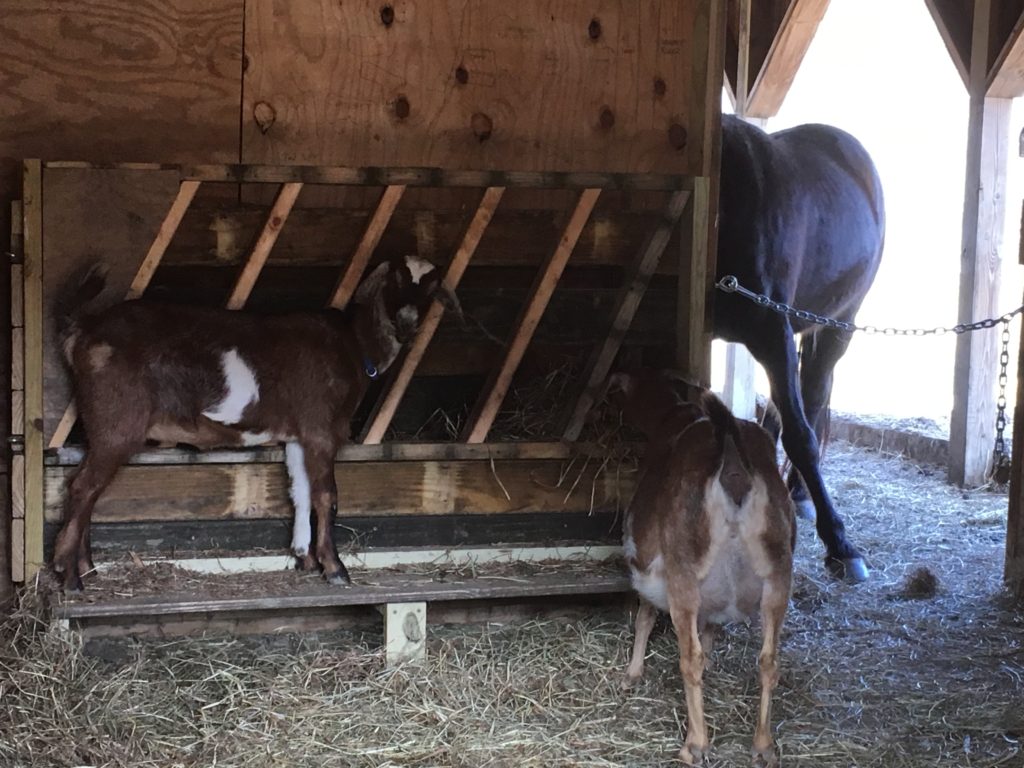
I say “sort of” because before that goat on the step on the left got here, it worked great. The goat on the right, a pregnant 3rd freshener (Buttercup) used it exactly as designed. She stepped up, put her head through the slats, and munched away. However, when the little, younger, slimmer, and more flighty goat (Milcah) arrived, she literally went through the slats and into the manger, then jumped out of it in her panic. It was amazing!

So, the picture above is actually the second revision that we made to this manger. First revision after Milcah came was to put 4” square wire on behind the slats. But that defeated the whole purpose of the design, and because the box was deep, and the front slats were not slanted back, the does could not reach much of the hay. SIGH!

So, we revised again, putting two boards horizontally behind the grill, as you see in that picture (if you look hard). That worked really well, until Rigel came. 🙄 Rigel was 9 weeks old, a handsome herdsire-to-be, and he immediately went through even this space and into the manger to hide from the older does. SIGH!

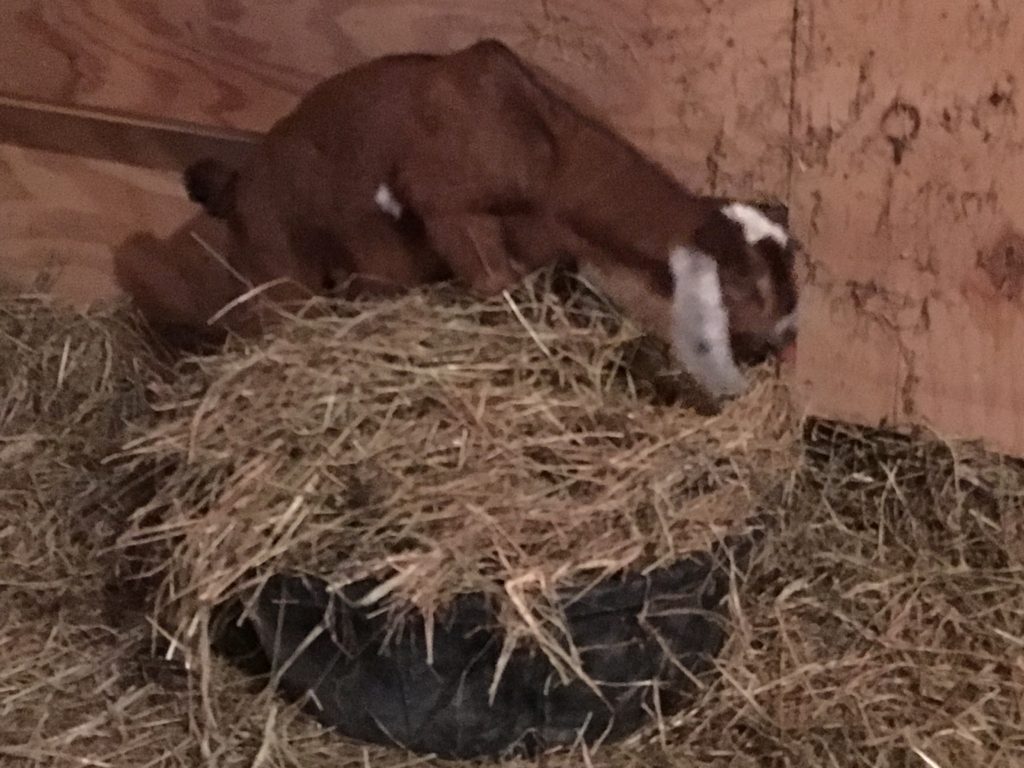
So, we took the manger out of the stall and tried other methods… a square wire basket of 2” X 4” openings mounted on the wall (same issue with not being able to truly browse the hay, so not eating it) and putting it on the floor in low feed tubs. Rigel loved that one. He could sleep in it! 😖

Rigel wasn’t the only one! By now, my Buttercup had given birth to three bouncing baby doelings, and once they were up on their feet, they were even more likely to get inside of our original (twice modified) hay manger.

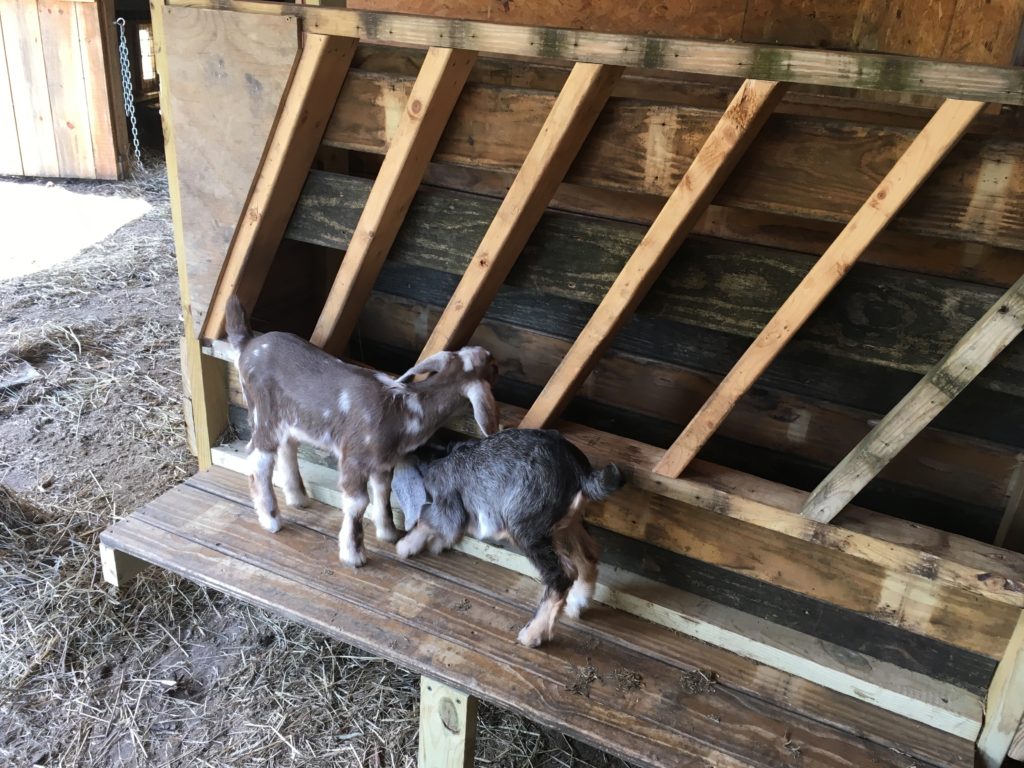
So, I went back online to my goat community and asked for help. From the replies to my post, I gained the inspiration to rework my manger with smaller slats spaced with 3” openings (too small for these little kids’ heads) and slanted from lower (back) to upper (forward) so that the hay would fall into the resulting tray.

Here then is our fourth revision (and we hope our final one, but stay tuned!).

Posted on

WiFi and Barn Camera!

If you have any animals in your barn, you know the feeling of wondering if everything’s okay, and yet not wanting to suit up to go check. We’ve all been there! If you breed animals, it gets worse around birthing time. And that’s just the middle of the night. Anxiety can escalate when “life” takes us away from our barns for hours or a day and we have animals due to give birth.

The Problem

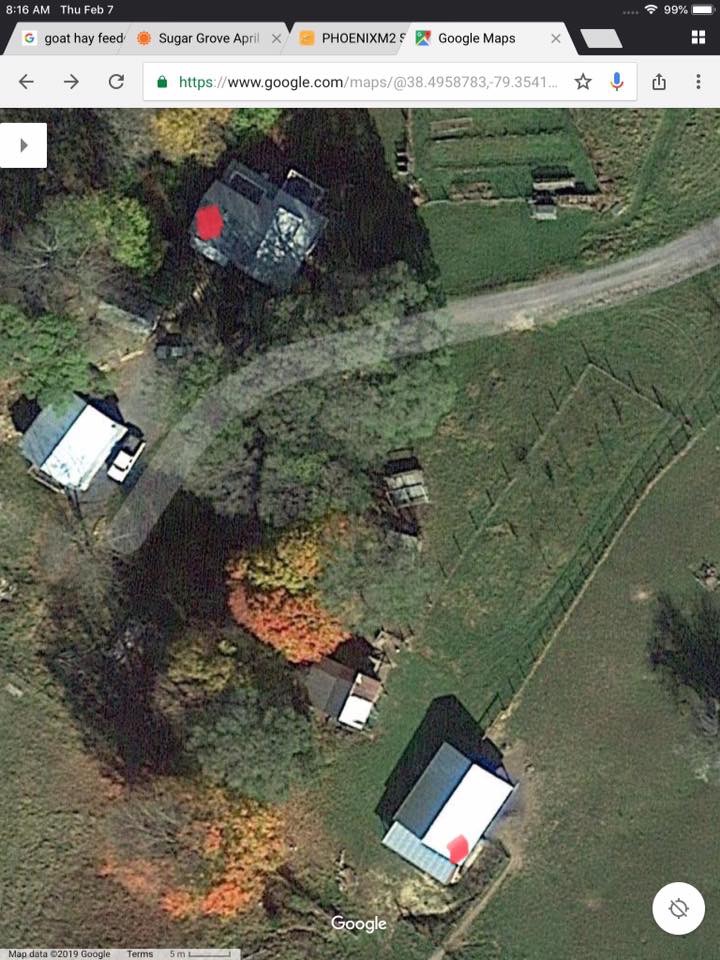
I am a new goatherd, and my barn is 250 feet uphill from my house. In this photo, the red dot on the building at the top is my bedroom (under a metal roof) in my farmhouse. At the bottom of the picture is my barn, and the red dot is our kidding stall.

It’s cold on a mountain farm in early spring, when the kids usually come. Plus, I have real trouble getting back to sleep once I’ve suited up and checked the barn. When kids are due, I’ll want to check that bard 2 to 3 times between dusk and dawn, and then also during the day.

How I WISHED we could get WiFi to the barn… or maybe a baby monitor… or, well, ANYthing that would give me some peace of mind with kids coming soon.

My husband is tech savvy, but not particularly handy. We also didn’t have a lot of money to devote to this project. And, given the distance, metal roofs, and the fact that we don’t even have cell phone coverage here, I felt really dismayed. What if I would have problems with a doe kidding? I couldn’t even call anyone from the barn and have them talk me through it! 😬 The prospect really scared me.

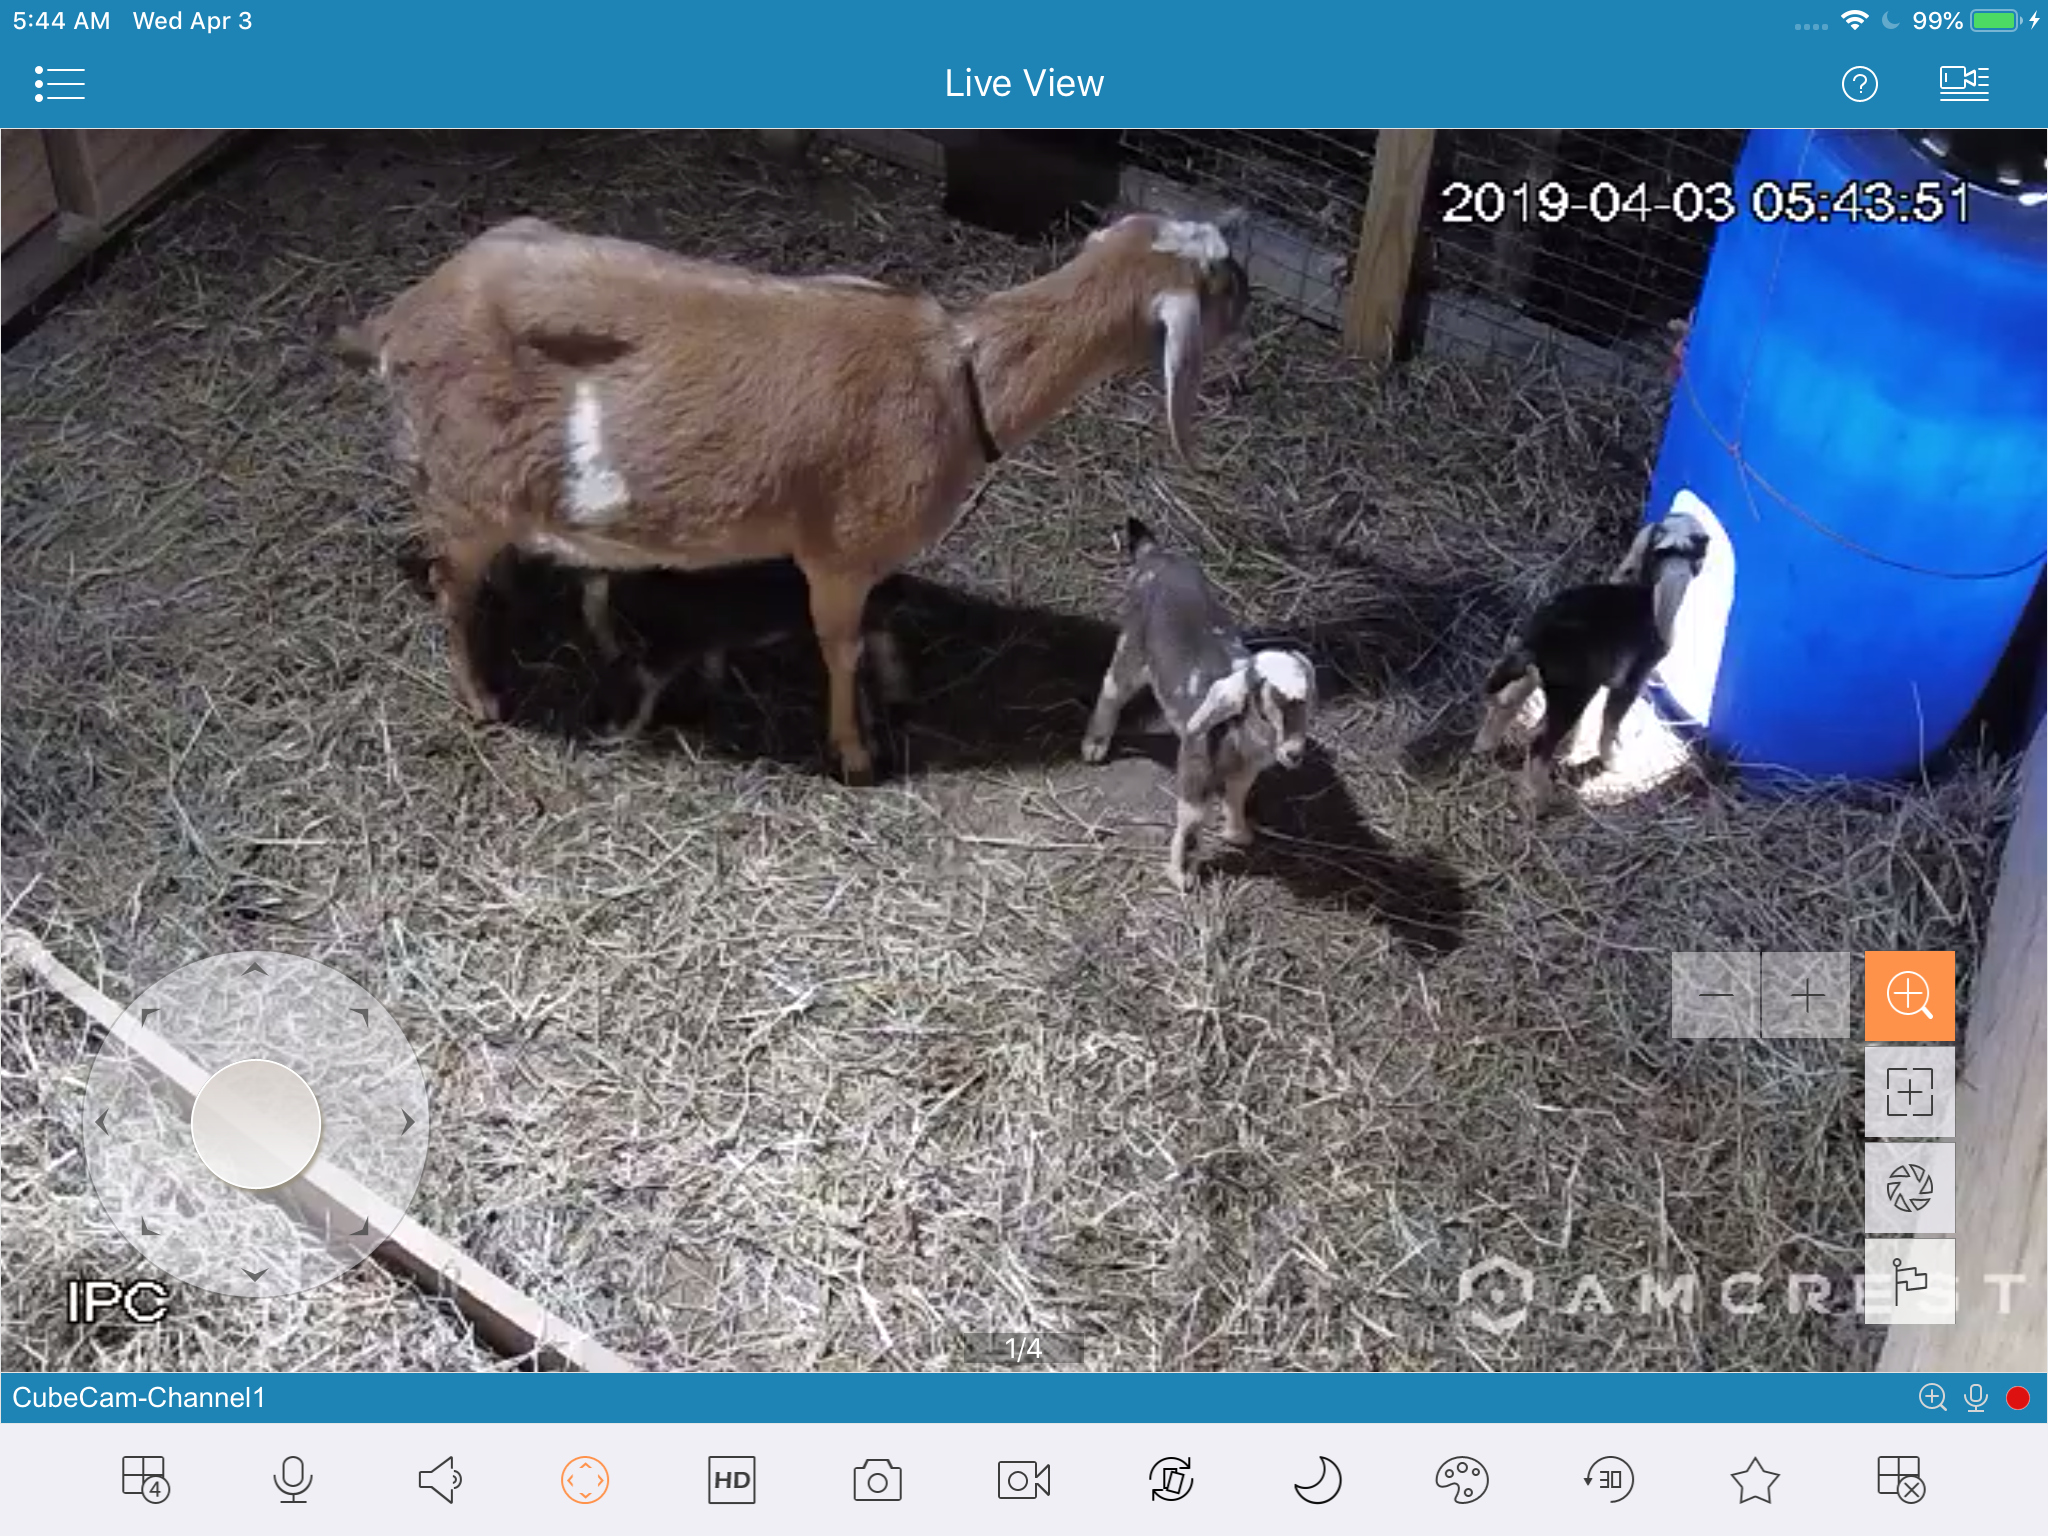
So, feeling that I couldn’t be alone in this quandary, I made a post on the Mini Nubian Goat Breeders’ FB group. A wonderful man named CJ answered me and gave us the specs for the system we have now detailed below. I can now see and hear my barn through two cameras at any time of the day from anywhere where there’s WiFi. I couldn’t be more thrilled, and I’m delighted to share the details with you!

The Solution

NOTE: NONE of the links below are affiliate. We’re not making anything on these links.

THREE KEY COMPONENTS: We ordered three items from Amazon. They were:

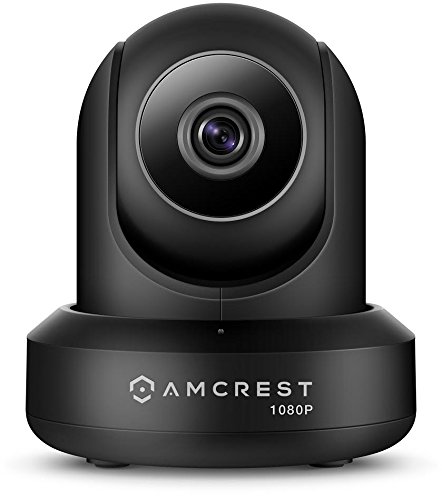
Amcrest ProHD 1080P WiFi Camera 2MP Camera. This camera will pan 360°, tilt 90°, allows for 2-way audio, and allows digital zoom 4X. So, I can see and hear everything going on in my barn. The night vision is super sharp!

Note that there are other camera options that are sealed; in a dusty barn, this camera may have a shorter battery life. Price at this writing: about $60, with free shipping from Amazong Prime.

(YouTube video on setup here.)


Ubiquiti Nanostation Bridge. Think of this as an invisible cable that carries the WiFi signal from point to point. These have to basically be placed in a line of sight from eachother, but their published reach is 5 kilometers! Our 250 ft. distance was a piece of cake. These were $127.

(YouTube installation video here.)

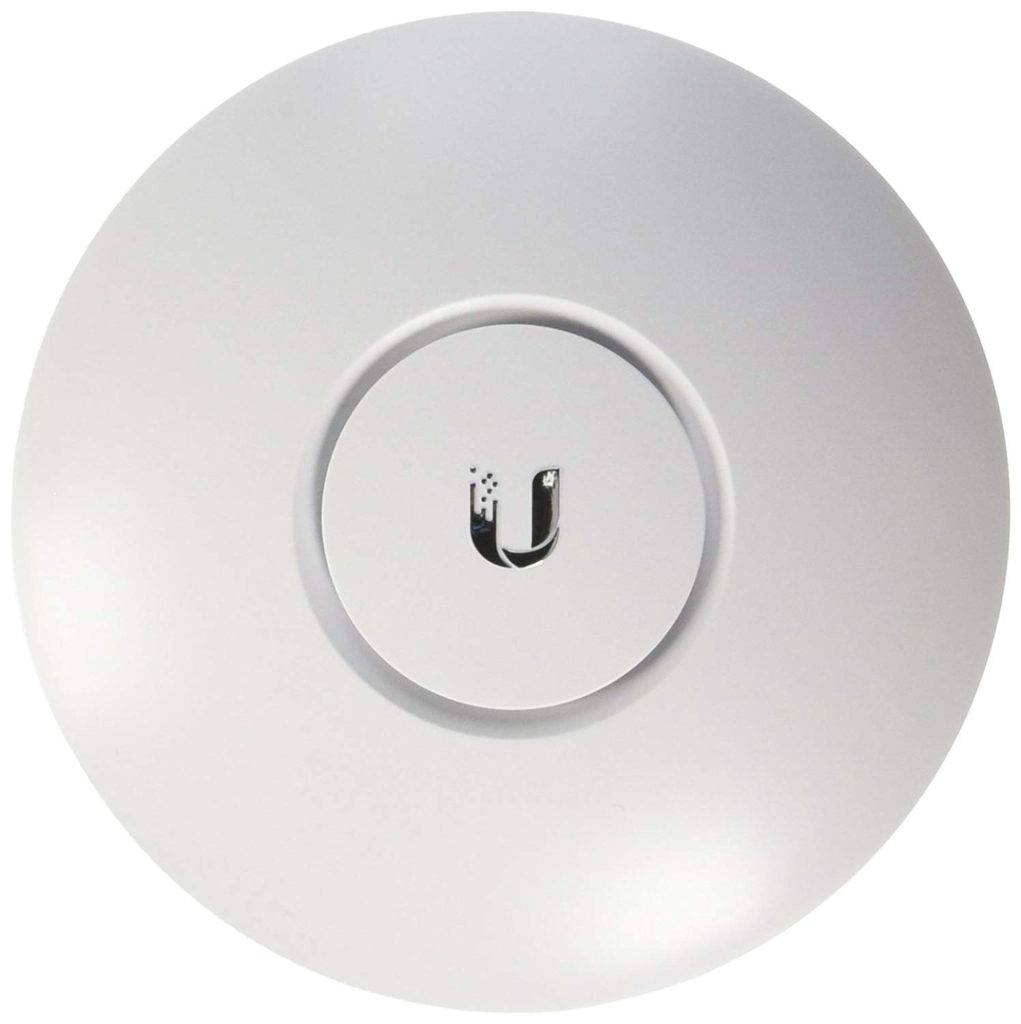
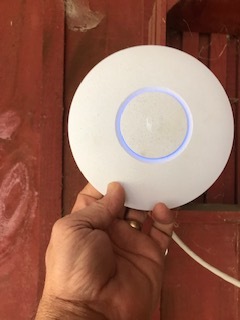
WiFi Access Point. This is the device that plugs into the bridge and then provides WiFi for the entire barn area. (If you don’t already have WiFi in your house, get two of these.)

In our case one of these broadcasts a great signal for several acres, which means I now have cell phone over WiFi, and can talk to goat mentors if I get into birthing difficulties! This was $82.

(YouTube setup video here.)


Extras you’ll need to purchase or round up:

ETHERNET CABLES: Each of the items above came with a single, short Ethernet cable. It turned out that one can need two cables per item. We had several short Ethernet cables lying around the house, and wound up using four of them. If you need to run cable through your house, you will have all the materials you need to make your own patch cable. If you don’t, you can buy patch cables here. They cost about $2 each and you can get them in bundles of five.

These purchases were all we needed for the digital connection from house to barn. But we had to do a little bit of wiring because our WiFi is on the wrong side of the house for a connection with the bridge. For that, I had to buy 100’ Ethernet cable and two special tools: a data tester and a cable crimper.

Step by Step:

Here are the steps to complete the digital connection, without the details for running cables from one side of the house to the other, which involves holes in walls and crawling around in the attic. 🥺

  1. Open the WiFi extender, also known as an “access point.” It looks like a smoke detector. If you have WiFi in your house, plug it into your WiFi router, using the “power over Ethernet” powerpack. Plug a computer into the WiFi router, using a patch cable. The included directions will tell you how to configure the WiFi extender. If you don’t have WiFi but do have Internet, you will need to watch this YouTube video to see how to use it to provide WiFi in your home.
  2. Unplug the WiFi extender from the WiFi. We won’t need it again until we set it up in the barn.
  3. Open the camera package. Follow directions and plug it in. Follow more directions and download an app to your phone or tablet. Follow more directions to activate the camera. Make sure that you associate the camera with the WiFi you plan to use on a regular basis (we have more than one WiFi connection at our farm, so the camera is on the one Marcia routinely uses).
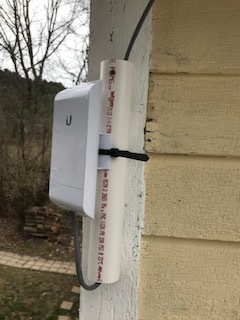
  4. Open the Bridge package. There are two identical devices. One will be set up as an “access point” at the house; the other will be a “station” at the barn. They both are designed to be zip tied to a vertical pipe. We used 1.5” PVC to mount it—see picture below.
  5. Plug one of these two identical devices into the house WiFi router, and follow directions to set it up as an access point. Give it a unique IP address (I used 192.168.1.21, and suggest you do the same). I marked this number inside the plastic housing with a Sharpie so I could tell them apart later.
  6. Unplug that and plug in the second device. It wants to be set up as a “station.” I used IP address 192.168. 1.22 and marked it on the inside of the removeable plastic housing that encloses the connection points.
  7. Plug the “access point” (device 192.168.1.21) into your WiFi router with a cable and point it at the barn.
  8. Take the “station” (device 192.168.1.22) to the barn and point it at the house. Plug it in!
  9. Plug the WiFi extender into the “station” at the barn.
  10. If everything went right, you should now have WiFi at your barn. (If it didn’t, leave a comment below and we’ll try to help if we can.)
  11. Plug the camera in at the barn. It should work.

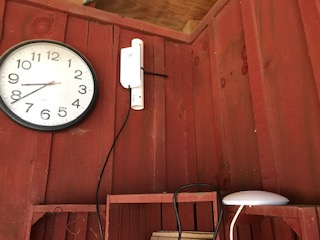
Here are pictures of the installed hardware:

This is the “bridge” unit, installed under the eaves of the farmhouse. The cable goes up through the soffit, across the attic to the other side of the house, and down through the wall to where our WiFi router lives.

Post Script

We just had our first kidding at Storybook Farm: God blessed us with three beautiful doelings. The feature picture above is during their first night. I was SO glad to be able to peek at them as I awakened in the night to see how they were doing! Barn cams rule!

If you were helped by this post, please know that we LOVE to help others find their path with goats. We offer a monthly newsletter that includes free information (and recipes). Sign up using the form below if you are interested!
[mailerlite_form form_id=1]
Posted on

Hatching Season 2019

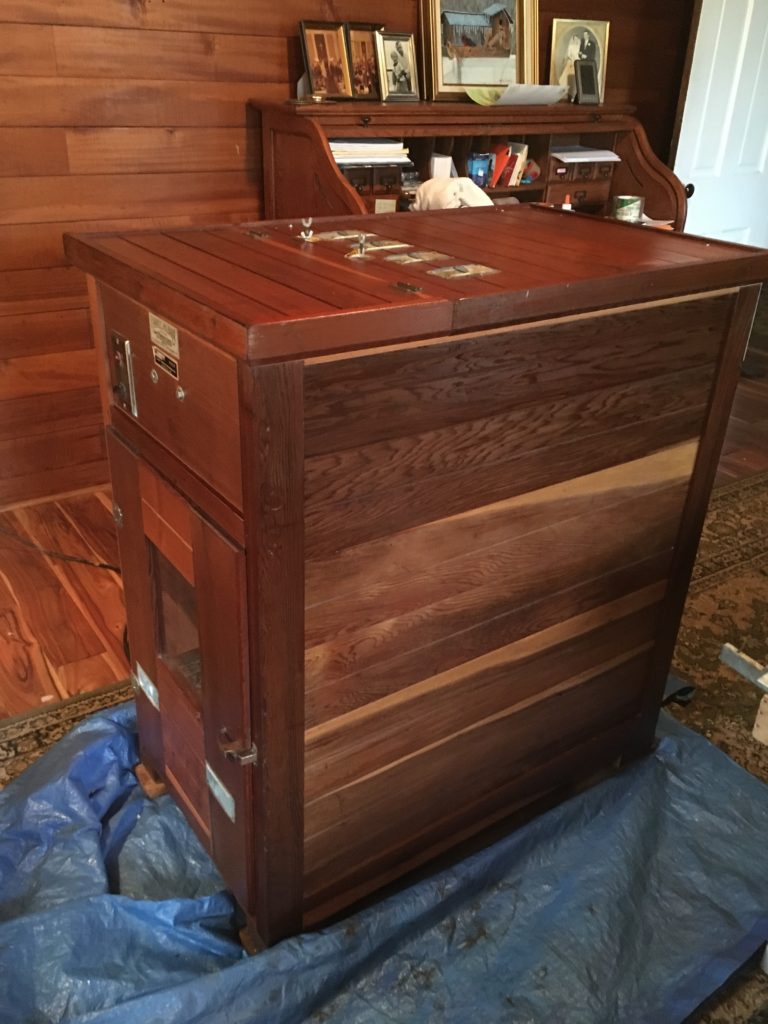
Got my Leahy 415 redwood incubator up and running this winter, and a week ago we set our first hatch! This one is really a trial balloon since it’s a new incubator and the girls aren’t laying strongly currently. The weather has been brutal, and the nights are still long, so I don’t blame them! So, I’ve had my first hatch in for the week, and just added my second tray last night.

This Leahy is a manual turn incubator, so I have to turn the eggs three times a day, which is easy for me since I’m home and always check my incubators a couple of times a day and right before bed to make sure that temps and humidity are within parameters. However, the turning system of yore involved egg positioners that were for standard sized eggs back in the 1950s, and with us hatching a variety of heritage breeds, they didn’t work.

While I don’t mind manual turning, moving each egg by hand three times daily gets old fast, so I looked around and found a great inspirational video below:

The video on the left shows the version I came up with (if you can see the video preview, just click the triangle and it’ll come up).

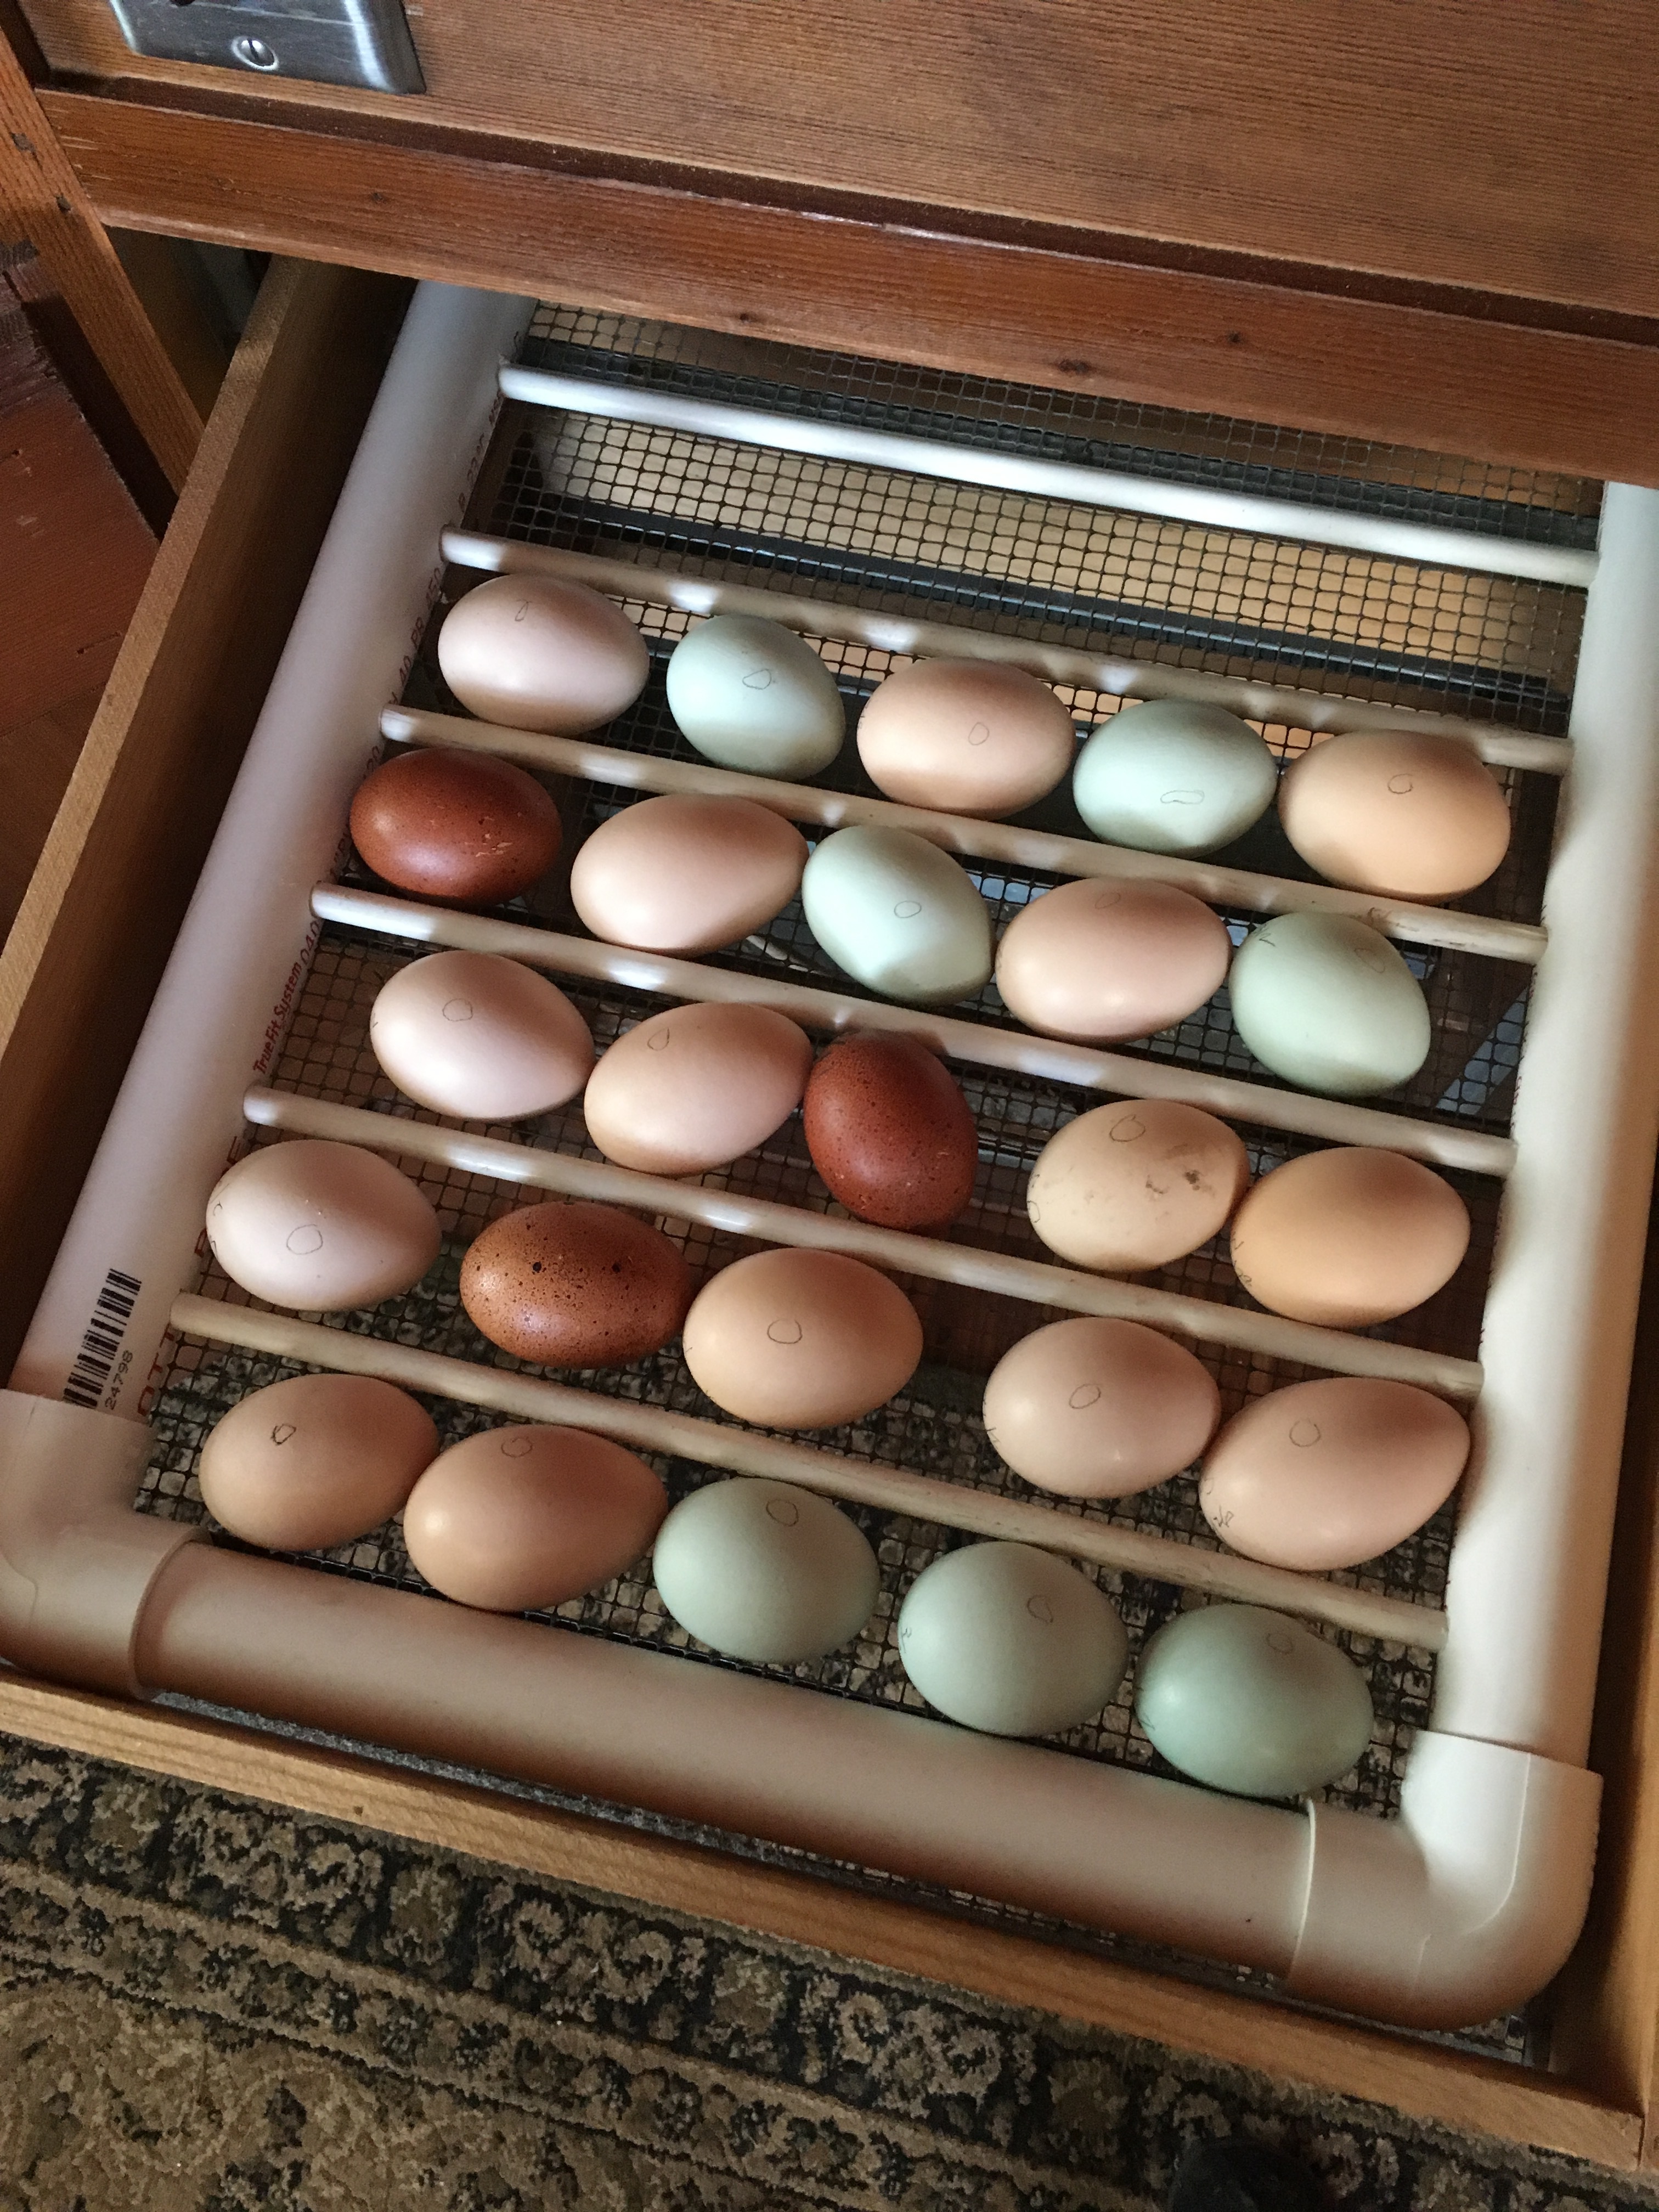
We used PVC pipe and fiberglass rods that are made to hold up electric field fencing. It took us awhile to make the prototype (a few hours) because of gathering tools and sizing the spaces between the rods for our specific eggs, but it eventually worked! Last night, we whipped up a second one in under an hour in order to set Hatch #2.

Each day — morning, midday, and before I go up for bed — I pull or push each rack, check the hygrometer, fill the water pan if it’s needed, and close the box. Takes seconds/turn!

Tonight I’m candling Hatch #1! It will be interesting to see how fertility and air sacs are coming along.


Posted on

Easter Eggers and Olive Eggers

Many people raise chickens to enjoy healthy eggs. I know that’s what got us started. And even more fun is to have a colorful egg basket—without dying!

Many first-time chicken keepers are unaware that different breeds of chickens lay different colored eggs. Without any dyeing, you can have a colorful Easter basket year round! Our grandchildren love to identify the breeds that their breakfast eggs came from by the colors.

At Storybook Farm, we work hard on mating our heritage breed cocks and hens to produce birds better than they are, following the APA Standard of Perfection (SOP). But, there’s a time to get less serious and just have fun! We happen to have heritage breeds that lay bluish eggs, dark chocolate eggs, and deep tan eggs. From these breeds, one can cross them to get a hen that will lay what are commonly called “Easter eggs” and “olive eggs.” The cross-bred hens are correspondingly called “Easter Eggers” and “Olive Eggers.” The reason that breeding these birds is “not serious” is because Easter Eggers (EEs) and Olive Eggers (OEs) are not recognized as breeds by the APA. But, it sure is fun to have those different colored eggs in your basket each week!

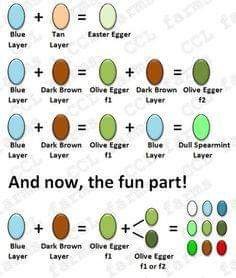
So, what breeds do you combine to get Easter and olive egg colors? For OEs, you need a breed that gives dark brown eggs: Marans and Welsummers are popular choices for this element. And you need a breed that lays a blue, or blue green egg: most often, and Ameraucana. For EEs, you want to start with a tan egg (many breeds lay this kind), and cross it with a blue or blue green egg. The resulting color will be more of a true green than an olive color.

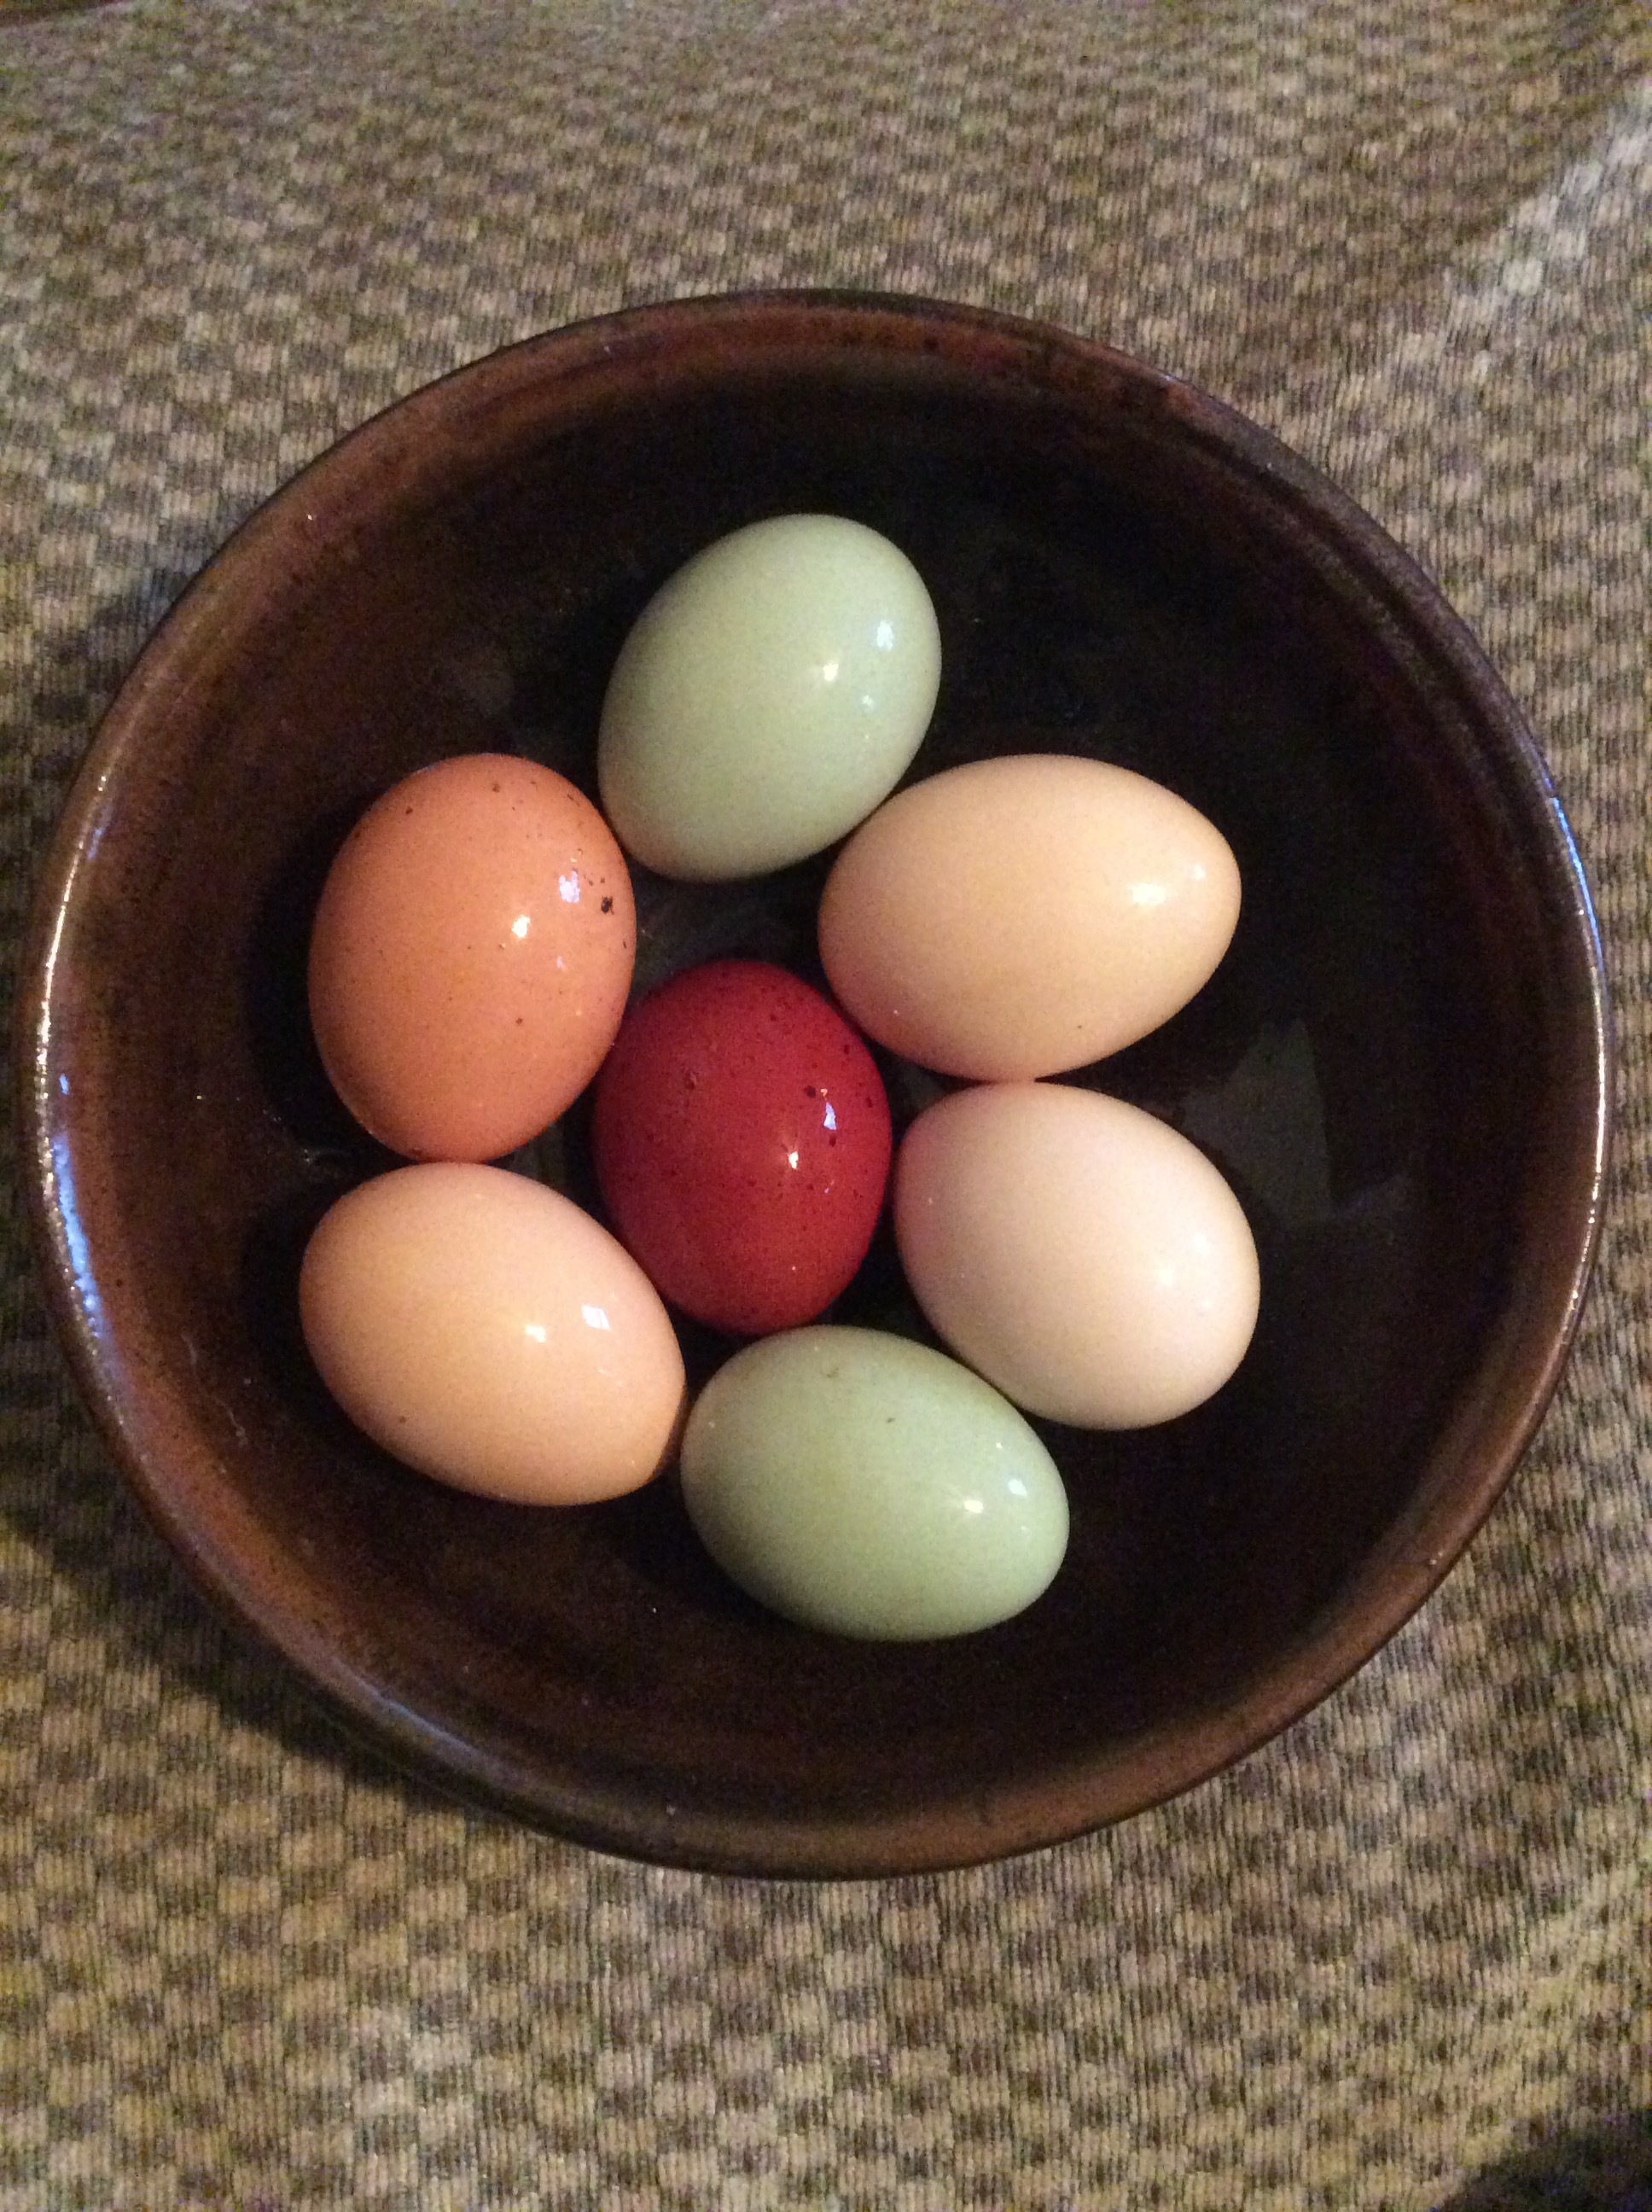
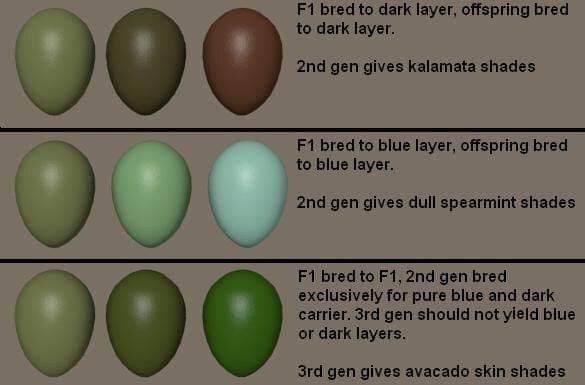
It does not matter if the cock or the hen are of the two breeds you are mixing. You can put an Ameraucana cock over a Marans hen, or vice versa. The resulting hens from these interbreeding can be quite lovely. They almost always have cute muffs around their faces (from their Ameraucana genes) and their feather colors can be all over the place. And, you can develop egg colors still further by breeding successive generations of mixed breeds. The chart at the left gives you ideas of how they can develop, as does the photo below.

Here at Storybook Farm, we have Black Copper Marans (who lay dark brown eggs), Ameraucanas (who lay the blue eggs), and Light Sussex, who lay differing tan colored eggs. (See a sample of our eggs in the photo at the start of this article.)

If you are interested in purchasing either hatching eggs or chicks, we can accommodate you with a special order. Please see our Shop for details on orders of this kind.

Posted on

Wheaten Marans

We have enjoyed breeding Black Copper Marans for years. We love their large, dark, almost chocolate colored eggs. We love their docile temperaments. But, we’ve been having trouble raising show-worthy cockerels. These are not supposed to have white underfluff, but ours somehow always do! So, this year, we decided we’d take a break from Black Coppers and try to raise Wheaten Marans. They have the same dark eggs and delightful temperaments, but white underfluff is no problem for them! I’ve been looking around for a source for show quality Wheaten Marans, and found a good one in Marans Unlimited, in Tx. That’s a long drive for me from WV, but luckily Bev and Sandy (the sister team who breeds these award-winning Wheaten Marans) agreed to bring some hatching eggs to a chicken show that we were both attending.
Did you know that they have chicken shows? They sure do, all over the country. Chicken fanciers bathe and condition their chickens for the shows, and when they get to the show, they spray and wipe their feathers with a silk scarf, and moisten their feet and combs with Vaseline. It’s pretty amazing to wander through a huge room full of varied and beautiful fowl of various sizes, shapes, and colors. (There’s a great documentary about the process of breeding and showing chickens entitled “Chicken People.” Find it and watch it if I’ve peaked your interest! It’s fascinating.)

Scott and I at the Dixie Classic in Knoxville, TN

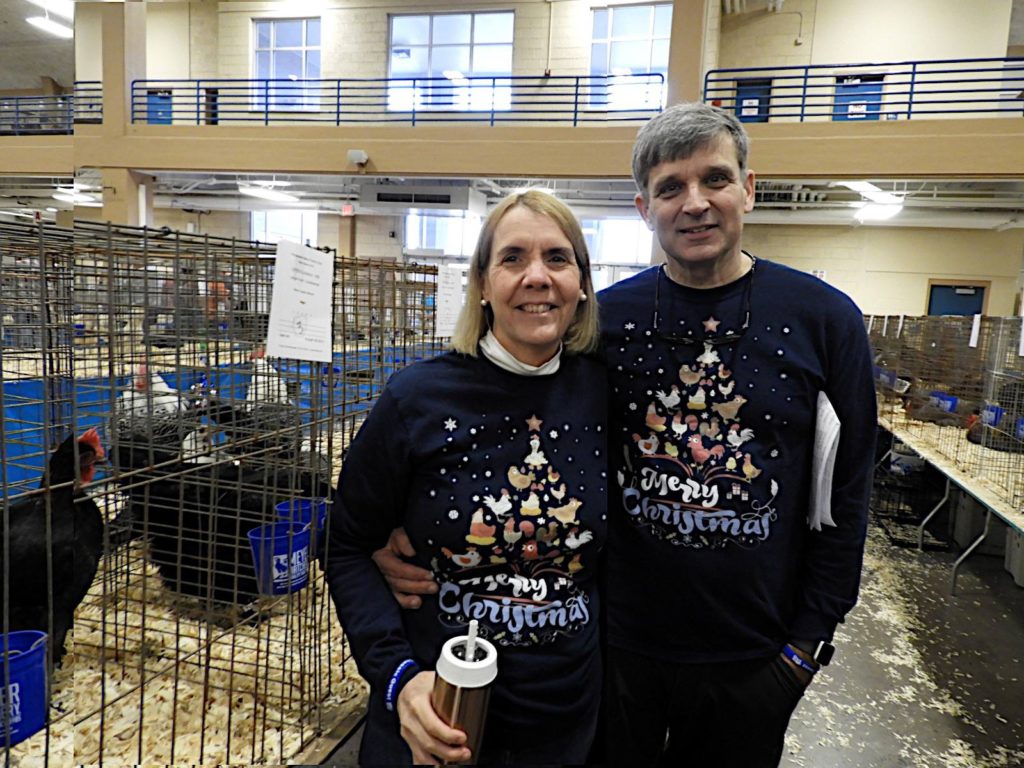
This year, I went with my husband to the Dixie Classic, which is a major chicken show given annually each first weekend of December. The first of December happens to be our wedding anniversary: this year, number 39! I had been more sure than ever that I’d been blessed with the husband of my dreams when Scott agreed to take me to the Dixie Classic for our anniversary last year. We had a great time, and so decided to return this year. Not only did Scott take me to Knoxville for the weekend, but he even wore a matching chicken shirt to the show. What a guy!

We were to meet Bev and Sandy at Knoxville and get the precious Wheaten Marans eggs that they had promised to bring. We did indeed meet them there, and get the eggs, but God had a beautiful gift waiting for me at Knoxville. I also came home with a beautiful pair of young adult Wheaten Marans! We called the pullet “Anni” and the cockerel “Vern.” (Annivernsary, get it? 😉)

It all started when I saw Annie. She struck me as SO beautiful: balanced, with a wide tail spread (something that I’ve been working hard at in my lines) and clean, lovely plumage. She was also a Blue Wheaten, which is among my favorite color patterns. I found out who had brought her and said to her, “I want your pullet!!” Then, I quickly amended according to my original intent, “I mean, I want eggs from your pullet this spring!” She smiled sweetly and said, “I’ll let you have her!”

I was dumbfounded! After a few minutes more conversation, when she found I had no cockerel of age to breed to her, she decided to let me have the male that she had brought to sell, too. As you see in the picture above, they are a lovely pair. 

Annie and Me

And as you can see in the picture to the right, I am one happy gal to have been so blessed on my anniversary! Bev and Sandy were not sure the the fertility of the eggs they brought, since it’s the dead of winter and their birds aren’t laying well, so they gave me the eggs and they are now in the incubator. If all goes well, we’ll have Wheaten and Black Copper chicks hatching on Christmas Day. I’m grateful to be in the Marans Chicken Club of the USA, where I’ve found mentors and friends who are helping me to succeed with breeding quality chickens!

Posted on

Ameraucana Pullets are Finally Laying!

Today is a slushy, cold, wet day in the mountains of West Virginia! It’s a day where we’ve seen rain, sleet, and mushy snow falling, as well as a weak sunshine hours ago. I think they call it “winter mix.” It’s a great day to sit inside and write a blog post about chickens!

As unwelcoming as the weather was this morning, Scott went out (faithful man that he is) to feed and water and found our first Ameraucana eggs! We’ve been raising these girls since March of 2017, and hadn’t seen a single egg yet. Part of that was that the days got short just as they should have come into lay, and none of our 25 laying hens was giving us a single egg. It’s healthy for the mature hens to get a laying break right after they molt, but the pullets didn’t really need one.

Two weeks ago, we put on lights, and the eggs have been coming back slowly. Interestingly, first it was a mix of mature and pullet Light Sussex eggs, in various shades of pink and tan. Then came the Black Copper Marans’ dark chocolate eggs—pullet size only. And now, we see the first Ameraucana eggs—blue green and quite large for pullet eggs, which leads me to suspect that they either did, or could have, laid earlier in the year if the lights had been right.

We do so love having a colorful mix of eggs in our basket. We love also the insides: free ranging layers lead to dark orange yolks and freshness unparalleled by what we can buy in the store. (I know, because we’ve been buying eggs through the fall before we turned on the lights.)